

A condenser mic is a sensitive microphone that uses a charged diaphragm to capture clear, detailed sound.
If you have heard a singer sound close, warm, and full in a studio recording, a condenser microphone may have helped create that result. This guide explains what is a condenser mic, how it works, where it performs best, and how to use one safely for vocals, podcasts, music, streaming, and voice-over work.

What Is a Condenser Mic?
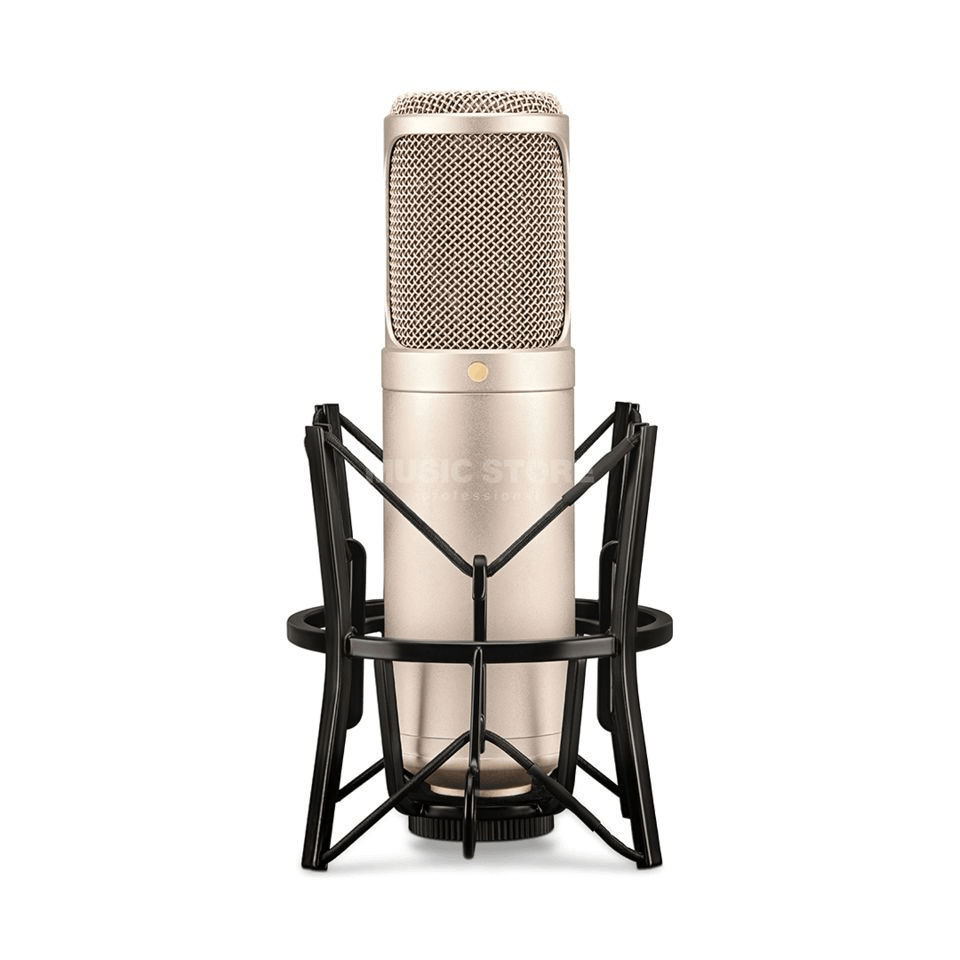
A condenser mic is a microphone that converts sound into an electrical signal through a thin diaphragm placed near a fixed metal plate. Together, these parts form a small capacitor, also called a condenser. When sound waves move the diaphragm, the electrical charge changes and creates an audio signal.
The diaphragm in a condenser microphone is usually lighter and more sensitive than the diaphragm in a dynamic microphone. This allows it to capture small details, soft sounds, and fast changes in volume with great accuracy.
In simple terms, what is a condenser mic? It is a highly sensitive microphone designed to record sound with clarity, detail, and a wide frequency range.
Most condenser microphones need power to operate. Studio models often use 48-volt phantom power from an audio interface, mixing console, or microphone preamp. Some USB condenser microphones receive power through the USB connection.
Think of a condenser mic as a high-resolution camera for sound. It captures more detail, but it also notices more of the room, background noise, and unwanted reflections.
How Does a Condenser Microphone Work?
The working principle of a condenser microphone is based on changes in capacitance. A thin diaphragm sits close to a rigid backplate. Both parts hold an electrical charge.
When someone speaks or sings, sound waves push and pull the diaphragm. The distance between the diaphragm and backplate changes. This changes the capacitance and produces a small electrical signal that represents the original sound.
A condenser mic also includes an electronic circuit. This circuit boosts the weak signal and helps send it through an audio cable to recording equipment.
The main parts include:
• Diaphragm: A thin surface that moves in response to sound.
• Backplate: A fixed plate positioned behind the diaphragm.
• Capsule: The assembly that contains the diaphragm and backplate.
• Internal circuit: The electronics that manage the microphone’s signal.
• Output connector: Usually an XLR connector on studio microphones.
This design explains why a condenser mic can sound open and detailed. The lightweight diaphragm responds quickly, much like a small leaf moving in a gentle breeze.
Types of Condenser Microphones
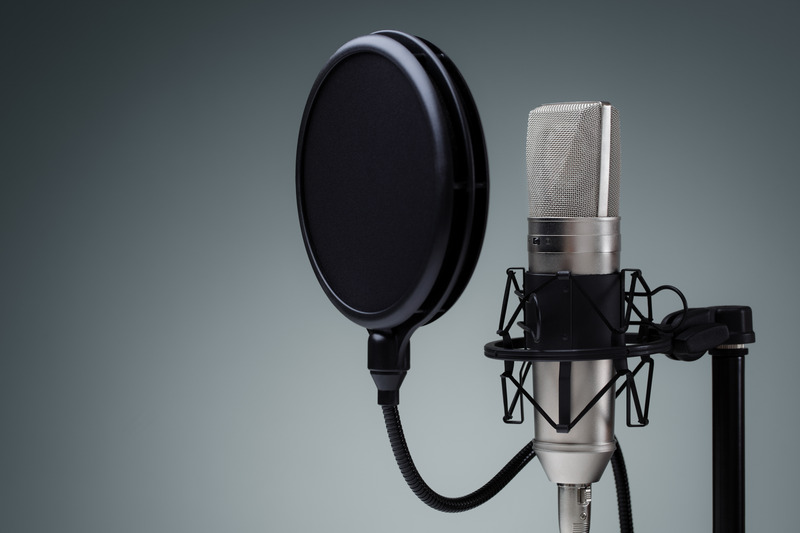
Condenser microphones come in several designs. The best choice depends on your recording space, sound source, and equipment.
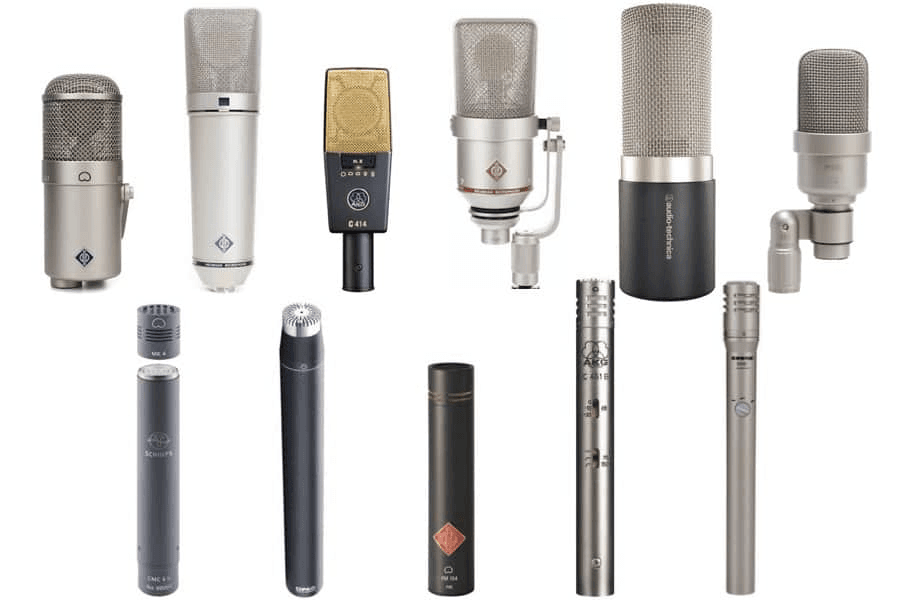
Large-Diaphragm Condenser Mics
Large-diaphragm condenser microphones usually have a diaphragm around one inch in diameter. They are popular for vocals, voice-over work, solo instruments, and spoken-word recording.
These microphones often produce a smooth and full sound. They can make a voice feel intimate and powerful, which is why many studios use them for lead vocals.
A large-diaphragm condenser mic may also add a pleasing sense of depth. However, it can pick up room echo and background noise more easily than a less sensitive microphone.
Small-Diaphragm Condenser Mics
Small-diaphragm condenser microphones use a smaller capsule. They often provide a fast, even response across the frequency range.
Engineers commonly use them for:
• Acoustic guitar
• Piano
• Strings
• Cymbals
• Room microphones
• Stereo recording
A small-diaphragm condenser mic can sound natural and precise. It may not create the same large vocal tone as a large-diaphragm model, but it often captures instruments with excellent accuracy.
Tube Condenser Mics
Tube condenser microphones use a vacuum tube in their electronic circuit. They need a dedicated power supply and often cost more than modern solid-state models.
Tube microphones can add gentle color, warmth, and harmonic character. Their sound depends on the tube, capsule, transformer, and circuit design. The word “tube” does not automatically mean better, so listen before buying.
USB Condenser Mics
USB condenser microphones include a microphone capsule, preamp, and analog-to-digital converter in one unit. You can connect them directly to a computer, tablet, or compatible device.
They are useful for:
• Podcasting
• Video calls
• Streaming
• Online lessons
• Home voice recording
A USB condenser mic is simple to use, but an XLR model offers more flexibility for professional audio systems.
Condenser Mic vs. Dynamic Mic
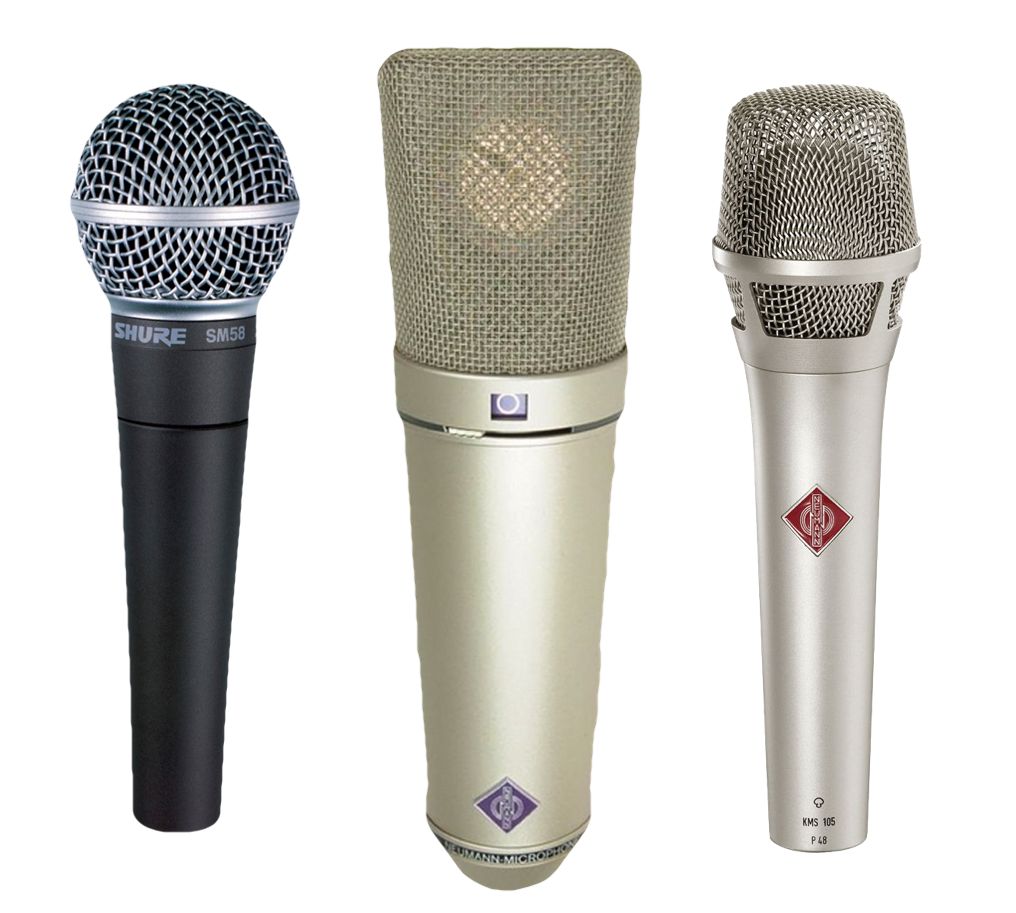
The difference between a condenser mic and a dynamic mic comes down to design, sensitivity, and typical use.
A dynamic microphone uses a moving coil attached to a diaphragm. Sound moves the diaphragm and coil through a magnetic field, creating an electrical signal. Dynamic mics are usually rugged and do not need phantom power.
A condenser mic uses a charged diaphragm and backplate. It is more sensitive and often captures more detail, but it can also pick up more unwanted sound.
| Feature | Condenser microphone | Dynamic microphone |
|---|---|---|
| Sensitivity | High | Lower |
| Detail | Very detailed | Focused and controlled |
| Power | Usually requires power | Usually does not require power |
| Room noise | Picks up more | Rejects more |
| Durability | Needs careful handling | Often very rugged |
| Common uses | Studio vocals, podcasting, instruments | Live vocals, drums, loud amplifiers |
A condenser mic is often the better choice in a quiet room. A dynamic mic may work better in a noisy room, untreated office, or live performance.
Neither type is always superior. The right microphone depends on the sound, room, distance, and desired style.

What Is a Condenser Mic Used For?
A condenser mic is used when you want detailed and natural sound. It is common in studios, home recording setups, broadcast rooms, and content creation spaces.
Common uses include:
Vocals
Many singers use a condenser microphone because it captures vocal texture, breath, tone, and small changes in expression. A pop filter helps control plosive sounds such as “P” and “B.”
Podcasts and Voice-Overs
A condenser mic can create a polished voice sound. It works especially well in a quiet room with soft furnishings that reduce echo.
Acoustic Instruments
The fast response of a condenser microphone makes it useful for acoustic guitar, piano, violin, and percussion. Small-diaphragm models often capture the natural attack of strings and picks.
Streaming and Online Content
USB condenser microphones are popular with streamers and video creators. They offer clear speech without requiring a separate audio interface.
Drum and Room Recording
Engineers often place condenser microphones above drum kits or around a room. These microphones capture cymbal detail, room reflections, and the overall sound of a performance.
A condenser mic is not limited to quiet sources. It can record loud sounds, but you must check its maximum sound pressure level and use proper placement.
Benefits of Using a Condenser Mic
The main benefit of a condenser mic is its ability to capture fine sound detail. This quality can make recordings feel more natural and present.
Other benefits include:
• Wide frequency response: Many condenser microphones capture a broad range of low, middle, and high frequencies.
• High sensitivity: They can record quiet voices and delicate instruments with less need for extreme gain.
• Fast transient response: They reproduce quick sounds, such as guitar picks, drum hits, and consonants.
• Clear vocal sound: A condenser mic can make speech and singing sound close and detailed.
• Multiple polar patterns: Some models let you choose between cardioid, omnidirectional, figure-eight, and other patterns.
• Studio versatility: One good condenser mic can serve vocals, instruments, podcasting, and voice-over work.
In my experience advising people on basic recording setups, the biggest improvement often comes from microphone placement rather than price. A modest condenser mic placed close to a quiet, treated space can outperform an expensive model placed beside a noisy computer.
.webp)
Limitations of Condenser Microphones
A condenser mic also has drawbacks. Its sensitivity is helpful in a controlled room, but it can become a problem in a busy or untreated space.
Important limitations include:
• Room noise: It may capture air conditioners, computer fans, traffic, and nearby conversations.
• Echo: Bare walls and hard floors can create reflections that make speech sound distant.
• Power needs: Many models require 48-volt phantom power or USB power.
• Fragility: The capsule can be damaged by moisture, impact, or rough handling.
• Plosive sounds: Close speech can overload the capsule with bursts of air.
• Handling noise: Touching the stand or cable may create unwanted low-frequency noise.
• Overload risk: Very loud sources can distort if the microphone’s maximum sound pressure level is too low.
A condenser mic does not fix a poor room. If your room sounds harsh, first try soft furnishings, curtains, a rug, or better microphone placement. Do not rely on foam panels alone, since thin foam often absorbs high frequencies but does little for bass or strong room reflections.

Does a Condenser Mic Need Phantom Power?
Most XLR condenser microphones need phantom power. This is usually supplied as 48 volts through the same XLR cable that carries the audio signal.
You can turn on phantom power using a switch marked “48V” on an audio interface, mixer, or preamp. USB condenser microphones receive power through the USB connection and do not need a separate 48-volt switch.
Follow these steps:
Connect the microphone to the interface with an XLR cable.
Turn the input gain down.
Connect headphones or speakers.
Turn on phantom power if the microphone requires it.
Raise the gain while speaking at a normal level.
Aim for peaks around minus 12 to minus 6 decibels in your recording software.
Avoid connecting or disconnecting an XLR microphone while phantom power is active. Turn the power off first and wait a few seconds. Some microphones and equipment are more sensitive to connection surges than others.
Ribbon microphones deserve special care. Many modern active ribbon mics require phantom power, but passive ribbon microphones can be damaged by incorrect connections or faulty cables. Always check the manufacturer’s instructions.

How to Set Up a Condenser Mic
Good setup matters as much as the microphone itself. Use this simple process for a clean recording.
Choose a Quiet Position
Move away from windows, fans, refrigerators, and noisy computers. A quiet corner with curtains, books, or other soft surfaces can help.
Use a Mic Stand
A stand prevents handling noise and keeps the microphone at a steady distance. Add a shock mount if your floor or desk carries vibrations.
Add a Pop Filter
Place a pop filter between your mouth and the condenser mic. Keep it about two to four inches from the microphone, then position yourself a few inches behind the filter.
Aim the Microphone Correctly
Most vocal condenser microphones record from the front, not the top. Look for the logo or front indicator. Speak toward that side unless the manual says otherwise.
Set the Right Distance
Start about six to eight inches away. Move slightly closer for a fuller sound or farther away for a more open sound. Stay consistent while recording.
Set Input Gain Carefully
Speak or sing at your loudest normal level. Increase the gain until the signal is strong but does not clip. Clipping creates harsh distortion that is difficult to repair.
One common mistake is to place the microphone too far away because the recording sounds “natural” in the room. In an untreated space, closer placement usually gives you more direct voice and less echo.
How to Choose the Best Condenser Mic
Choosing the best condenser mic does not mean choosing the most expensive one. Start with your room, source, connection type, and budget.
Consider these factors:
• Connection: Choose USB for simple computer recording or XLR for a flexible studio setup.
• Polar pattern: Cardioid is useful for one person. Multiple patterns help with interviews, room recording, and stereo techniques.
• Frequency response: A balanced response is a safe choice. A bright model may add clarity but can exaggerate harsh voices.
• Maximum sound pressure level: Choose a microphone that can handle loud singers, drums, or guitar amplifiers.
• Self-noise: Lower self-noise matters when recording quiet sources.
• Accessories: A shock mount, pop filter, cable, and case can add real value.
• Room quality: A sensitive microphone may expose echo and noise in a bedroom or office.
• Upgrade path: An XLR microphone can remain useful if you later buy a better interface or preamp.
Read technical specifications, but do not treat them as the whole story. Frequency charts are helpful, yet they do not fully predict how a microphone will sound with your voice. If possible, listen to recordings made with the same model and similar room conditions.
Common Mistakes to Avoid
Even a high-quality condenser mic can produce poor results when used incorrectly.
Avoid these mistakes:
• Recording too far away: This adds room sound and weakens the direct voice.
• Pointing the wrong side at the speaker: Many microphones have a front and rear side.
• Forgetting phantom power: An XLR condenser mic may produce no signal without power.
• Using too much gain: High gain can add noise and cause clipping.
• Skipping a pop filter: Plosive bursts can overload the capsule.
• Recording in a hard, empty room: Reflections can make the track sound hollow.
• Touching the stand: Vibration travels through the stand and into the microphone.
• Blowing into the capsule: Strong air can stress the diaphragm and create loud pops.
• Buying by price alone: A costly mic cannot compensate for poor technique or a bad room.
A useful habit is to record a short test before starting the real session. Listen through headphones for hum, echo, distortion, mouth noise, and background sounds. This small check can save an entire afternoon of editing.
Frequently Asked Questions About What Is a Condenser Mic
What is a condenser mic best used for?
A condenser mic is best for detailed recording of vocals, speech, acoustic instruments, piano, and room sound. It performs best in a quiet or treated space.
Can you use a condenser mic without an audio interface?
Yes, if it is a USB condenser microphone. A traditional XLR condenser mic usually needs an audio interface, mixer, or microphone preamp that provides power and converts the signal for recording.
Does a condenser mic sound better than a dynamic mic?
Not always. A condenser mic usually captures more detail, while a dynamic mic may reject room noise and handle loud sources more easily.
Can a condenser mic record loud sounds?
Yes, provided it has a suitable maximum sound pressure level. Check the specifications before recording drums, guitar amplifiers, or very loud vocals.
Do all condenser microphones need 48-volt phantom power?
Most XLR condenser microphones need phantom power, but USB models receive power from the USB connection. Tube condenser microphones often use a separate power supply.
Is a condenser mic good for podcasting?
Yes, especially in a quiet room. It can deliver clear, detailed speech, but a dynamic microphone may be better if the room has traffic, echo, or other background noise.
How far should you be from a condenser mic?
Start about six to eight inches away with a pop filter. Adjust the distance to control bass, room sound, and vocal volume while keeping your position steady.
Conclusion
A condenser mic uses a sensitive diaphragm and backplate to capture detailed sound. It is a strong choice for vocals, podcasts, streaming, voice-over work, and acoustic instruments, especially when used in a quiet room with proper power and placement.
The best results come from matching the microphone to your space and sound source. Choose USB for simple computer recording, or XLR for a setup that can grow with your skills. Test your position, control room reflections, use a pop filter, and avoid excessive gain.
Now that you understand what is a condenser mic, try a short recording test with your current setup. Compare microphone distance and room positions, then explore more recording guides to keep improving your sound.