
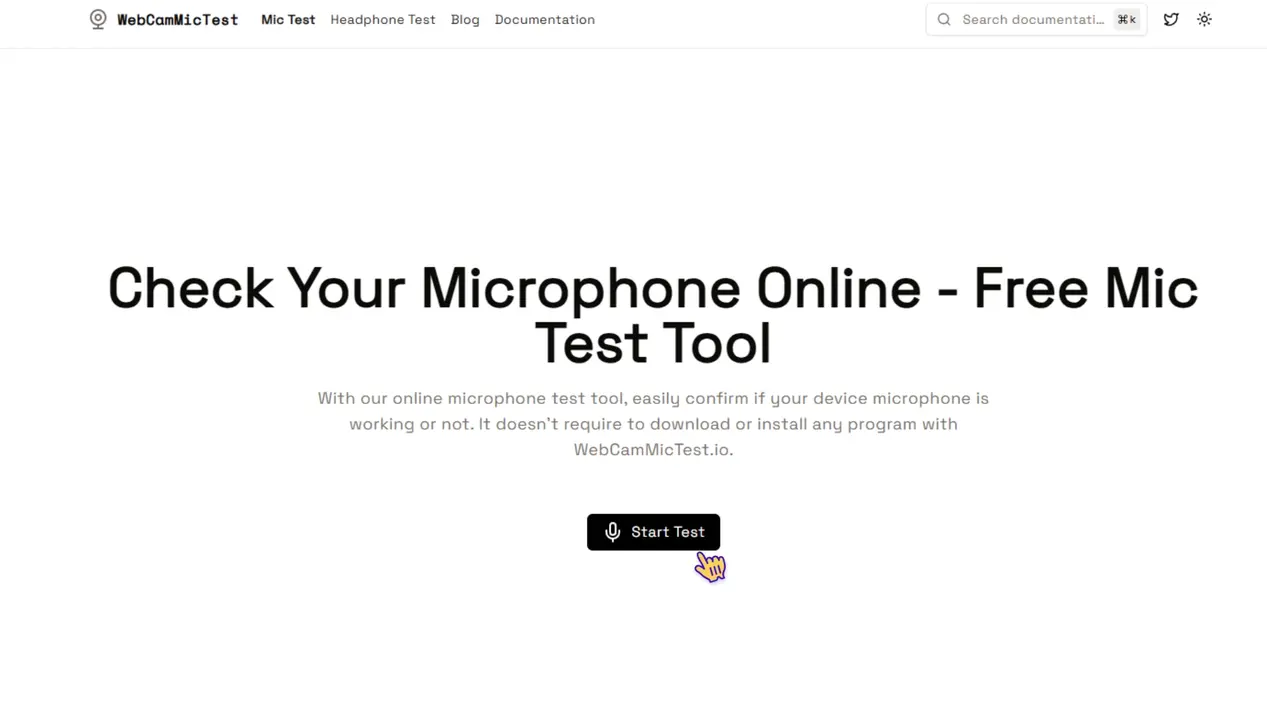
If you use a Windows PC, Mac, iPhone, or Android phone in the United States, you can test your microphone online in a few minutes. Open a trusted browser mic test, allow microphone access, speak, and check whether the input meter moves or your voice plays back clearly.
An online mic test can confirm that your device detects the microphone. It can also reveal low volume, background noise, distortion, or the wrong microphone selection. It cannot fully prove that your mic will sound the same in Zoom, Microsoft Teams, Discord, YouTube, or another app.
What an Online Microphone Test Checks
An online microphone test checks whether a website can receive audio from your selected microphone. Most tests use your browser’s microphone permission system and show a volume meter, waveform, or short playback clip.
A basic test can help you check:
- Whether the microphone is connected
- Whether the browser can access it
- Whether the correct input device is selected
- Whether your voice reaches a usable volume
- Whether the mic produces crackles, hum, or static
- Whether your room has too much background noise
A mic test does not measure every part of audio quality. It may not show how your microphone sounds after an app compresses the audio. It also may not detect problems caused by a loose cable, Bluetooth delay, app settings, or a damaged headphone jack.
Microphone input and output are different
Your microphone is an input device. It sends your voice into the computer or phone.
Your speakers or headphones are output devices. They play sound back to you.
A website may test only the microphone. If you cannot hear playback, your mic may still work. The problem may be your speakers, headphones, browser audio, or device volume.
How to Test Your Mic Online
Use this method when you need a fast microphone check before a meeting, class, interview, podcast, or game chat.
1. Connect the microphone
Plug in your USB, 3.5-millimeter, or XLR microphone through the proper equipment. For a headset, connect both the headset and any adapter it needs.
For a Bluetooth mic, confirm that it is paired and charged. Bluetooth headsets sometimes switch between high-quality listening mode and lower-quality call mode. That change can affect sound quality.
2. Close apps that may be using the mic
Quit video calls, recording tools, games, and voice chat apps before testing. Another app may hold the microphone or change its input level.
If you leave several apps open, the browser may select a different input device than the one you expect.
3. Open a trusted browser mic test
Search for a browser-based microphone test or use a tool from a trusted software or hardware provider. Choose a site that clearly explains what it does with your audio.
A basic mic test should not ask you to install unknown software. Be cautious if a page asks for an unrelated browser extension, executable file, payment, or account.
4. Allow microphone access
Your browser should display a permission request. Choose Allow if you want the website to access the mic.
If you clicked Block by mistake, use the permission icon near the browser address bar. From there, change microphone access to Allow, then reload the page.
The exact menu names can vary by browser and operating system.
5. Select the correct microphone
If the test lists several inputs, choose the mic you want to check. Common choices include:
- Internal microphone
- USB microphone
- Headset microphone
- Webcam microphone
- Bluetooth headset microphone
- Audio interface input
Speak from your normal distance. The input meter should move when you talk.
6. Check the input level
Talk in a normal voice for about 10 to 15 seconds. Look for a steady signal that is strong enough to register but does not remain at the maximum level.
A meter that stays at zero usually means the test is not receiving sound. A meter that stays at the top may indicate clipping or excessive input gain.
7. Play back a recording if available
Some online tools let you record a short clip and play it back. Listen for:
- Clear words
- Even volume
- Hiss
- Buzz
- Crackle
- Echo
- Muffled sound
- Sudden dropouts
- Delay or robotic tones
Use headphones for this step if possible. Speakers can send your voice back into the microphone and create feedback or echo.
8. Repeat the test in the app you plan to use
A browser test is useful, but the final check should happen in the app you will use. Open the audio settings in Zoom, Teams, Discord, Skype, OBS, or another program.
Select the same microphone. Then use the app’s built-in test or recording feature.
How to Tell Whether Your Mic Works
A working microphone usually shows a changing input meter when you speak. A test recording should contain your voice at a steady level without severe noise or distortion.
Use this quick guide:
| Test result | Likely meaning | Next step |
|---|---|---|
| No meter movement | The browser cannot receive mic audio | Check permission, device selection, mute, and connections |
| Very low movement | Input gain may be too low | Move closer or raise the input level |
| Meter reaches the top often | The signal may be clipping | Lower mic gain or move farther away |
| Voice sounds clear | The basic mic path works | Test it in your meeting or recording app |
| Voice sounds distant | The wrong mic may be selected | Choose the headset or USB mic manually |
| Hiss or hum is present | Noise may come from the room, cable, power, or device | Test another port and reduce nearby noise |
| Voice cuts out | Connection, Bluetooth, driver, or app issue may exist | Reconnect, charge, and test with another app |
| Echo occurs | Speakers may be feeding sound into the mic | Use headphones or lower speaker volume |
A moving meter proves that the browser receives some audio. It does not prove that the recording is clear, balanced, or suitable for professional use.
Check for clipping
Clipping happens when the input signal is too loud for the system to handle. It often sounds harsh, cracked, or flattened.
To reduce clipping:
- Lower the microphone input level.
- Move the mic slightly farther away.
- Speak across the front of the mic instead of directly into it, if the mic design allows.
- Keep loud sounds away from the capsule.
- Record again at your normal speaking volume.
Check for background noise
Stay quiet for a few seconds before speaking. Listen to the silent part of the clip.
A small amount of room sound is normal. Strong fan noise, keyboard noise, traffic, or electrical hum may distract listeners. Move away from noisy equipment, close a window, or use a quieter room.
Noise reduction tools can help, but heavy processing may make speech sound thin or artificial.
How to Test a Mic on Windows
Windows lets you check the input device before and after using an online test.
Windows 11
- Open Settings.
- Select System.
- Select Sound.
- Under Input, choose the microphone.
- Speak and watch the input level.
- Open the microphone properties if you need to adjust the input volume.
Then open the online test in your browser. When the permission prompt appears, allow access and select the same input device.
Windows may show several similar names. A webcam mic, laptop mic, USB mic, and headset mic can all appear in the list.
Windows 10
- Open Settings.
- Select System.
- Select Sound.
- Find the Input section.
- Choose the microphone.
- Use the input test or device properties to check the signal.
If Windows does not list the microphone, unplug and reconnect it. For USB equipment, try another USB port. For a headset, check whether the plug or adapter supports both headphones and microphone input.
Also check the physical mute switch. Many headsets have a mute button on the cable or ear cup.
How to Test a Mic on a Mac
macOS includes microphone settings that can help you find the cause of a failed online test.
- Open the Apple menu.
- Select System Settings.
- Select Sound.
- Open the Input section.
- Choose the microphone.
- Speak and watch the input level.
- Adjust the input volume if needed.
Older macOS versions may use System Preferences instead of System Settings.
If the browser cannot access the mic, check privacy settings:
- Open System Settings.
- Select Privacy & Security.
- Select Microphone.
- Turn on access for the browser you use.
- Reopen the browser and run the test again.
If you use an audio interface, select the interface as the input device. The microphone may not appear by its own name.
How to Test a Mic on an iPhone or Android Phone
You can test a phone microphone online, but mobile browsers may offer fewer controls than desktop browsers.
iPhone
Use Safari or another supported browser. Open a trusted browser mic test and allow microphone access when asked.
If the test fails:
- Check whether the phone is muted or connected to a Bluetooth device.
- Disconnect Bluetooth temporarily.
- Remove a case that may block the microphone openings.
- Check microphone access in Settings > Privacy & Security > Microphone.
- Try the test again.
iPhones have more than one microphone. Different microphones may support calls, video recording, noise reduction, or speakerphone use. An online test may not check every microphone on the phone.
Android
Open a trusted mic test in Chrome or another supported browser. Allow microphone access and speak at a normal volume.
If there is no signal:
- Check the browser’s site permission.
- Review microphone access under Android privacy settings.
- Disconnect Bluetooth earbuds or headsets.
- Remove anything covering the mic opening.
- Restart the browser.
- Test the phone in its built-in recorder or camera app.
Android menus differ by phone maker and software version. Look for Privacy, Permission manager, or Microphone access in Settings.
What to Do When the Online Mic Test Fails
Start with the simplest checks. Many failed tests come from a blocked permission, a muted headset, or the wrong input device.
The browser does not detect the mic
Check these items in order:
- Confirm that the microphone is connected and powered.
- Make sure the device has not been muted.
- Reload the test page.
- Allow microphone access.
- Select the correct input device.
- Try another supported browser.
- Restart the computer or phone.
- Test the mic in a built-in recorder or communication app.
If the mic works in another app, the issue may be limited to the browser or website permission.
The microphone works in one app but not another
Each app can use its own input selection. A mic that works in Windows or macOS may still be missing from Zoom or Discord because that app selected a different device.
Open the app’s audio settings. Choose the microphone by name, then run the app’s own test.
Also check whether the app has permission to use the microphone.
The microphone sounds too quiet
Move the mic closer, but do not place it directly against your mouth. Raise the input level in the operating system or app.
For a headset mic, position the boom near the corner of your mouth. Avoid placing it directly in front of your lips, where breath sounds may become stronger.
Do not use maximum gain automatically. More gain also raises room noise.
The microphone sounds distorted
Lower the input level first. Distortion often occurs when the signal is too loud.
If lowering the level does not help, try another USB port, cable, adapter, or device. A damaged cable or overloaded input can create crackle and harsh sound.
The mic creates an echo
Echo usually comes from speakers playing your voice back into the microphone. Use headphones, lower speaker volume, or turn off microphone monitoring.
Some meeting apps also create echo when two nearby devices join the same call. Leave audio enabled on only one device.
How to Improve Your Mic Test Results
A good test uses the same conditions as the real task. If you will join a video call from your desk, test from that desk with the same headset, room, and app.
Use these simple habits:
- Keep the microphone close enough for a clear voice.
- Aim the mic according to its design.
- Speak at your normal meeting volume.
- Keep fans, air conditioners, and phones away from the mic.
- Use headphones during playback.
- Test with the final app, not only a website.
- Check the mic after reconnecting Bluetooth devices.
- Avoid placing a laptop mic near a hard wall or empty desk surface.
A quiet room often improves speech more than expensive equipment. Good placement also matters. A basic mic close to your mouth may sound clearer than a better mic placed far away.
Privacy and Safety When Testing a Mic Online
A browser microphone test needs permission to access audio. Before allowing it, check the site address and its privacy information.
Use a short test clip. Do not speak private account details, financial information, medical information, work secrets, or other sensitive content.
A site may process audio in the browser, send it to a server, or store a recording. The page’s privacy policy should explain this. If the policy is unclear, use your operating system’s built-in sound test or a trusted app instead.
After testing, you can remove the site’s microphone permission through the browser’s site settings. This is useful on a shared computer.
Never install unknown software just to perform a basic microphone check. A normal browser test should not require administrator access or unrelated downloads.
Key Takeaways
- An online mic test checks whether your browser receives sound from the selected microphone.
- Allow microphone access and choose the correct input device.
- A moving meter shows signal, but it does not guarantee clear audio.
- Use playback to check volume, noise, echo, and distortion.
- Test the microphone again in Zoom, Teams, Discord, or the app you plan to use.
- Check permissions, mute controls, connections, and input selection when the test fails.
- Avoid sharing private information in a recording or using unknown downloads.
Frequently Asked Questions
Can I test my microphone without downloading software?
Yes. A browser-based mic test can check basic input without a download. You can also use built-in sound settings in Windows, macOS, iOS, or Android.
Why does my mic work in a browser test but not in Zoom?
The two programs may use different microphone permissions or input selections. Open Zoom’s audio settings and manually select the microphone. Then check Zoom’s microphone permission in your operating system.
Can an online mic test detect a broken microphone?
It may show that the microphone produces no signal or has severe noise. However, a failed test can also result from blocked permissions, a bad cable, a muted device, or the wrong input. Test the microphone on another device before deciding that it is broken.
How loud should my microphone be?
Your voice should produce a steady signal without reaching the maximum level during normal speech. If playback sounds harsh or cracked, lower the input level. If it is too quiet, raise the level or move the microphone closer.
Can I test a Bluetooth microphone online?
Yes. Pair and connect the Bluetooth microphone, select it in the browser or operating system, and allow access. Keep the device charged. If the sound becomes poor during a call, Bluetooth may have switched to a call-focused audio mode.
What is the fastest way to test a mic before a meeting?
Connect the mic, confirm the mute switch is off, open the meeting app’s audio settings, select the correct input, and use its built-in test. This checks the same path the meeting will use.
Conclusion
The fastest way to test a mic online is to open a trusted browser test, allow microphone access, select the right input, and speak normally. Check the meter, listen to playback, and repeat the check in the app you plan to use.
If the test fails, start with permission, mute, connection, and device selection. These simple checks solve many microphone problems before you need to replace equipment or install drivers.