

Turn on microphone monitoring in your device, app, or audio interface to hear your voice through headphones.
Learning how to hear your own mic is useful for calls, streaming, gaming, music, podcasts, and online lessons. The best method depends on your device and app, but the goal is always the same: send your microphone signal back to your headphones with clear sound and little delay. This guide explains each method, fixes common problems, and shares practical tips for getting natural voice monitoring without echo or feedback.

What Does It Mean to Hear Your Own Mic?
Hearing your own mic is called microphone monitoring, mic monitoring, or sidetone. It sends your live microphone sound to your headphones or speakers while you talk.
This feature is different from recording your voice and playing it back later. Monitoring happens in real time, so you can check your volume, tone, breathing, background noise, and microphone position as you speak.
You may want to hear your own mic when you:
• Stream on Twitch, YouTube, or another platform
• Join a Zoom, Microsoft Teams, or Google Meet call
• Chat with friends through Discord
• Record a podcast or voice-over
• Sing or play an instrument
• Test a new microphone
• Check whether your headset mic is working
The main challenge is delay. A small delay can feel strange. A longer delay can make it hard to speak naturally. Direct monitoring through an audio interface usually gives the fastest result.
How to Hear Your Own Mic on Windows
Windows includes a built-in option called “Listen to this device.” It sends your microphone input to your selected playback device.
Follow these steps:
- Connect your microphone and headphones.
- Right-click the speaker icon in the Windows taskbar.
- Select Sound settings.
- Choose More sound settings.
- Open the Recording tab.
- Double-click your microphone.
- Select the Listen tab.
- Check Listen to this device.
- Choose your headphones under Playback through this device.
- Select Apply, then OK.
Speak into the microphone. You should hear your voice in the headphones.
This method works well for a basic test. However, it can create a slight delay because Windows processes the microphone signal before sending it back. If your voice sounds doubled or delayed, turn this option off and use direct monitoring instead.
Adjust your Windows microphone level
If your voice is too loud or too quiet, open the microphone’s Levels tab. Start with the microphone level near 70 to 85 percent, then adjust it while speaking at your normal volume.
Avoid setting the level too high. A loud input can clip the signal and create harsh distortion. Watch the level meter in your call or recording app. Your loudest words should stay below the red zone.

How to Hear Your Own Mic on a Mac
macOS does not offer the same simple “Listen to this device” option found in Windows. You can still monitor your mic through an audio interface, a compatible app, or a virtual audio tool.
The easiest method is often an audio interface with a direct monitor switch. Connect the microphone to the interface, plug your headphones into the interface, and turn on Direct Monitor or Input Monitor.
If you use an app such as garageband, Audacity, or another recording program, look for an option named:
• Software monitoring
• Input monitoring
• Monitor input
• Hear myself
Turn the setting on, then choose your microphone as the input and your headphones as the output.
You can also check macOS permissions:
- Open System Settings.
- Select Privacy & Security.
- Choose Microphone.
- Allow your chosen app to access the microphone.
- Open Sound settings.
- Confirm the correct input and output devices.
If you hear silence, the app may be using a different microphone or sending sound to your Mac’s built-in speakers instead of your headphones.

How to Hear Your Own Mic in Discord
Discord has a built-in microphone test that lets you hear your voice.
- Open Discord.
- Select User Settings.
- Choose Voice & Video.
- Find the Mic Test section.
- Select Let’s Check.
- Speak into your microphone.
- Listen to the playback.
Discord plays your voice back so you can test the mic. This is useful for checking your input level, but it may not feel exactly like real-time monitoring during a live conversation.
To improve your setup:
• Select the correct input device.
• Select your headphones as the output device.
• Set the input volume so your voice is clear.
• Turn off automatic input sensitivity if it cuts off quiet words.
• Test noise suppression if your room has fans or traffic noise.
• Use headphones instead of speakers to prevent feedback.
Discord may also apply noise reduction, echo cancellation, and automatic gain control. These tools can help in a noisy room, but they may change your voice or cut off soft speech. Test them one at a time.

How to Hear Your Own Mic in OBS Studio
OBS Studio lets you monitor a microphone while streaming or recording. This is useful when you want to hear the same audio that enters your broadcast.
Set it up like this:
- Open OBS Studio.
- Add your microphone as an Audio Input Capture source.
- Open the Audio Mixer.
- Click the three dots beside the microphone.
- Select Advanced Audio Properties.
- Find Audio Monitoring.
- Choose Monitor and Output.
- Open Settings and select Audio.
- Confirm your headphones under Monitoring Device.
The Monitor and Output setting sends your mic to your headphones and to the stream or recording. If you want to hear the mic but not send it to the stream, choose Monitor Only.
Be careful with Monitor and Output. If you also monitor the same microphone through your headset, interface, or another app, you may hear an echo. Use only one monitoring path.
For live streaming, keep your mic level balanced with game audio. Your voice should remain easy to understand without overpowering the content. A basic compressor can make volume more consistent, while a noise gate can reduce quiet background sounds between words.
How to Hear Your Own Mic Through an Audio Interface
An audio interface is often the best way to hear your own mic. Many models include a Direct Monitor button or a blend knob labeled Input and USB.
Direct monitoring sends the microphone signal straight to your headphones. It does not need to travel through your computer first. This usually creates almost no noticeable delay.
To use it:
- Connect the microphone to the interface.
- Connect headphones to the interface.
- Turn on direct monitoring.
- Raise the headphone volume slowly.
- Speak at your normal distance from the mic.
- Adjust the input gain until your voice is strong but not distorted.
Some interfaces let you blend two signals:
• Input: Your live microphone sound
• USB or Playback: Sound from your computer
Turn the blend knob toward Input if your voice feels too quiet. Turn it toward USB or Playback if computer audio is too loud.
Do not confuse headphone volume with microphone gain. Headphone volume controls how loud the sound is for you. Microphone gain controls how strong the signal is for the computer or recording device.
In my own mic-monitoring tests, the most common mistake is raising gain when the real problem is low headphone volume. That can cause clipping. Check each control separately before making a large adjustment.

How to Hear Your Own Mic on a Gaming Headset
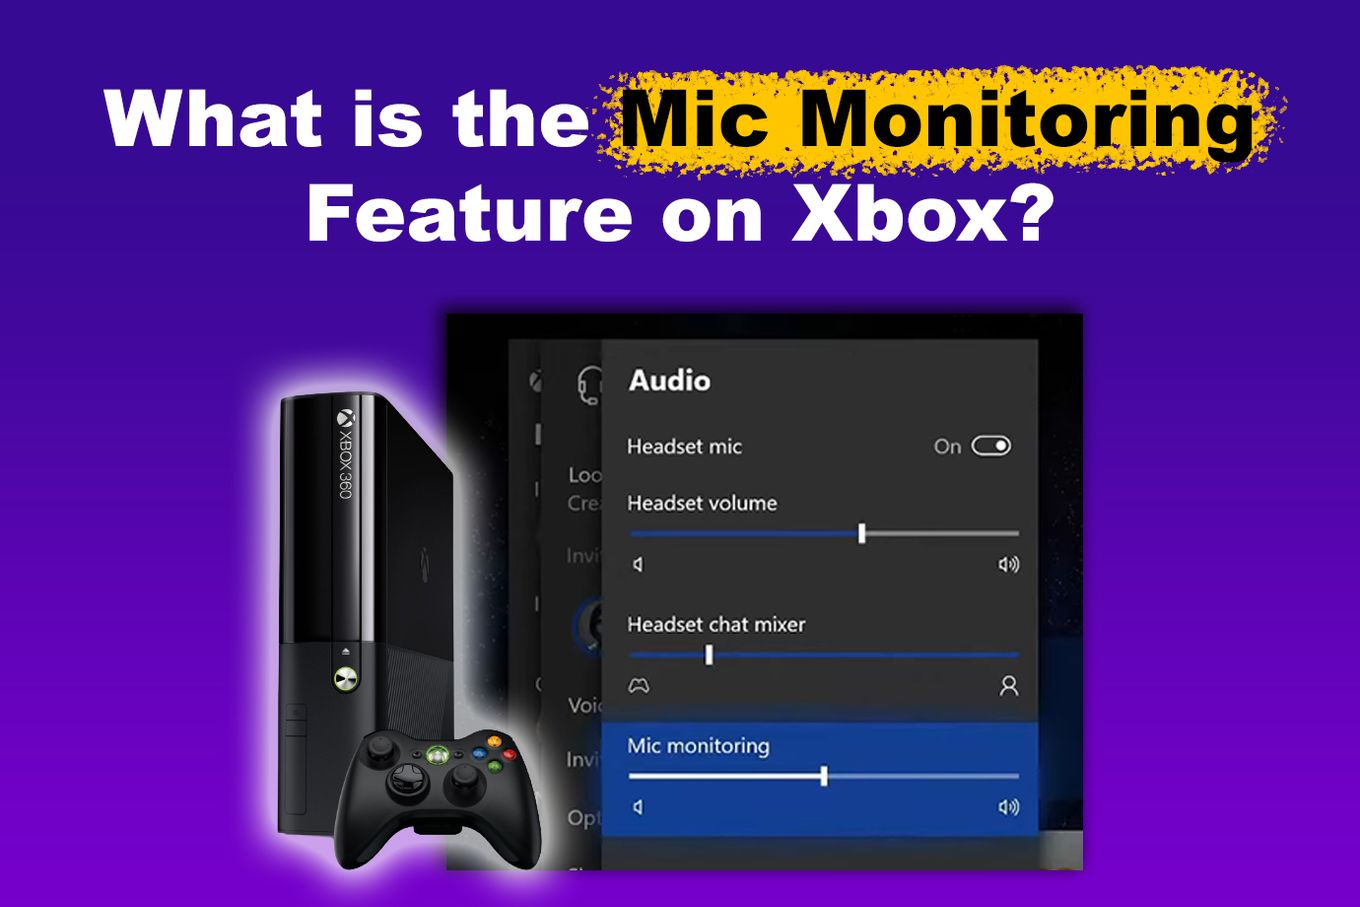
Many gaming headsets include a feature called sidetone. Sidetone lets you hear your voice inside the headset while you speak.
You may control it through:
• A button on the headset
• A dial on the headset cable
• A console audio menu
• Headset software on Windows or macOS
• A brand-specific control panel
Search the headset software for terms such as Mic Monitoring, Sidetone, Voice Feedback, or Mic Playback. Start with a low setting. A small amount is often enough to make your voice feel natural.
On Xbox and PlayStation, the exact menu names vary by headset and system version. Check the headset controls first, then review the console’s audio settings.
If the sidetone option is missing, the headset may not support microphone monitoring. In that case, use a headset with built-in sidetone or connect a microphone through an interface that supports direct monitoring.

Why Does My Mic Sound Delayed?
A delayed voice is usually caused by software monitoring. The microphone signal travels into the computer, gets processed by an app, and then returns to your headphones.
Common causes include:
• High buffer settings
• Audio effects
• Noise suppression
• Bluetooth audio
• Video or streaming software
• Multiple audio devices
• Virtual audio cables
Bluetooth headphones often add more delay than wired headphones. They are convenient for music and calls, but they may feel slow for live voice monitoring.
To reduce delay:
- Use wired headphones.
- Turn on direct monitoring on your interface.
- Lower the audio buffer size in your recording app.
- Disable unnecessary effects.
- Close extra audio programs.
- Use one microphone input and one headphone output.
- Avoid monitoring the same signal through two apps.
A tiny delay may be acceptable for a video call. It is more distracting for singing, gaming, or fast live commentary.

How to Prevent Echo and Feedback
Echo happens when your microphone captures sound from your speakers or when the same voice signal plays through two monitoring paths.
Feedback occurs when the microphone picks up its own amplified sound and sends it back into the system. This can create a loud ringing noise.
Use these steps to prevent both problems:
• Wear closed-back headphones.
• Keep speakers muted while monitoring.
• Place the microphone away from the speakers.
• Use only one monitoring method.
• Lower your headphone volume.
• Turn off mic monitoring in either the app or the interface if both are active.
• Check whether your streaming software is monitoring the mic twice.
If someone on a call hears an echo, the problem may be on their side. Ask them to use headphones and lower their speaker volume. Echo cancellation can help, but good device placement is usually the better fix.

How to Get Better Mic Monitoring Quality
Hearing your own mic is not only about turning on a setting. Your room, microphone position, and input level also affect what you hear.
Try these practical improvements:
Keep the microphone close
Place the mic about 4 to 8 inches from your mouth, depending on the microphone type. A closer position can make your voice fuller, but it may also increase breath sounds and popping.
Use a pop filter
A pop filter reduces strong bursts from words that begin with “P” and “B.” It also helps protect the microphone from moisture.
Speak across the mic
Do not aim your mouth directly at the capsule unless the microphone design calls for it. Speaking slightly across the mic can reduce harsh breath noise and plosives.
Set a healthy input level
Speak at your loudest normal level. Adjust gain so the signal stays clear without reaching the red zone. Leave some headroom for sudden laughs, shouts, or excited speech.
Treat the room
Hard walls can make your voice sound bright and hollow. Curtains, rugs, bookshelves, and soft furniture can reduce reflections. You do not need a costly studio to improve a small room.
Test before going live
Record 20 to 30 seconds of speech. Listen for delay, hiss, echo, clipping, and background noise. A short test can prevent a long and frustrating recording session.
Common Problems and Simple Fixes
I cannot hear my own mic
Check that monitoring is enabled. Then confirm that your headphones are connected to the correct device and that the app has microphone permission.
My voice is too loud
Lower the monitoring volume first. If the recording or call is also too loud, reduce microphone gain or input volume.
My voice sounds robotic
This may come from an audio effect, unstable Bluetooth connection, low system resources, or conflicting audio software. Turn off effects and test with wired headphones.
My voice is doubled
Two monitoring paths are active. Turn off monitoring in either the recording app, operating system, headset software, or audio interface.
My mic works, but the app cannot hear it
The app may use the wrong input device. Open its audio settings and select the connected microphone instead of the default system input.
I hear static or hiss
Move the microphone and USB cable away from power adapters. Try another USB port, reduce gain, and test a different cable. Some low-cost microphones also produce more self-noise than professional models.
My voice cuts out
Automatic noise gates and input sensitivity controls may be removing quiet words. Reduce the gate threshold or turn off automatic sensitivity and test again.
Is It Safe to Hear Your Own Mic for Long Periods?
Microphone monitoring is generally safe when the headphone level is comfortable. The main risk is excessive volume, not the monitoring feature itself.
Start with the lowest useful volume. If your ears feel tired, muffled, or irritated, take a break and lower the level. Audio safety guidance commonly recommends limiting both loudness and listening time.
Keep an eye on warning signs:
• Ringing in your ears
• Ear pain
• Muffled hearing
• Headaches
• Needing to raise the volume often
Your microphone does not need to sound loud in your headphones to sound good in a recording. Clear sound comes from proper gain, microphone placement, and controlled room noise.
Frequently Asked Questions About How to Hear Your Own Mic
How do I hear my own mic in real time?
Turn on microphone monitoring in your operating system, recording app, headset software, or audio interface. For the lowest delay, use an audio interface with direct monitoring and wired headphones.
Why can I hear my own mic with an echo?
You likely have two monitoring paths active, or your microphone is picking up sound from speakers. Turn off one monitoring option and use headphones instead of speakers.
Can I hear my own mic without an audio interface?
Yes. Windows has a “Listen to this device” setting, and many apps offer input monitoring. However, software monitoring may add a delay.
How do I hear my own mic in Discord?
Open Discord’s Voice & Video settings and use the Mic Test feature. For ongoing monitoring, use headset sidetone or an audio interface with direct monitoring.
Is mic monitoring the same as recording?
No. Mic monitoring sends your live voice to your headphones, while recording saves the microphone signal for later playback. You can monitor a mic without saving a recording.
Why is my mic monitoring delayed?
The delay often comes from software processing, Bluetooth headphones, audio effects, or a large buffer size. Use wired headphones and direct monitoring to reduce it.
Should I use speakers when monitoring my microphone?
No. Speakers can send your voice back into the microphone and create echo or feedback. Headphones are the safer choice for live mic monitoring.
Conclusion
Learning how to hear your own mic starts with choosing the right monitoring path. Windows and recording apps can provide software monitoring, while a gaming headset may offer sidetone and an audio interface can provide near-zero-latency direct monitoring.
Use headphones, enable only one monitoring method, keep your input level below clipping, and test before recording or streaming. Start with a low listening volume and adjust one control at a time. Try the method that matches your setup today, then explore your device’s audio settings for even cleaner results.
