

Most PC microphone problems come from muted settings, wrong input selection, loose connections, or outdated audio drivers.
If your PC mic is not working, you can often fix it in a few minutes by checking the hardware, Windows settings, app permissions, and audio drivers in the right order. This guide explains how to fix PC mic problems on desktops, laptops, USB microphones, headsets, and Bluetooth devices, with simple steps that work for most setups.
Start with the Basic Microphone Checks
Before changing system settings, check the microphone itself. Many “broken” mics are simply muted, unplugged, or connected to the wrong port.
Use this quick checklist:
- Check the mute button on the microphone, headset cable, or keyboard.
- Make sure the microphone plug is fully inserted.
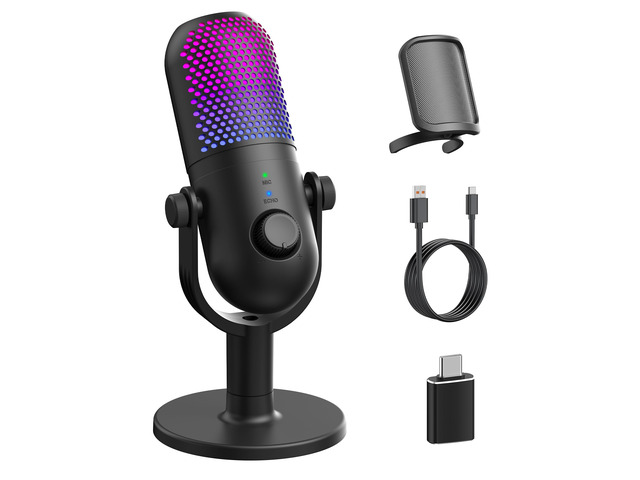
- Try another USB port if you use a USB microphone.
- Connect a 3.5 mm headset to the correct jack. A microphone jack may use a pink icon or a small microphone symbol.
- Check whether your headset has separate headphone and microphone plugs.
- Move the microphone closer to your mouth.
- Remove any dust or debris from the port.
- Restart the computer after reconnecting the device.
If you use a wireless headset, charge it first. Then confirm that it is powered on and connected to the PC. Bluetooth devices can remain connected to a phone or tablet, which prevents the computer from using them.
I once spent several minutes changing Windows settings for a headset that had a simple inline mute switch turned on. Physical checks should always come first. They are fast, safe, and often solve the problem immediately.
Select the Correct Microphone in Windows
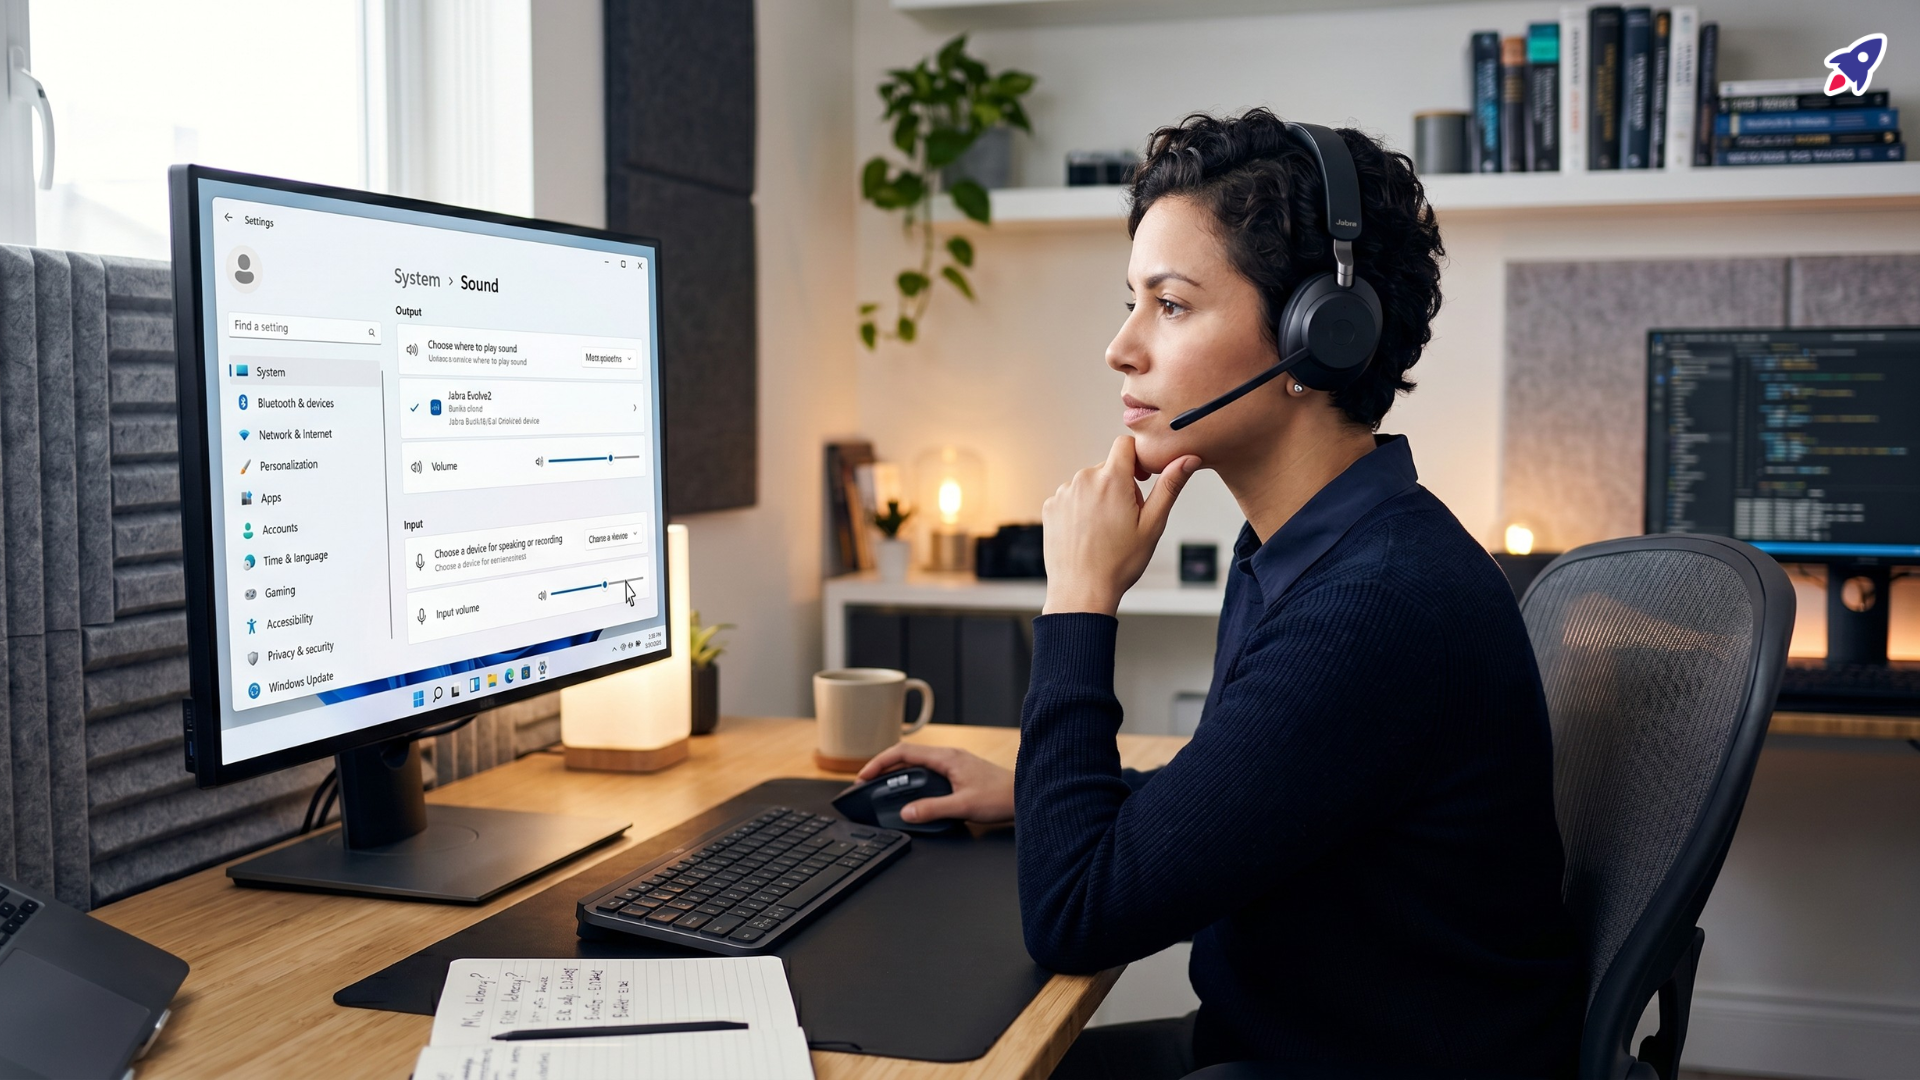
Windows may detect several recording devices at once. For example, your PC may list a laptop mic, webcam mic, headset mic, monitor mic, and USB mic. If Windows selects the wrong one, other people may hear silence.
Follow these steps:
- Press Windows + I to open Settings.
- Select System.
- Choose Sound.
- Find the Input section.
- Open the device list under “Choose a device for speaking or recording.”
- Select the microphone you want to use.
- Speak and watch the input volume meter.
If the meter moves, Windows is receiving sound. Your microphone may be working even if a particular app cannot hear you.
You can also open the microphone properties and raise the input volume. A low input level can make your voice sound extremely quiet. Avoid setting it too high, because a high level may cause clipping, distortion, or background noise.
For more control, open the classic Sound settings:
- Search for Control Panel.
- Select Hardware and Sound.
- Choose Sound.
- Open the Recording tab.
- Right-click your microphone.
- Select Set as Default Device.
- Select Set as Default Communication Device.
This step is one of the most reliable ways to fix PC mic problems when several audio devices are installed.
Allow Microphone Access in Windows
Privacy controls can block your microphone even when the device works correctly. Windows lets you control which apps can access recording hardware.
To check microphone permissions:
- Open Settings.
- Select Privacy & security.
- Choose Microphone.
- Turn on “Microphone access.”
- Turn on “Let apps access your microphone.”
- Turn on access for the app you want to use.
- Turn on desktop app access if you use programs such as Discord, Zoom, Teams, or a web browser.
If the app does not appear in the list, it may be a desktop app. In that case, the desktop app access option is the setting that matters.
Close and reopen the app after changing permissions. Some programs check microphone access only when they start. Restarting the app gives it a fresh connection to the device.
Privacy settings are useful, but they can feel confusing. They act like a locked door: your microphone may be ready, but the app cannot enter until you grant permission.
Test the Microphone with Windows Sound Recorder
A built-in recording test helps you find out whether the issue comes from Windows or from a specific application.
Open the Sound Recorder app from the Start menu. Record yourself speaking for about ten seconds, then play the recording.
If you hear your voice, the microphone and Windows are likely working. The problem may be inside the app you were using. Check that app’s audio settings and select the same microphone you selected in Windows.
If the recording is silent, continue with these checks:
- Confirm that the correct input device is selected.
- Raise the input volume.
- Check microphone permissions.
- Reconnect the microphone.
- Test another USB port.
- Try the microphone on another computer.
Testing another computer is especially useful. If the microphone works elsewhere, your PC settings or drivers are probably the cause. If it fails on several devices, the microphone, cable, or adapter may be damaged.
This simple test prevents guesswork. It tells you whether you are dealing with a system problem, an app problem, or a hardware problem.

Check Your App’s Microphone Settings
Many communication apps have their own input settings. An app may ignore the Windows default and use a different microphone.
Open the audio or voice settings in your app. Look for an option called Input Device, Microphone, Recording Device, or Voice Input.
Choose your actual microphone instead of “Default” if the default option causes trouble. Then speak and look for an input meter inside the app.
Common settings to check include:
- Input device selection
- Microphone volume
- Automatic input sensitivity
- Noise suppression
- Push-to-talk mode
- Voice activation
- Exclusive microphone access
Push-to-talk can make a working microphone seem broken. If this mode is active, the app sends your voice only while you hold a chosen key.
Browser calls may need extra permission. When a website asks to use your microphone, select Allow. You can also open the browser’s site permissions and confirm that microphone access is enabled for that website.
If you use Discord, Zoom, Teams, or another voice app, quit it completely before testing another program. Two apps may compete for the same audio device or apply different processing settings.
Update or Reinstall the Microphone Driver
A driver allows Windows to communicate with your sound hardware. A damaged, missing, or outdated driver can stop a microphone from working.
To update the driver:
- Right-click the Start button.
- Select Device Manager.
- Expand “Audio inputs and outputs.”
- Right-click your microphone.
- Choose Update driver.
- Select the automatic search option.
- Restart the PC after the update.
Also check the “Sound, video and game controllers” section. Your microphone may depend on the computer’s audio controller rather than a separate microphone driver.
If updating does not help, reinstall the device:
- Open Device Manager.
- Right-click the microphone.
- Select Uninstall device.
- Restart the computer.
- Let Windows detect the microphone again.
For a built-in laptop microphone, download audio drivers only from the computer manufacturer’s official support page. For a branded USB headset, use the manufacturer’s support page when a special driver or control app is required.
Avoid random driver websites. They may provide incorrect files, unwanted software, or unsafe installers. Official sources are the safer choice.
Run the Windows Audio Troubleshooter
Windows includes troubleshooting tools that can detect common recording problems. They may reset settings, identify disabled devices, or suggest a driver repair.
Open Settings, select System, choose Troubleshoot, and then open Other troubleshooters. Run the troubleshooter for Recording Audio.
Follow the suggested steps and test the microphone afterward. The tool cannot repair every hardware failure, but it can find simple configuration issues.
You can also restart Windows audio services:
- Press Windows + R.
- Type
services.msc. - Press Enter.
- Find Windows Audio.
- Right-click it.
- Select Restart.
- Repeat for Windows Audio Endpoint Builder if needed.
Use this method carefully. Do not change service startup settings unless you understand the effect. A restart is usually enough for a temporary audio service problem.
Fix a USB Microphone That Is Not Working
USB microphones are usually easy to install, but they can still fail because of power, port, or software problems.
Try these steps:
- Plug the microphone directly into the PC instead of a USB hub.
- Test both USB 2.0 and USB 3.0 ports.
- Disconnect other high-power USB devices.
- Try the microphone on another computer.
- Check whether a status light turns on.
- Remove and reinstall the microphone in Device Manager.
- Install the manufacturer’s control software only when necessary.
A USB hub may not provide stable power, especially when several devices share it. A direct connection removes that variable.
Some USB microphones have a gain knob, mute button, or headphone monitoring control. Check each one. A microphone can appear in Windows while its physical gain is set to zero.
If the microphone works in Windows but not in one app, the USB connection is probably fine. Focus on the app’s input device and permission settings.
Fix a Headset or 3.5 mm Microphone
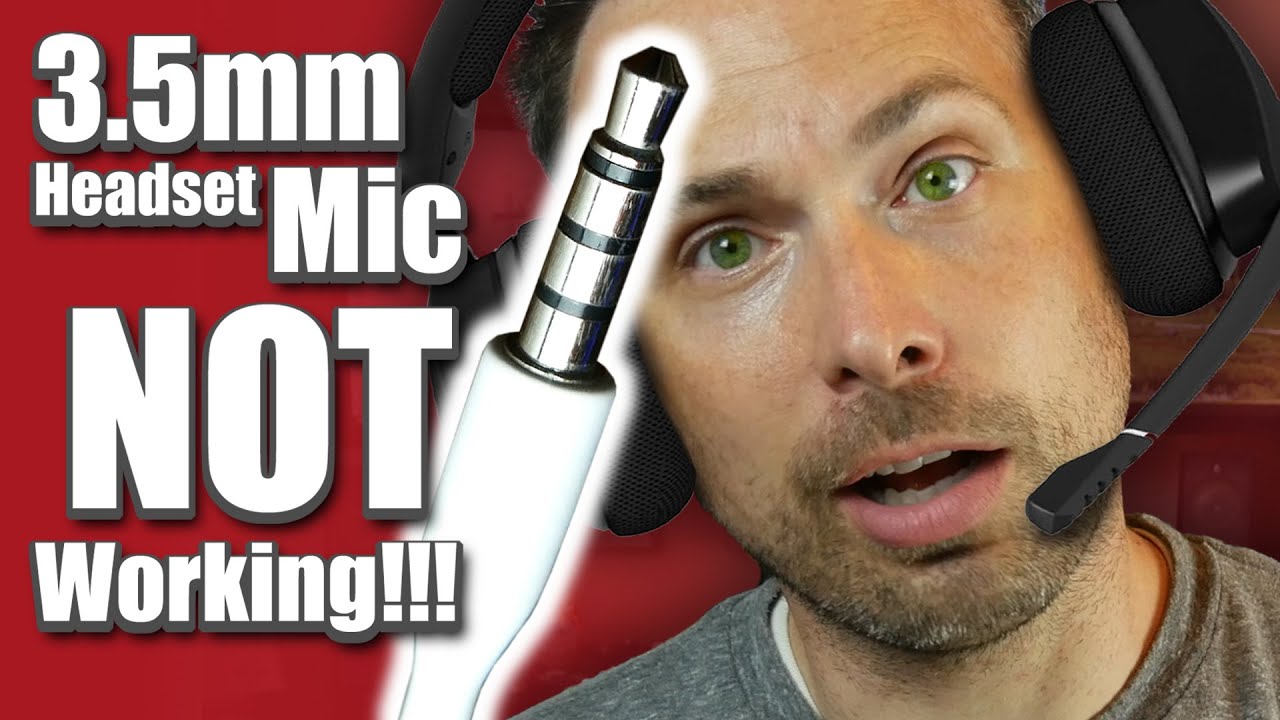
Headset microphones use different plug designs. A computer may have separate headphone and microphone ports, while a phone-style headset may use one combined TRRS plug.
If your PC has separate ports, you may need a headset splitter. Without the correct splitter, the headphones may work while the microphone does not.
Check these points:
- Confirm that the plug matches the port.
- Use a compatible headset splitter when required.
- Push the connector in fully.
- Test the headset on another device.
- Check for cable damage near the plug.
- Try a different headset on the same PC.
A loose plug can create a strange symptom: you may hear audio, but the microphone remains silent. Gently moving the plug while recording can reveal a damaged connector, but do not force it or bend the port.
On a desktop, the front audio ports may be connected poorly or disabled. Test the rear motherboard ports as well. This often helps fix PC mic problems caused by a faulty front-panel connection.
Fix a Bluetooth Microphone
Bluetooth headsets can use different audio profiles. High-quality stereo mode may not support microphone input in the same way as hands-free mode.
Start with these steps:
- Open Settings.
- Select Bluetooth & devices.
- Remove the headset.
- Restart the computer.
- Put the headset into pairing mode.
- Add it again.
- Select it as the Windows input device.
Keep the headset close to the PC during pairing. Turn off Bluetooth on nearby devices if the headset keeps connecting to the wrong device.
Some Bluetooth adapters and older headsets have limited support for microphone calls. If the headset works for listening but not speaking, test a USB receiver or wired connection. This is a limitation of the Bluetooth hardware or profile, not always a Windows fault.
Reduce Echo, Static, and Low Microphone Volume
A microphone may technically work but still sound poor. Echo, static, and low volume often come from placement, gain, or monitoring settings.
Try these improvements:
- Place the microphone 4 to 8 inches from your mouth.
- Speak toward the correct side of the microphone.
- Lower the gain if your voice sounds distorted.
- Raise the input level if your voice is too quiet.
- Use headphones to prevent speaker feedback.
- Move the microphone away from fans and power adapters.
- Disable audio effects that make your voice sound unnatural.
- Turn off microphone monitoring if you hear your own delayed voice.
Do not place the microphone directly in front of a loud laptop fan. Move it to the side and use a simple pop filter if plosive sounds are a problem.
Static can come from a damaged cable, poor USB power, electrical interference, or a failing audio jack. Test another cable, port, or computer before buying a new microphone.
In my own troubleshooting, lowering gain often fixes more problems than raising it. A microphone that is too sensitive captures keyboard clicks, fan noise, and room echo along with your voice.
When the Microphone May Be Physically Damaged
Software fixes cannot repair a broken capsule, damaged cable, liquid damage, or failed USB circuit.
Your microphone may need replacement if:
- It is not detected on any computer.
- The cable works only when held at a certain angle.
- The device becomes unusually hot.
- The microphone has liquid or impact damage.
- Several known-good ports fail.
- Another microphone works correctly on the same PC.
Before replacing it, test a different cable when the cable is removable. Also check the warranty. Many reputable manufacturers provide support or replacement service for defective devices.
Do not open a powered microphone unless you have the right technical skills. Internal parts can be delicate, and opening the case may cancel warranty coverage.
A Simple Order for Troubleshooting
When you need to fix PC mic issues quickly, follow this order:
- Check the mute button and cable.
- Confirm the correct physical port.
- Select the correct input in Windows.
- Allow microphone permissions.
- Test with Sound Recorder.
- Check the app’s microphone settings.
- Restart audio services.
- Update or reinstall the driver.
- Test another port or computer.
- Replace the device only after these checks.
This order moves from fast, low-risk checks to deeper repairs. It also helps you avoid changing several settings at once, which can make the real cause harder to find.
Write down what you changed if the problem is complex. A small note can save time when you need to undo a setting or explain the issue to technical support.
Frequently Asked Questions About How to Fix PC Mic
Why is my PC mic not working but headphones are?
Headphones and microphones use separate audio paths, even when they share one headset. Check the input device, microphone permissions, mute switch, and headset splitter before replacing the headset.
How do I enable my microphone on Windows?
Open Settings, select Privacy & security, choose Microphone, and turn on microphone access. Then enable access for apps and desktop programs that need to record your voice.
Why does my microphone work in Windows but not in Discord or Zoom?
The app may be using a different input device or may not have microphone permission. Open the app’s audio settings, select the correct microphone, and restart the app after changing permissions.
How can I fix a very quiet PC microphone?
Open Windows sound settings and raise the input volume. Move the microphone closer, check its gain control, and reduce background noise from fans, speakers, and other devices.
Why is my USB microphone not detected?
Try another USB port and connect the microphone directly to the computer. If Windows still does not detect it, test it on another computer and reinstall its device entry in Device Manager.
Can a driver update fix my PC microphone?
Yes, a damaged or outdated audio driver can prevent recording. Update or reinstall the driver through Device Manager, and use the computer or microphone maker’s official support page when a manual driver is needed.
[CodeImg not included per instructions]
Conclusion
Most PC microphone problems come from simple causes: a mute switch, the wrong input device, blocked permissions, a bad connection, or a driver issue. Start with physical checks, test the microphone in Windows, and then review the settings inside your communication app.
Use the troubleshooting order in this guide to fix PC mic problems without changing random settings. If the microphone fails on several computers, check the cable and warranty before buying a replacement. Try these steps today, and share your result or question in the comments.
