

Connect a dynamic mic to a PC with USB, or use an audio interface for an XLR microphone.
Learning how to connect a dynamic mic to PC is simple once you identify the microphone’s connector and choose the right audio device. I have set up dynamic microphones for calls, streaming, podcasts, and voice recording, and the same few mistakes appear again and again: weak gain, the wrong adapter, and incorrect Windows input settings. This guide shows each setup path, explains what you need, and helps you get clean, strong sound without buying gear you do not need.

Identify Your Dynamic Microphone
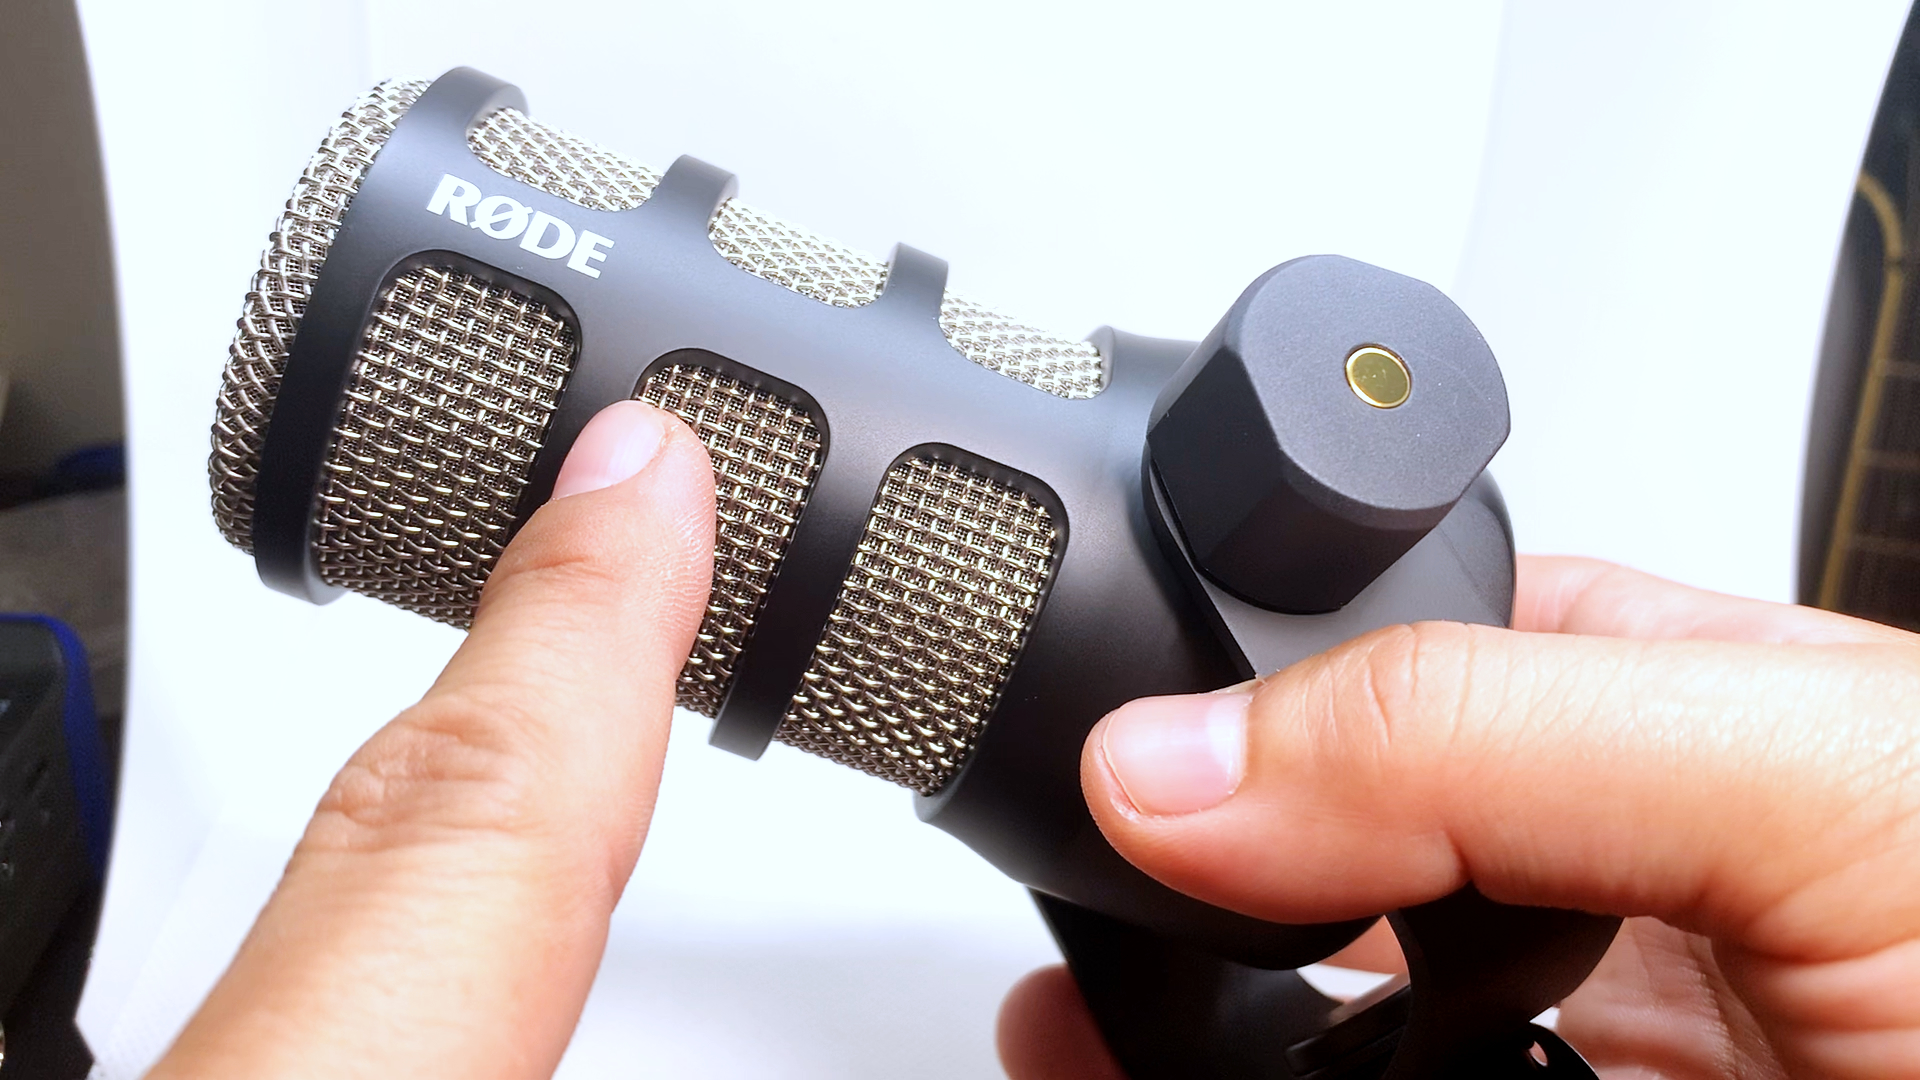
A dynamic microphone changes sound into an electrical signal through a moving coil and diaphragm. It is often strong, durable, and useful for speech, singing, instruments, and untreated rooms.
Before learning how to connect a dynamic mic to PC, check the connector on the microphone.
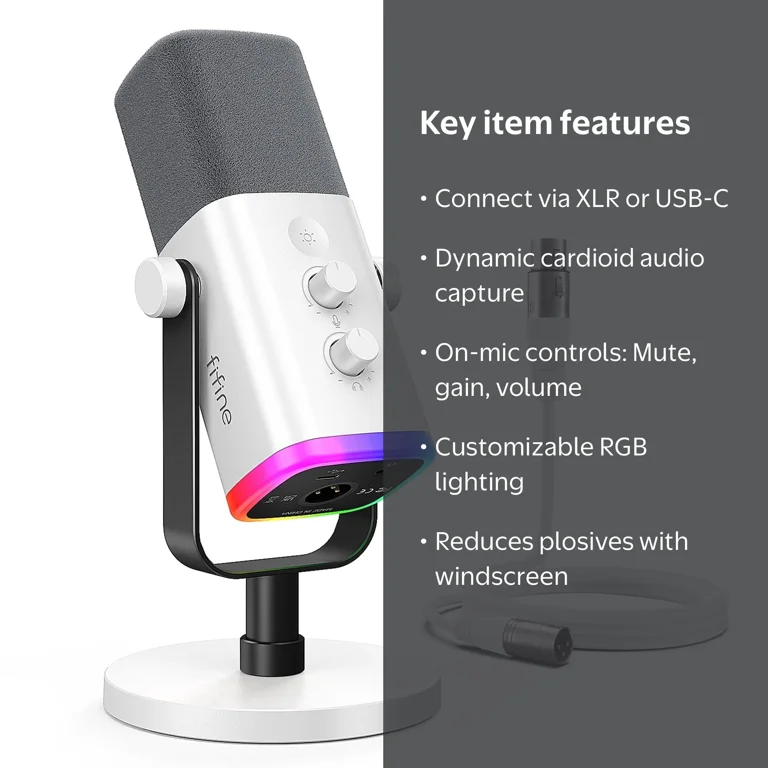
USB dynamic microphone
A USB dynamic mic has a USB port built into the microphone. It contains its own analog-to-digital converter and microphone preamp.
You can connect it directly to your computer with a suitable USB cable. This is the easiest option for beginners.
XLR dynamic microphone
An XLR dynamic mic has a round, three-pin connector. It sends an analog signal and needs another device to convert that signal for your PC.
You normally need one of these:
• A USB audio interface
• A USB mixer
• A dedicated XLR-to-USB adapter
An XLR microphone cannot usually connect directly to a computer’s USB port with a basic cable. The PC needs an audio converter and a preamp between the microphone and the computer.
3.5 mm dynamic microphone
Some compact microphones use a 3.5 mm plug. These may connect to a computer’s microphone jack, but desktop PCs often use separate headphone and microphone ports.
A simple headset splitter may solve the port problem. However, sound quality and microphone volume can vary because built-in computer microphone inputs are not designed for every dynamic mic.

What You Need to Connect a Dynamic Mic to a PC
The equipment depends on your microphone type. Buying the right signal path matters more than buying the most expensive microphone.
For a USB dynamic mic, you need:
• The microphone
• A compatible USB cable
• An open USB port
• Recording or communication software
For an XLR dynamic mic, you need:
• The XLR microphone
• A standard male-to-female XLR cable
• A USB audio interface, mixer, or XLR-to-USB adapter
• A USB cable for the interface
• Headphones for monitoring
For a 3.5 mm microphone, you may need:
• A 3.5 mm microphone cable
• A headset splitter for separate PC ports
• A USB sound card if the built-in port is noisy or too weak
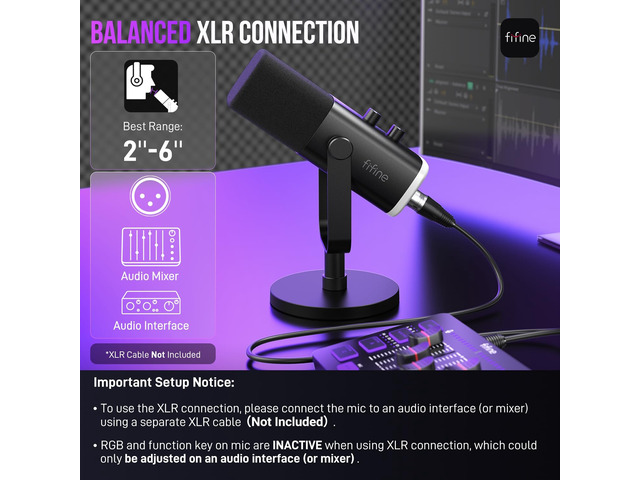
A balanced XLR cable is usually the best choice for an XLR dynamic mic. It helps reduce electrical noise, especially when the cable runs near a computer, monitor, power brick, or other electronics.

How to Connect a USB Dynamic Mic to PC
This is the fastest way to get started. A USB dynamic microphone works like a small external sound card.
Follow these steps:
- Place the microphone on a stable stand or boom arm.
- Connect the USB cable to the microphone.
- Connect the other end to a USB port on your PC.
- Wait for Windows to detect the device.
- Open your sound settings.
- Select the USB microphone as the input device.
- Open your recording app and choose the same microphone.
- Speak from about 4 to 8 inches away.
- Adjust the input level until your voice sounds clear and does not clip.
Use a direct USB port when possible. Avoid cheap hubs during setup because some hubs can cause connection drops or power problems.
If the microphone has a headphone jack, connect headphones to it for low-latency monitoring. This lets you hear your voice before it travels through the recording software.
When I test a USB mic, I first record ten seconds of speech in Windows Sound Recorder. This simple test separates hardware problems from app settings. If the test recording sounds clear, the microphone is working and the issue is likely inside your streaming, meeting, or recording software.
How to Connect an XLR Dynamic Mic to PC
An XLR dynamic mic needs an audio interface or another device that converts the analog signal into digital audio.
Use this setup:
- Plug the female end of the XLR cable into the microphone.
- Plug the male end into the interface’s microphone input.
- Connect the interface to your PC with USB.
- Turn on the interface if it has a power switch.
- Select the interface as the input device in Windows.
- Select the interface in your recording or streaming software.
- Turn the gain knob up while speaking normally.
- Watch the input meter and keep the signal below the red or clipping area.
- Connect headphones to the interface if you want direct monitoring.
The microphone may need more gain than you expect. Dynamic microphones often produce a lower output than condenser microphones, so the interface preamp must work harder.
Do not confuse gain with volume. Gain controls the strength of the signal before recording. Volume controls how loud you hear the signal later. Set gain carefully first, then adjust listening volume.
A useful starting point is to speak at your normal distance and set peaks around minus 12 to minus 6 decibels in your recording software. The exact meter scale may differ, but avoiding the red zone is the key goal.

Do You Need Phantom Power?
Most passive dynamic microphones do not need phantom power. Phantom power sends 48 volts through an XLR connection to operate many condenser microphones.
Turn phantom power off when using a normal passive dynamic mic unless the manufacturer says it is safe or required. A properly wired balanced XLR cable usually protects a standard dynamic mic, but there is no reason to add power when the microphone does not need it.
Some active dynamic microphones use internal electronics and may require phantom power. Always check the user manual for that specific model.
Ribbon microphones need extra care. Many modern active ribbon microphones can accept phantom power, while traditional passive ribbon microphones may be damaged by faulty cables or incorrect connections. If you use a ribbon microphone, follow the manufacturer’s instructions closely.
How to Connect a Dynamic Mic to PC Without an Audio Interface
You can connect an XLR microphone without a full audio interface by using an XLR-to-USB adapter. This adapter contains a small preamp and audio converter.
The basic setup is:
• Connect the microphone to the adapter with an XLR cable.
• Connect the adapter to your PC with USB.
• Select the adapter as your input device.
• Set the adapter’s gain if it has a control.
This option is useful for a single microphone and a small desk setup. It may cost less than a full interface, but it often provides fewer controls, weaker headphone monitoring, and less upgrade room.
Avoid passive XLR-to-3.5 mm cables that claim to connect any professional microphone directly to a computer. A cable can change the plug shape, but it cannot provide enough preamp gain or proper signal conversion. The result may be very quiet, noisy, or completely silent.
In practical testing, a real USB adapter performs much better than a passive cable because it handles the microphone’s electrical signal correctly. This is one of the most common lessons when learning how to connect a dynamic mic to PC.

Set Up the Microphone in Windows
After the physical connection works, configure Windows so your apps can use the correct input.
On Windows 11:
- Open Settings.
- Select System.
- Select Sound.
- Find the Input section.
- Choose your USB microphone or audio interface.
- Open the device properties.
- Set the input volume.
- Use the test function to check your voice.
On Windows 10, open Settings, choose System, select Sound, and choose the microphone under Input.
You can also open the classic sound panel by searching for “Change system sounds.” Under the Recording tab, choose the microphone, open Properties, and review the Levels and Advanced tabs.
If several microphones are connected, set the correct device as the default input. Your meeting or recording app may still use its own device setting, so check that app separately.
For sample rate, 48 kHz is common for video, streaming, and online meetings. 44.1 kHz is common for music production. The microphone and software should use matching settings when possible.

Configure Your Recording or Streaming App
Selecting the microphone in Windows may not be enough. Many apps let you choose a separate input device.
In your app’s audio settings:
• Choose the USB microphone or audio interface.
• Set the input level so your voice is clear.
• Disable automatic gain if it causes sudden volume changes.
• Turn off unnecessary audio effects during your first test.
• Record a short sample before going live.
For streaming software, add an audio input source and select the correct device. For video calls, open the app’s microphone menu and choose the same input.
Listen for delay if you use software monitoring. A small delay can make speaking feel unnatural, like hearing an echo in a large room. Direct monitoring through an audio interface or the headphone output on a USB mic usually reduces this delay.
Improve Sound Quality After the Connection
Knowing how to connect a dynamic mic to PC is only the first step. Mic position has a major effect on sound quality.
Try these practical adjustments:
• Point the front of the microphone toward your mouth.
• Keep the mic 4 to 8 inches away.
• Speak slightly across the microphone instead of directly into it.
• Use a pop filter or foam windscreen.
• Keep the mic on a stand instead of holding it.
• Place the mic away from your keyboard and PC fan.
• Use a quiet room with curtains, rugs, or soft furniture.
A dynamic microphone often works best when it is close to the speaker. This increases the direct voice signal and reduces room sound. It also creates a fuller voice, but moving too close can cause excessive bass through the proximity effect.
Use a steady speaking distance. Moving closer and farther away can make your voice change in volume and tone. A boom arm can help you maintain a consistent position during a podcast or stream.
Do not overuse noise suppression. Strong processing can remove room noise, but it may also make speech sound thin or robotic. Start with clean microphone placement before adding software filters.
Common Problems and Simple Fixes
The PC does not detect the microphone
Try a different USB port and reconnect the cable. Check whether the cable carries data, since some USB cables only provide power.
Restart the computer with the microphone connected. Then check Windows Sound settings and the app’s input menu.
The microphone is too quiet
Increase the interface or adapter gain. Move the microphone closer, but keep enough space to avoid pops and harsh breath sounds.
If an XLR mic remains quiet at maximum gain, the interface may not provide enough clean preamp power. An inline microphone booster can help, but it needs to match the interface and microphone setup.
The recording has static or buzzing
Try a different USB port, replace the XLR cable, and move the cable away from power adapters. Disconnect unnecessary devices one at a time to identify the source.
A balanced XLR connection usually rejects more interference than an unbalanced 3.5 mm connection. Ground loops can also cause hum when several powered devices are connected.
The voice sounds distorted
Lower the gain or input level. Distortion happens when the signal is too strong and clips before or during recording.
Watch the input meter while speaking at your loudest normal level. A healthy signal should be strong but should not remain in the red area.
The microphone works in Windows but not in an app
Open the app’s audio settings and select the microphone manually. Some programs keep using a previously selected webcam, headset, or laptop microphone.
Also check microphone privacy permissions in Windows. The app must have permission to access the microphone.
Mistakes to Avoid
The most common mistake is buying a cable instead of buying the correct signal converter. An XLR plug does not become a USB audio device just because the other end of a cable uses USB.
Avoid placing the microphone too far away. A good dynamic mic can sound weak if it sits several feet from your mouth.
Do not set gain by looking only at the knob. Different interfaces use different gain ranges. Set it while speaking and watch the recording meter.
Do not use heavy noise reduction before checking the room. Fans, air conditioners, and hard walls can create problems that software cannot fully repair.
Finally, test before an important call, interview, or live stream. I once found a silent input just before a recording because the meeting app had switched to a webcam mic after a Windows update. A 30-second test would have caught it immediately.
Choosing the Best Connection Method
The best way to connect a dynamic mic to PC depends on your goals, budget, and number of microphones.
Choose a USB dynamic mic if:
• You want the simplest setup.
• You record one voice at a time.
• You do not need many hardware controls.
• You want a compact desk setup.
Choose an XLR mic and USB interface if:
• You want better control over gain and monitoring.
• You may upgrade microphones later.
• You record instruments or multiple sources.
• You want a standard setup for podcasting or music.
Choose an XLR-to-USB adapter if:
• You need one XLR microphone on a small budget.
• You want fewer devices on your desk.
• You do not need multiple inputs or advanced routing.
USB is convenient, while XLR offers more flexibility. Neither connection automatically guarantees better sound. The room, microphone position, gain level, and speaking technique matter just as much.
How to Connect a Dynamic Mic to PC: Safety and Compatibility Tips
Check the microphone’s manual before enabling phantom power or using unusual adapters. This is especially important with ribbon microphones and active dynamic models.
Use cables that fit firmly. A loose XLR connector can create crackles, dropouts, or intermittent sound. Do not force a connector into a port.
Keep firmware and audio drivers updated when the manufacturer provides them. However, avoid installing random driver tools from unknown websites. Windows and the manufacturer’s official support pages are safer sources.
If your interface has a direct monitoring switch, learn what it does. Direct monitoring sends your voice straight to the headphones, while software monitoring sends it through the computer. Both can work, but direct monitoring usually has less delay.
Frequently Asked Questions About How to Connect a Dynamic Mic to PC
Can I plug an XLR dynamic microphone directly into my PC?
Usually, no. An XLR microphone needs a USB audio interface, USB mixer, or active XLR-to-USB adapter to provide preamp gain and digital conversion.
Can I connect a USB dynamic microphone directly to a computer?
Yes. Plug it into a compatible USB port, select it as the Windows input device, and choose it inside your recording or communication app.
Does a dynamic microphone need phantom power?
A typical passive dynamic microphone does not need phantom power. Leave it off unless the manufacturer says the microphone requires it.
Why is my dynamic mic so quiet on my PC?
The microphone may not receive enough preamp gain, or it may be too far from your mouth. Increase the interface gain, speak closer, and check that Windows and your app use the correct input device.
Can I use an XLR-to-USB cable with any dynamic mic?
Use an active XLR-to-USB adapter with built-in conversion and preamp circuitry. A passive cable may produce a very weak signal or no useful signal at all.
Is USB or XLR better for a dynamic microphone?
USB is easier and works well for one-person setups. XLR is more flexible and makes it easier to add microphones, mixers, and studio equipment later.
Conclusion
Connecting a dynamic mic to PC is easy when the signal path matches the microphone. A USB dynamic mic connects directly, while an XLR model needs an audio interface, mixer, or active XLR-to-USB adapter.
Choose the correct cable, select the right input in Windows and your app, set gain without clipping, and keep the microphone close to your mouth. Start with a short test recording before making an important call or stream.
Try your setup today, adjust the mic position, and explore your software’s monitoring and audio tools. If this guide helped, share your setup or leave a comment with the microphone and PC connection you use.
