

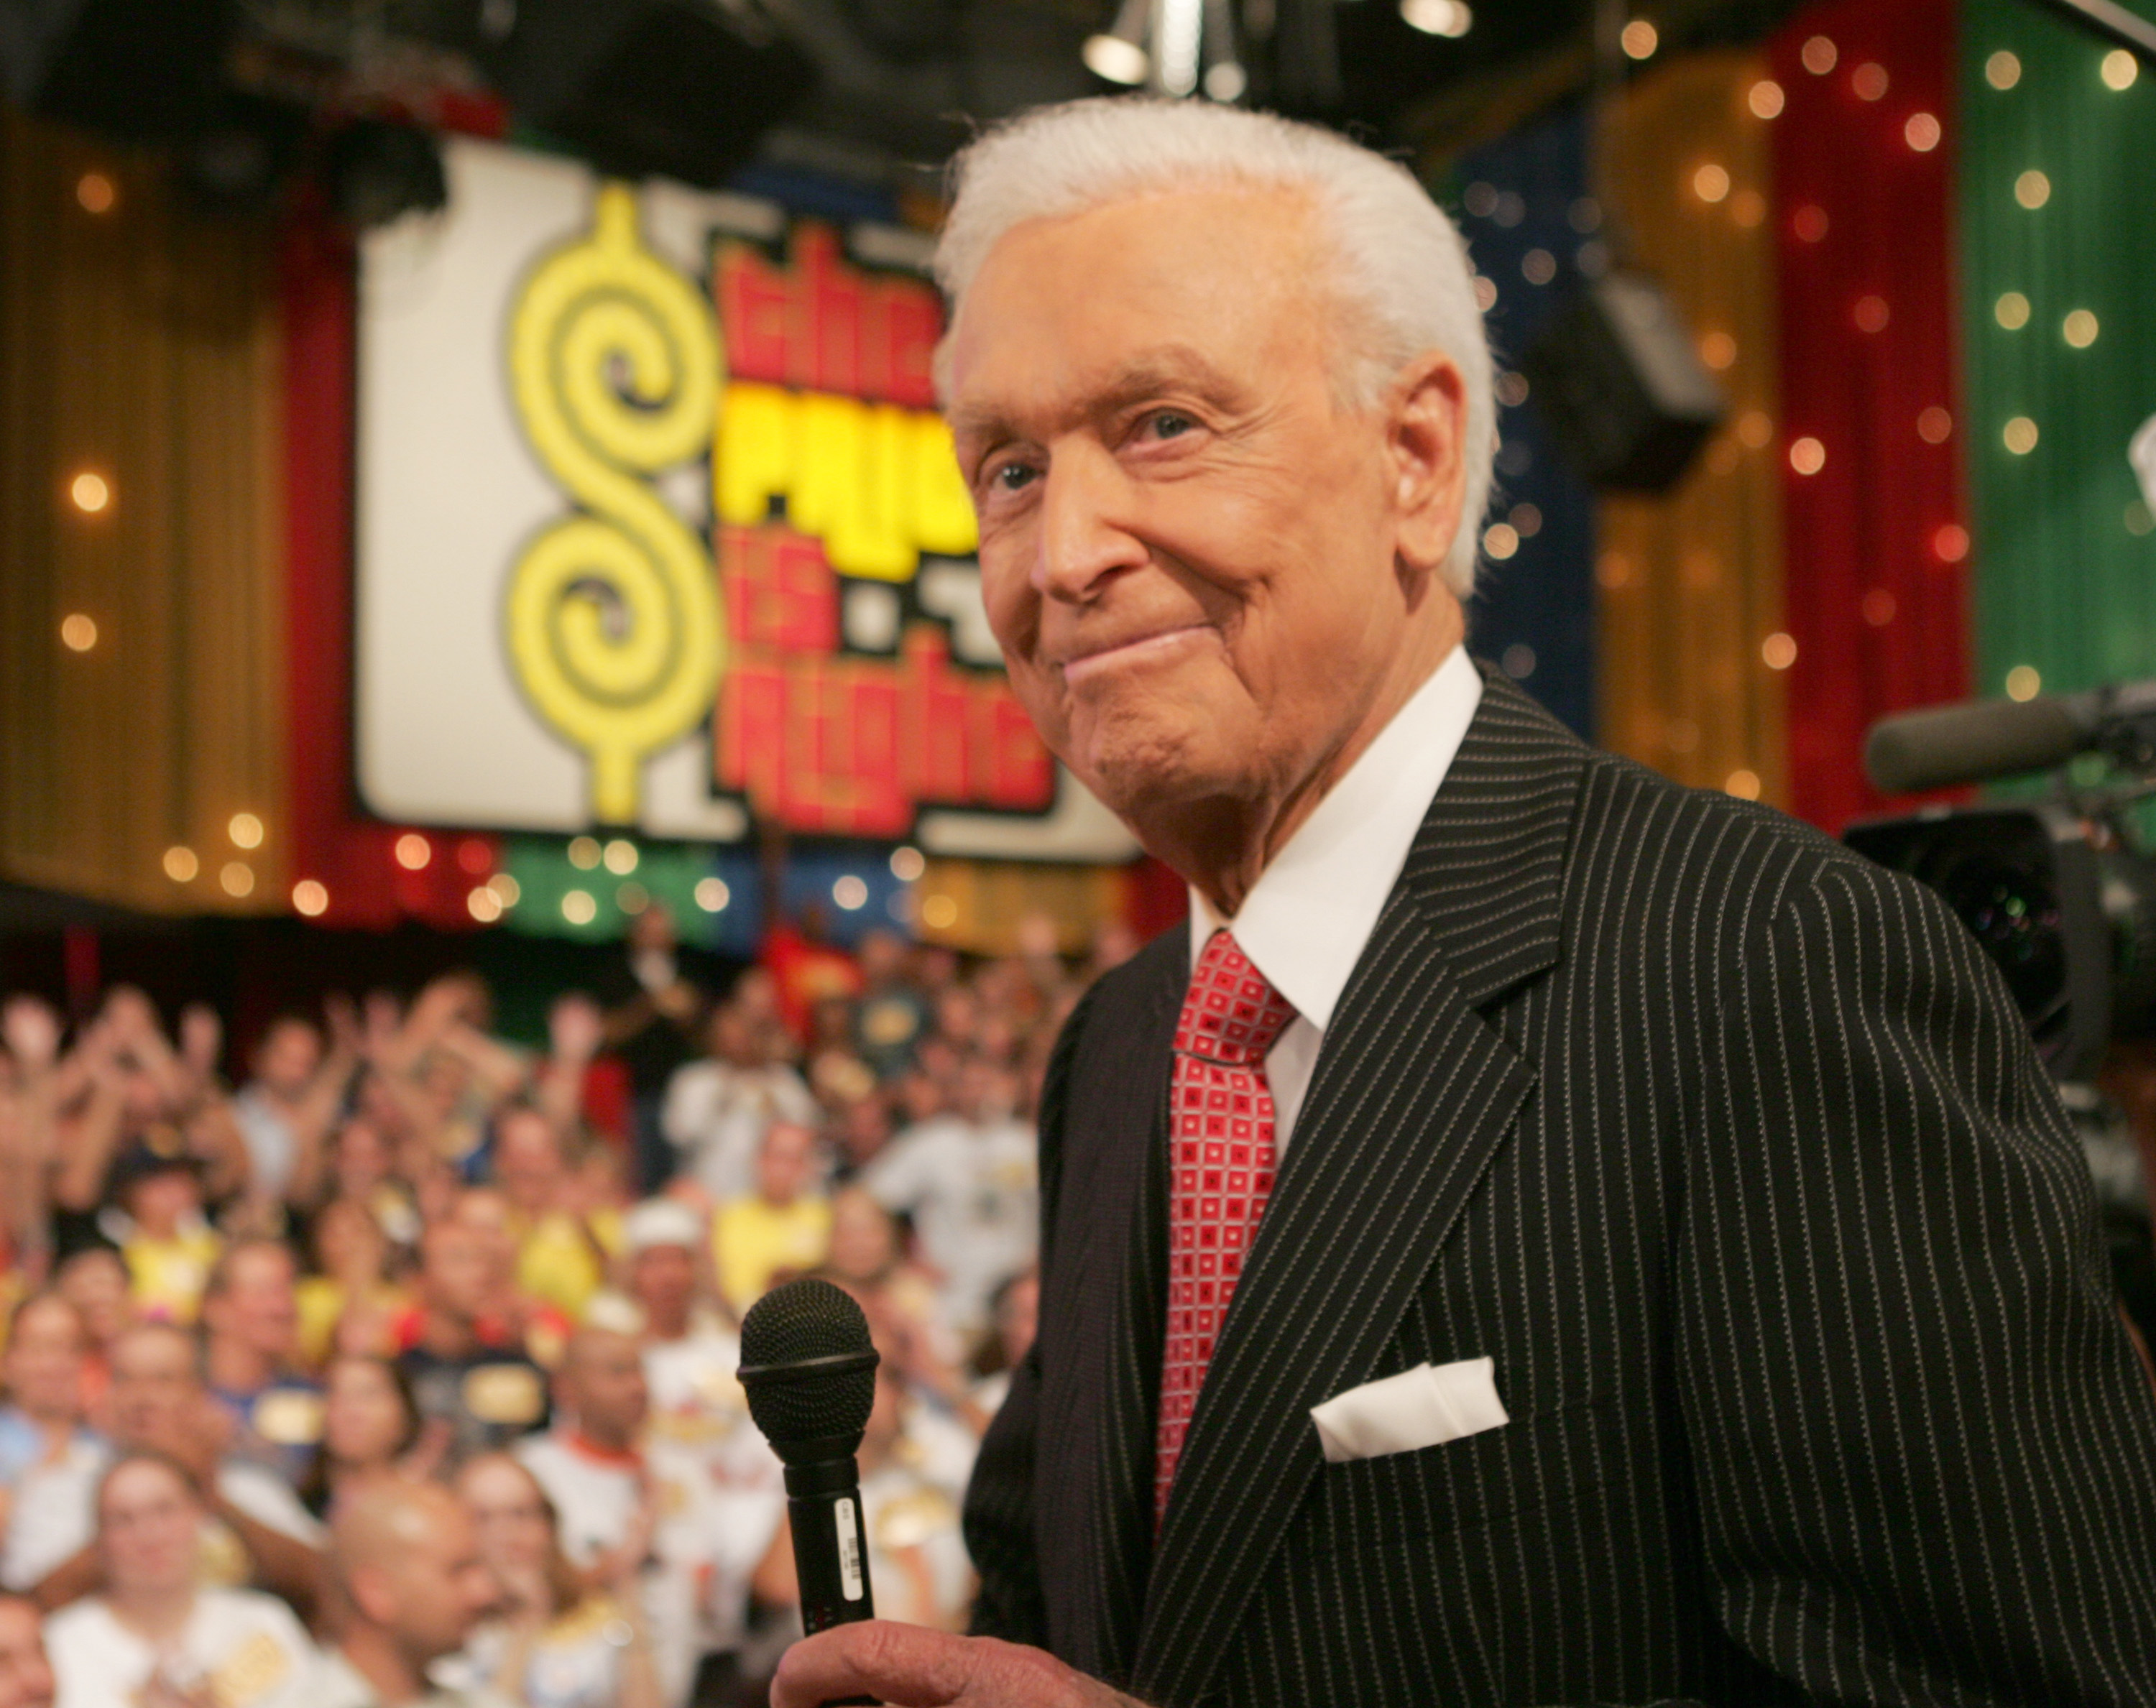
To make a Bob Barker-style microphone, build a handheld microphone with a rounded silver grille, a short silver collar, and a black tapered handle. You can make it as a lightweight stage prop or adapt an unused dynamic microphone for limited audio use. The design below is a visual tribute, not an official Bob Barker or The Price Is Right replica.
This guide is written for makers in the United States. It uses easy-to-find craft supplies, hardware-store parts, and common tools. Exact colors and shapes may differ from photos because there is no single public blueprint for every microphone seen on the show.

Choose Between a Prop Microphone and a Working Microphone
A prop microphone is the safest and simplest choice. It looks right from a few feet away, weighs little, and does not need audio parts.
A working microphone uses a real dynamic microphone inside the custom shell. It can send sound to a mixer, amplifier, or recording device, but the shell must leave the sound openings clear.
| Version | Best for | Main parts | Difficulty |
|---|---|---|---|
| Lightweight prop | Costume, theater, display, video | Foam, plastic, paint, glue | Easy |
| Working prop | Speaking, stage use, videos | Used dynamic microphone and custom cover | Moderate |
| Display replica | Shelf or photo prop | Plastic shell, filler, paint | Moderate |
For most people, the lightweight prop is the better starting point. It avoids damage to a real microphone and gives you more freedom with the shape.
Materials and Tools
Gather the parts before you begin. The exact size can change based on the microphone you use.
For a lightweight prop
- One foam ball or hollow plastic ornament, about 2 to 2.5 inches wide
- One short black cardboard tube, plastic tube, or foam handle
- Silver craft foam, silver vinyl, or metallic spray paint
- Black acrylic paint or matte black vinyl
- Thin cardboard or craft plastic for the collar
- Strong craft glue or hot glue
- Fine sandpaper
- Masking tape
- Pencil and ruler
- Craft knife or scissors
- Small amount of lightweight filler, such as paper or foam scraps
For a working microphone
- One unused handheld dynamic microphone
- A replacement microphone grille, if available
- Black heat-shrink tubing, vinyl, or removable tape
- Silver adhesive vinyl or metallic paint
- Thin foam sheet
- Small cable tie
- Screwdriver that fits the microphone housing
Do not use a valuable microphone for your first attempt. A replacement shell or inexpensive used microphone is easier to modify.
Tool and material notes
Use water-based acrylic paint for most foam and plastic parts. Some solvent-based paints can soften foam or release strong fumes.
If you use spray paint, work outdoors or in a well-ventilated area. Wear eye protection and follow the paint label. Keep hot glue, craft knives, and sharp plastic away from children.

Plan the Bob Barker-Style Shape
The visual design depends on three main parts:
- Rounded silver grille: This is the large upper section.
- Silver collar: This narrow band joins the grille to the handle.
- Black handle: This gives the microphone its strong contrast and familiar stage look.
The grille should appear wider than the handle. A handle that is too thick can make the microphone look like a flashlight. A grille that is too small can make it look like a standard karaoke microphone.
Use these measurements as a visual guide rather than an official pattern:
| Part | Suggested size |
|---|---|
| Grille width | 2 to 2.5 inches |
| Grille height | 2 to 2.75 inches |
| Collar height | 0.5 to 0.75 inch |
| Handle length | 4 to 6 inches |
| Handle width | 1 to 1.25 inches |
These dimensions are approximate. Measure your real microphone first if you are building around one.
Sketch the side view on paper. Mark the top, collar, handle, and cable exit. This simple drawing helps you spot balance problems before you cut anything.

How to Make the Lightweight Prop
This method creates a durable display or costume microphone without electrical parts.
1. Shape the grille
Start with a foam ball or hollow plastic ornament. If the shape is round, gently flatten the bottom so it can meet the collar.
For a more microphone-like form, cut away a small section from the bottom. Sand the cut edge until it is even. Do not make the wall too thin.
If you use a plastic ornament, check for sharp edges. Cover the inside edge with tape or foam. The grille should be smooth enough to hold during a costume or stage performance.
2. Add the silver grille surface
Cover the upper part with silver craft foam or silver vinyl. Smooth the material from the top down so the seam lands at the back.
You can also paint the grille silver. Apply two or three thin coats instead of one thick coat. Thick paint can fill the texture and create drips.
For a mesh effect, draw very fine curved lines with a dark gray paint marker. Keep the lines subtle. A bold grid can look less like a microphone grille and more like a sports helmet.
Do not use exposed wire mesh on a costume prop. The edges can scratch hands, faces, and clothing.
3. Build the collar
Cut a strip of thin cardboard or craft plastic. Wrap it around the bottom of the grille and mark the overlap.
Glue the strip into a short ring. Cover it with silver vinyl or paint it silver. The collar should hide the joint between the grille and handle.
Keep the collar straight. A slanted collar makes the microphone look crooked even when the handle is centered.
4. Make the handle
Cut a black tube to the desired length. A cardboard mailing tube, plastic craft tube, or dense foam cylinder can work.
If the handle is hollow, fill part of it with scrap foam or paper. This gives it weight without making it heavy. Leave room for a small amount of glue at each end.
Round the upper edge of the handle with sandpaper. The handle should meet the collar without a sharp corner.
Cover the handle with matte black vinyl or paint. Matte black usually looks closer to a stage prop than glossy paint.
5. Join the parts
Place the collar over the top of the handle. Test the fit before adding glue.
Apply glue inside the collar, not across the visible front. Press the grille into place and hold it until the glue sets.
If the prop feels top-heavy, add a small amount of clay or foam inside the bottom of the handle. Keep the weight low so the microphone remains comfortable to hold.
6. Add a cable only if needed
A short piece of black cord can suggest a microphone cable. Attach it to the bottom with glue or a small hole.
Do not connect the prop to a wall outlet, amplifier, or audio device. It has no electrical function.

How to Convert a Real Microphone
A working version needs a real microphone beneath the costume shell. The safest approach is to decorate the outside without blocking the grille or changing the internal wiring.
1. Start with a handheld dynamic microphone
A dynamic microphone is a common stage microphone type. It usually has a metal grille, a handle, and a cable or connector.
Choose a microphone with a removable grille if possible. This lets you change the look without covering the sound inlet.
Before modifying it, test the microphone with a mixer or audio interface. Record a short sample. This gives you a baseline if the sound changes later.
2. Protect the sound path
Never seal the grille with paint, vinyl, glue, or tape. The microphone needs an open path for sound.
If you add a decorative cover, use thin open material that does not press against the capsule. Keep the cover loose enough to remove.
A thick foam layer can reduce high-frequency sound. It may also create a dull or muffled voice. For a working microphone, decoration should stay on the outside of the housing.
3. Add the black handle finish
Remove the microphone grille only if the manufacturer’s design allows it and you can reinstall it safely.
Use removable black vinyl or a thin heat-shrink sleeve on the handle. Avoid wrapping over switches, vents, connector points, or threaded sections.
Do not use heat-shrink tubing near the microphone capsule unless you know the internal parts can tolerate heat. Excess heat can damage plastic parts and wiring.
4. Create the silver collar
A strip of silver vinyl can create the collar effect. Wrap it around the upper handle, below the grille.
Leave the grille threads and air openings clear. The collar should not prevent the grille from being removed for cleaning or repair.
If the original handle already has a silver band, clean it and use that part instead of adding a second layer.
5. Test the result
Connect the microphone to the same equipment used in your baseline test. Speak from the same distance and angle.
Listen for:
- Lower volume
- Muffled speech
- Rattling
- Feedback
- Intermittent sound
- A loose grille
- Cable noise
If the sound changes, remove the decorative layer first. Then check whether the grille is loose or blocked.
Paint and Finish the Microphone
The finish makes the difference between a quick craft and a convincing prop.
Use a bright silver for the grille and collar. Use matte or satin black for the handle. A high-gloss handle can look more like plastic than a broadcast microphone.
Apply paint in thin coats. Let each coat dry before adding the next. Mask the silver parts before painting the handle.
For extra depth, add a small amount of dark gray around the grille seam. This creates a shadow line and makes the grille look separate from the collar.
Avoid heavy weathering unless you want an aged prop. The clean, high-contrast look is usually more recognizable for a Bob Barker-inspired microphone.

Make the Grille Look More Realistic
A smooth silver ball may look too simple. You can add texture in several safe ways.
Option 1: Paint lines
Use a fine gray marker to draw curved lines around the grille. Keep the lines spaced evenly.
Option 2: Use textured fabric
Wrap a thin silver fabric around the foam form. Secure the seam at the back. Choose fabric with no loose sharp threads.
Option 3: Use a replacement grille
For a working microphone, a replacement grille made for that microphone model is the best fit. It may not match the exact television design, but it keeps the sound path and threads working as intended.
Do not drill random holes into a real microphone grille. The holes affect protection, airflow, and the capsule’s exposure to damage.

Troubleshoot Common Problems
Most problems come from poor balance, weak joints, blocked sound openings, or paint that does not match the surface.
| Problem | Likely cause | Fix |
|---|---|---|
| Grille falls off | Too little glue or a loose joint | Add an inner support ring |
| Prop feels top-heavy | Large grille or no handle weight | Add foam or clay low in the handle |
| Handle looks too wide | Tube is oversized | Sand it or use a narrower tube |
| Paint peels | Surface was dirty or glossy | Clean, lightly sand, and prime |
| Working mic sounds dull | Grille or foam blocks the capsule | Remove the cover and retest |
| Mic rattles | Loose filler or collar | Secure the inside parts |
| Silver finish looks flat | One thick coat or no contrast | Use thin coats and a dark seam |
| Handle bends | Weak cardboard tube | Add a foam or plastic inner core |
Test the prop before wearing it on stage. Hold it, swing it gently through normal gestures, and check every joint.
For a working microphone, test it at low volume first. A sudden feedback burst can be unpleasant and may damage speakers.

Safety and Legal Boundaries
Use the microphone as a tribute or costume prop, not as an official product.
Bob Barker’s name, likeness, and related show branding may be protected. Do not sell the item as an authorized Bob Barker microphone or use official logos without permission.
For personal use, a clearly labeled fan-made prop is less likely to confuse viewers. If you plan to sell it, use neutral wording such as “classic television game-show-style microphone” and avoid official marks.
Also follow these practical safety rules:
- Do not connect a nonfunctional prop to electrical equipment.
- Do not use sharp metal mesh on a handheld costume prop.
- Do not spray paint indoors without proper ventilation.
- Do not cover the grille of a working microphone.
- Do not modify a rented, borrowed, or valuable microphone.
- Do not use a heavy prop near children or crowded audiences.
- Store craft knives, glue guns, and paint away from children and pets.
If you are changing microphone wiring, ask a qualified audio technician for help. A cosmetic build does not require electrical work.

Estimated Cost and Build Time
The cost depends on whether you already own a microphone and tools.
| Build type | Typical materials | Estimated time |
|---|---|---|
| Basic foam prop | Foam, paint, tube, glue | 1 to 3 hours, plus drying |
| Detailed display prop | Plastic shell, vinyl, filler, paint | 3 to 6 hours |
| Working microphone cover | Used microphone, vinyl, replacement parts | 2 to 5 hours |
These are planning estimates, not fixed retail prices. Costs vary by store, material brand, and whether you buy a new or used microphone.
Build time often increases because paint and glue need time to cure. Rushing those steps can leave fingerprints, dents, or weak joints.

How to Make It Look Better on Camera
A camera sees shape and contrast before it sees fine detail. Make the grille slightly larger than you would for a small hand prop, but keep the handle easy to hold.
Use soft front lighting to show the silver surface. Strong light directly above the prop can create a harsh white spot on the grille.
Check the microphone from the camera’s actual distance. A detail that looks small in your hand may be clear in a close-up shot.
If the prop will appear in a video, test it against the background. A black handle can disappear against dark clothing, while a narrow silver collar helps define its outline.

Frequently Asked Questions
Can I make a Bob Barker microphone without a real microphone?
Yes. A foam ball, plastic ornament, cardboard tube, and paint can create a convincing nonworking prop. This is the easiest and safest method for costumes, displays, and school projects.
What color should the microphone be?
Use silver for the rounded grille and collar, then matte black for the handle. The exact shade may vary in old television footage, studio lighting, photographs, and reproductions.
Can I use a toy microphone?
Yes. A toy microphone can provide the handle and internal shape. Remove or cover decorative buttons only if they do not affect the toy’s safety. Do not connect a toy microphone to professional audio equipment unless its manufacturer supports that use.
How do I make the prop lighter?
Use hollow plastic, foam, or thin cardboard. Avoid metal parts and heavy filler. If the grille is too heavy, add support inside the handle instead of adding more material to the top.
Can I sell a Bob Barker-style microphone?
You can make a fan-made design, but commercial use can raise trademark, publicity, and copyright concerns. Do not claim official approval, use show logos, or market the item as an authorized replica. For commercial sales, get advice from a qualified intellectual-property attorney.
Final Build Checklist
Before you finish, confirm that:
- The grille is rounded and wider than the handle.
- The grille and collar are silver.
- The handle is black and easy to grip.
- All sharp edges are covered or removed.
- The prop is balanced in one hand.
- Paint and glue are fully dry.
- A working microphone still has an open sound path.
- The item is clearly presented as a fan-made, unofficial design.
A simple foam prop is enough for most costumes and videos. Choose the working version only when you need real audio, and keep every decorative part removable so the microphone remains safe and serviceable.
