

Introduction
The best microphone for you depends on what you record, where you record it, how far you sit from it, and what equipment you already own. A microphone for a quiet home podcast studio is not the same as one for a loud guitar cabinet, a church stage, or a field interview in the United States.
Start with the sound source and room, not the brand name. Then choose the microphone type, pickup pattern, connection, and features that match that job. A costly microphone cannot fix a noisy room, poor placement, or a weak audio interface.
The Quick Answer: How Do You Pick the Right Microphone?
Use this five-part check:
- Name the sound source. Is it speech, singing, acoustic guitar, drums, or something else?
- Assess the room. Is it quiet and treated, or noisy and reflective?
- Choose the microphone type. Dynamic, condenser, or ribbon.
- Choose the connection. USB for simple computer use; XLR for mixers, recorders, and interfaces.
- Check placement and features. Look at pickup pattern, frequency response, sensitivity, and maximum sound pressure level.
For many beginners:
- Choose a USB dynamic microphone for speech in a typical untreated room.
- Choose an XLR dynamic microphone for stage use or a noisy room with an audio interface.
- Choose an XLR condenser microphone for detailed vocals or instruments in a quiet, controlled room.
- Choose a shotgun or lavalier microphone when recording video or interviews away from a desk.
These are starting points, not strict rules. A condenser can work well for speech, and a dynamic microphone can record music. The right choice depends on the conditions.
Understand the Main Microphone Types
Microphone type describes how the capsule turns sound waves into an electrical signal. The three main types are dynamic, condenser, and ribbon.
Dynamic microphones
A dynamic microphone uses a diaphragm, voice coil, and magnet to create an electrical signal. This design is usually sturdy and does not need phantom power.
Dynamic microphones often suit:
- Live vocals
- Podcasting in untreated rooms
- Loud guitar amplifiers
- Snare drums and toms
- Sports and event work
- Street interviews in noisy places
A dynamic microphone is not automatically “better for loud sounds.” Its value comes from its construction, output level, frequency response, and ability to reject sound from other directions. Some dynamic models have low output and need a preamp with plenty of clean gain.
Condenser microphones
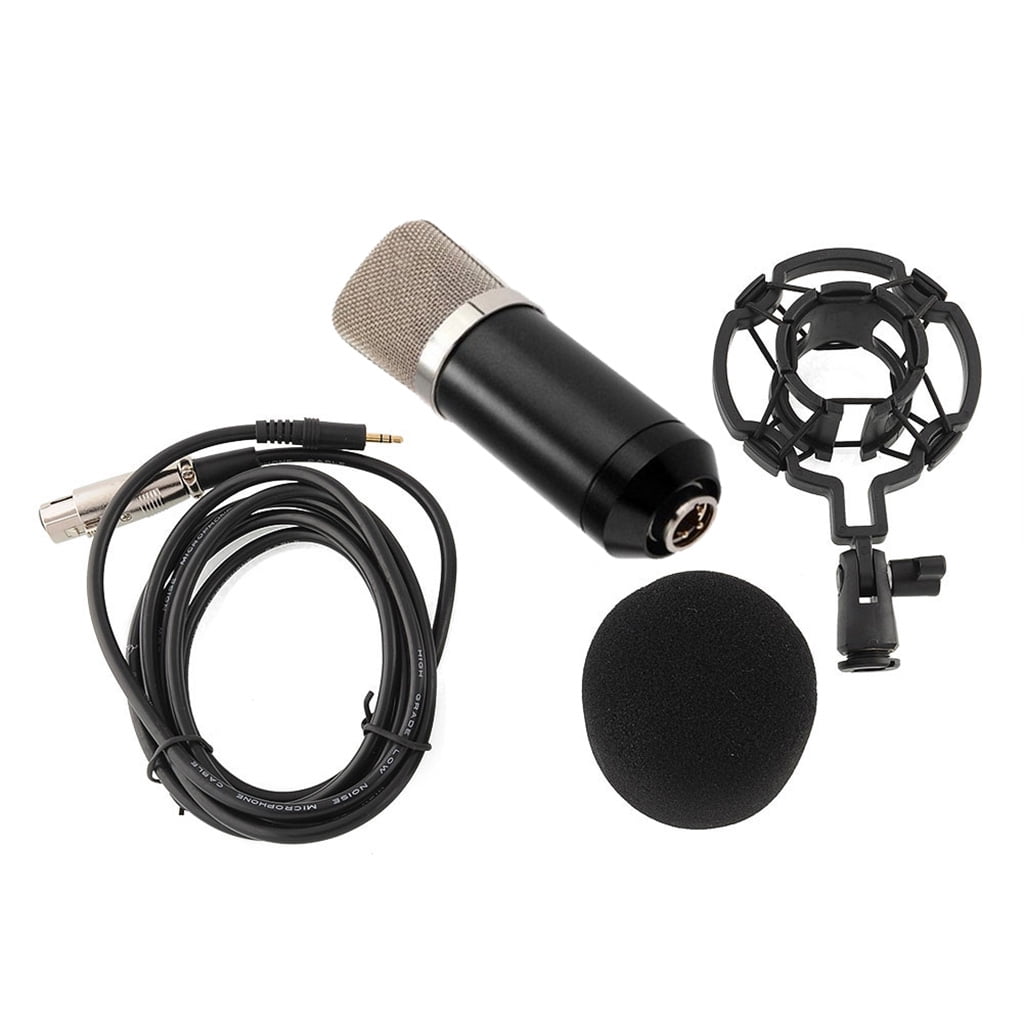
A condenser microphone uses a diaphragm and a backplate that respond to changes in capacitance. Most professional condenser microphones need power. XLR models commonly use 48-volt phantom power, while USB models draw power from the USB connection.
Condenser microphones often suit:
- Studio vocals
- Acoustic guitar
- Piano
- Voice-over work
- Detailed room recordings
- Quiet podcast or streaming rooms
They tend to capture small changes in sound with high detail. That detail includes room reflections, computer fans, traffic, and air conditioning. A condenser microphone can reveal the room as much as it reveals the speaker.
Ribbon microphones
A ribbon microphone uses a thin metal ribbon suspended in a magnetic field. Many ribbon microphones have a smooth sound and are used for vocals, guitar cabinets, brass, and other sources that benefit from a softer high end.
Passive ribbon microphones can be delicate. Do not send phantom power to a passive ribbon unless the microphone maker says it is safe. Use care with patch bays, faulty cables, and interfaces that switch phantom power across several inputs.
Active ribbon microphones are different. They may require phantom power and may have their own active electronics. Always follow the model’s manual.
A simple type comparison
| Type | Common strengths | Common limits | Good starting uses |
|---|---|---|---|
| Dynamic | Durable, rejects some room sound, handles many loud sources | May need more preamp gain, less sensitive to quiet detail | Speech, live vocals, drums, guitar amps |
| Condenser | Detailed, sensitive, broad studio use | Hears more room noise, needs power in many designs | Vocals, acoustic instruments, voice-over |
| Ribbon | Smooth high-frequency character, useful on bright sources | Some models need careful handling and more gain | Guitar amps, brass, vocals, room miking |
The type is only one part of the decision. A microphone’s pickup pattern and placement can matter more than the capsule category.

Choose the Pickup Pattern for Your Room and Setup
The pickup pattern shows where a microphone hears sound. It is one of the most useful specifications when choosing a microphone.
Cardioid
A cardioid microphone is most sensitive in front and less sensitive at the rear. It is a common choice for speech, vocals, streaming, and live sound.
It can help reduce sound from a monitor or noisy area behind the microphone. You still need to aim the rear null toward the main unwanted sound. “Cardioid” does not mean the microphone rejects all background noise.
Supercardioid and hypercardioid
These patterns are narrower than cardioid. They can help isolate a source, but they may pick up more sound from the rear at a specific angle.
They require more careful placement. If the talker moves around the front of the microphone, the volume and tone may change.
Omnidirectional
An omnidirectional microphone hears sound from all directions. It can provide natural sound and usually has less proximity effect than a directional microphone.
It may work well for:
- Conference tables
- Measurement work
- Group recordings
- Lavalier microphones
- Quiet rooms where natural ambience is useful
It is usually a poor first choice when you need to reject traffic, fans, or a nearby loudspeaker.
Figure-eight
A figure-eight microphone hears the front and rear while rejecting sound from the sides. Ribbon microphones often use this pattern, though not all do.
This pattern can help with two-person setups or mid-side recording. It also requires awareness of what is behind the microphone.
Shotgun microphones
A shotgun microphone uses an interference tube to create a narrow pickup pattern. It is common in film, television, and video production.
A shotgun microphone works best when it is close to the subject and aimed carefully. It does not magically record clear speech from far away. Reflections from walls can also affect its sound, especially indoors.
Lavalier microphones
A lavalier, or lapel microphone, clips to clothing. It is useful for presentations, interviews, and video.
Placement matters. Keep it away from necklaces, loose fabric, and clothing that rubs. A lavalier may be omnidirectional or directional, and it may use a wireless transmitter, camera input, USB adapter, or another connection.
Use the pattern to solve a problem
Ask, “Where is the unwanted sound?”
- If the noise is behind you, a cardioid microphone may help when its rear points toward that noise.
- If the noise is beside you, a figure-eight microphone may help because its sides are the least sensitive.
- If people sit around a table, an omnidirectional microphone may sound more even.
- If the microphone must stay out of the camera frame, consider a boom-mounted shotgun microphone or a lavalier.

Decide Between USB, XLR, and Wireless
The connection determines how the microphone reaches your recording device. It also affects future upgrades.
USB microphones
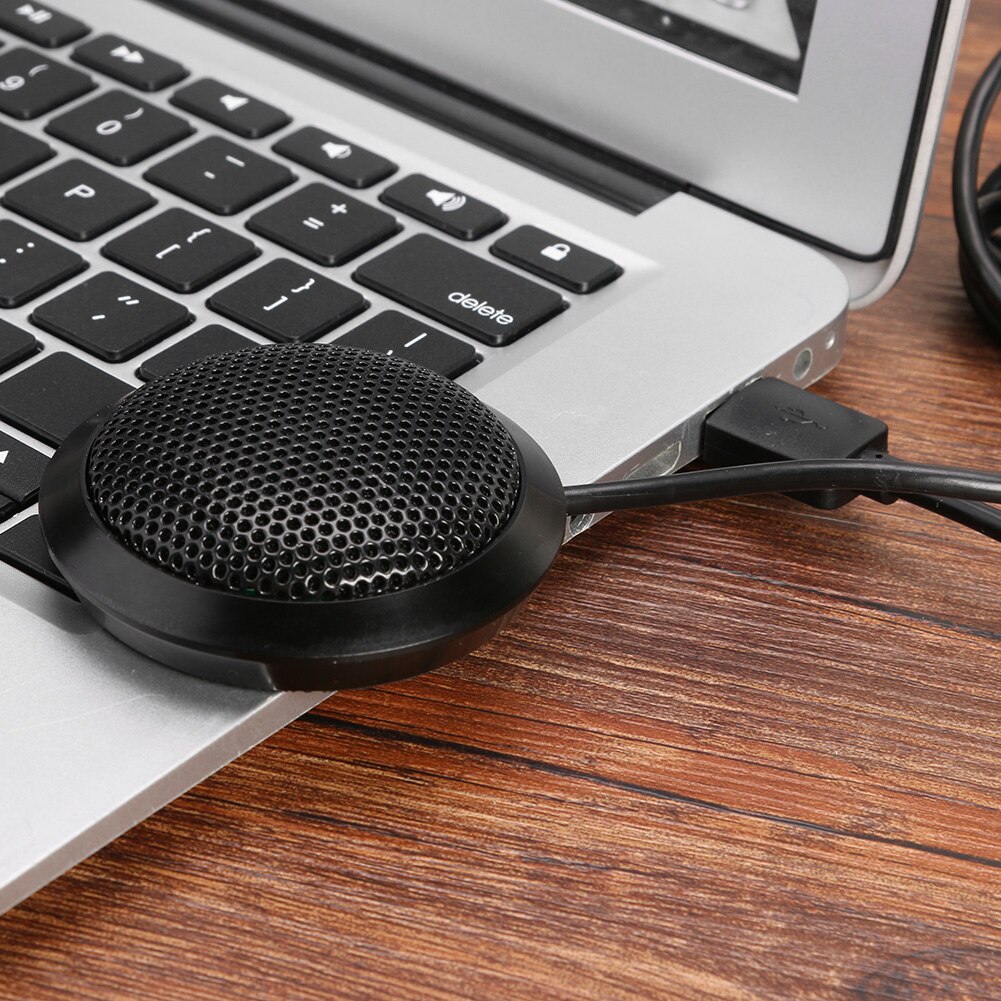
A USB microphone connects directly to a computer, tablet, or compatible device. It usually includes a built-in preamp and analog-to-digital converter.
USB is useful when you want:
- A simple computer setup
- Podcasting from one desk
- Streaming
- Online meetings
- Easy setup with limited equipment
Check the manufacturer’s compatibility list before connecting a USB microphone to a phone or tablet. A device may need a suitable adapter, enough power, or a powered hub.
USB microphones vary in monitoring features. A headphone jack with direct monitoring can help you hear your voice without computer delay. A volume control is useful, but it does not guarantee good sound.
XLR microphones
XLR is a common analog connection used in studios, live sound, cameras, mixers, and audio interfaces.
An XLR setup normally needs:
- The microphone
- An XLR cable
- An audio interface, mixer, recorder, or camera input
- A preamp with enough clean gain
- Phantom power when required by the microphone
XLR is a strong choice if you plan to add microphones, use hardware mixers, record into a standalone device, or change interfaces later.
Wireless microphones
Wireless systems usually include a transmitter and receiver. The microphone may be a lavalier, headset, handheld, or bodypack system.
Before buying, check:
- Frequency rules for your location
- Receiver output type
- Battery life
- Range in your actual setting
- Number of channels
- Digital or analog transmission
- Compatibility with your camera or recorder
In the United States, wireless microphones operate under Federal Communications Commission rules. The FCC wireless microphone information page explains current regulatory considerations. Product frequency ranges can vary by region, so confirm that a system is legal and supported where you will use it.
USB versus XLR
| Need | Better starting point |
|---|---|
| One person recording to a computer | USB |
| Multiple microphones | XLR interface or mixer |
| Live sound | XLR |
| Podcast with guests and future expansion | XLR |
| Fast setup for streaming | USB |
| Camera-mounted or boom video work | Camera-compatible shotgun or wireless system |
| Recording without a computer | XLR microphone with a recorder |
Some microphones offer both USB and XLR. This can be convenient, but inspect how the outputs work at the same time. Do not assume every dual-output model offers identical monitoring or signal quality through both connections.

Match the Microphone to the Sound Source
A microphone should fit the source, distance, room, and desired tone. There is no single microphone that is best for every task.
Podcasting and streaming
For a desk setup, choose a microphone that works close to your mouth and does not exaggerate room noise. A dynamic cardioid microphone is often a practical choice for an untreated room.
A condenser can work well if the room is quiet and you want a more open, detailed sound. Use a boom arm or stand, a pop filter, and a stable distance.
Keep the microphone close enough to get a strong signal, but not so close that plosive sounds or excessive bass become a problem.
Singing
For vocals, consider:
- The singer’s volume
- The room
- The desired tone
- Distance from the microphone
- Whether the singer moves while performing
A large-diaphragm condenser is common in controlled studio rooms. A dynamic microphone may work better for a loud singer, a live stage, or a reflective room.
Do not choose by frequency chart alone. Two microphones with similar charts may sound different because of capsule design, off-axis response, placement, and the singer’s voice.
Acoustic guitar
A condenser microphone can capture detail and string texture. A smaller-diaphragm condenser often gives a focused, precise sound, while a larger-diaphragm model may provide a fuller tone.
Pointing directly at the sound hole can produce too much bass. Start near the area where the neck meets the body, then move the microphone in small steps. The best position depends on the guitar, room, player, and arrangement.
Electric guitar amplifier
A dynamic microphone is a common starting point for a guitar speaker. Place it close to the speaker grille, then move it to change the tone.
Near the center of the speaker often sounds brighter. Moving toward the edge can sound darker. These are general tendencies, not fixed rules. Keep sound levels safe for your hearing.
Drums
Drum microphones must handle high sound pressure and physical vibration. Dynamic microphones are common for kick drums, snare drums, and toms. Condensers are often used for overheads and room microphones.
The full kit matters. Adding more microphones does not always improve the recording. Phase relationships, bleed, placement, and room sound can matter more than the microphone count.
Interviews and video
For a seated interview, a lavalier can provide consistent speech level when clipped correctly. A boom microphone can sound natural when placed close but outside the camera frame.
For handheld interviews, use a microphone designed for handheld work and hold it at a steady distance. A camera-mounted microphone is convenient, but it may capture more room sound because it is farther from the speaker.

Read the Specifications That Actually Matter
Specifications help you narrow the choices, but they do not predict the entire sound.
Frequency response
Frequency response describes how the microphone responds to different frequencies. A response graph can show boosts, cuts, and roll-offs.
Look for features that match the source:
- A low-frequency roll-off may reduce rumble.
- A presence boost may improve speech clarity.
- A high-frequency rise may add detail but can make sibilance worse.
- A flat response may help when you want a natural recording.
Frequency response is measured under stated conditions. It does not show how the microphone behaves when you speak off-axis, move around, or record in a reflective room.
Sensitivity and output level
Sensitivity describes how much electrical output a microphone produces for a given sound pressure level. A microphone with lower sensitivity may need more gain from the preamp.
A low-output microphone is not automatically poor. It may simply need a suitable interface or inline gain device. If you must turn the preamp almost all the way up, listen for hiss and check whether the interface has enough clean gain.
Self-noise
Self-noise is the noise produced by the microphone’s electronics. It matters most for quiet sources, distant recording, and soft voice-over work.
For loud vocals or close speech, room noise and preamp noise may matter more. A low self-noise specification does not make a microphone silent in a noisy room.
Maximum sound pressure level
Maximum SPL describes how loud a signal the microphone can handle before a stated amount of distortion. The test conditions differ between manufacturers, so compare figures carefully.
For very loud sources, also check whether the microphone has a pad. A pad reduces the level reaching the next circuit. It does not make a loud room quieter.
Proximity effect
Directional microphones often produce more bass as the sound source moves closer. This is called proximity effect.
It can make speech sound warm and full. It can also make a voice muddy or boomy. Change distance before reaching for an equalizer.
Off-axis response
Off-axis response describes how the microphone sounds when the source is not directly in front. This matters when a speaker moves, when instruments are recorded around a room, or when background sound arrives from the side.
A microphone with a smooth off-axis response may sound more natural than one with a sharp change in tone, even if both have a similar front-facing frequency chart.
Follow a Simple Buying Process
Use this process before you compare models.
Step 1: Define the recording job
Write one sentence:
“I need to record [source] in [room] using [device].”
For example:
“I need to record spoken tutorials in a reflective bedroom into a Windows laptop.”
This points toward a close-positioned USB or XLR dynamic microphone, rather than a highly sensitive condenser placed across the room.
Step 2: Identify the biggest problem
Choose the problem that will most affect the recording:
- Room echo
- Traffic or household noise
- Low computer volume
- Harsh voice tone
- Plosives
- Handling noise
- Limited camera space
- No available audio interface
Fix the largest problem first. Buying a more expensive microphone may not solve it.
Step 3: Set the complete budget
Include the accessories and equipment you need:
- Stand, boom arm, or shock mount
- Pop filter or windscreen
- XLR cable
- Audio interface or mixer
- Headphones
- USB adapter
- Replacement batteries
- Carrying case for field work
A microphone that leaves no money for a stable stand and proper connection may be a poor overall purchase.
Step 4: Confirm compatibility
Check:
- Connector type
- Phantom power needs
- Interface gain
- Camera input level
- Computer or mobile compatibility
- Wireless frequency support
- Mounting hardware
- Software requirements
Do not rely only on a product photo. Read the current manual and technical specifications for the exact model.
Step 5: Compare three meaningful options
Compare one option that is simple, one that gives you room to grow, and one that solves your hardest condition.
For example:
- USB dynamic microphone for simple speech recording
- XLR dynamic microphone for a future multi-mic setup
- XLR condenser microphone for a treated room and detailed vocals
This is more useful than comparing ten microphones with nearly identical features.
Step 6: Test placement before judging the microphone
Record the same sentence or musical phrase at several distances. Keep the gain level similar when comparing takes.
Listen for:
- Room echo
- Background noise
- Plosives
- Sibilance
- Bass buildup
- Changes when you move
- Handling and stand noise
A microphone often sounds very different after a small placement change.

Avoid These Common Microphone-Buying Mistakes
Buying the most sensitive microphone
More sensitivity can mean more room sound, fan noise, and keyboard noise. A less sensitive microphone placed close to the speaker may produce a cleaner result.
Choosing by price alone
Price can reflect design, construction, quality control, accessories, and brand support. It does not guarantee that a microphone suits your voice or room.
Ignoring the preamp
Some microphones need more clean gain than a basic interface provides. If the preamp becomes noisy near its maximum setting, the microphone and interface may be a poor match.
Assuming USB is always easier
USB is often simple, but mobile devices, operating systems, hubs, drivers, and monitoring can create compatibility limits. Verify the complete path from microphone to recording app.
Treating a frequency chart as a sound sample
A graph cannot show every part of the recording experience. It does not fully describe off-axis sound, room reflections, handling noise, or how the microphone responds to your voice.
Using a microphone too far away
Distance reduces the direct sound and increases the room sound. Moving closer often improves clarity more than changing microphones.
Forgetting plosives and wind
P, B, and T sounds can create bursts of air. Use a pop filter, foam windscreen, or careful angle. Outdoor microphones need suitable wind protection; an indoor foam cover is not always enough.
Turning gain up instead of fixing placement
Gain increases the desired signal and unwanted noise together. First move the microphone closer, aim it correctly, and reduce the noise source when possible.
Sending phantom power without checking
Most condenser microphones need phantom power, but not every microphone does. Check the manual before turning it on, especially with passive ribbon microphones and unusual equipment.
Buying a stereo pair for a mono task
Two microphones can help with stereo recording, room sound, or instrument techniques. They also add setup complexity, phase concerns, and cost. Use a stereo pair only when the recording goal requires it.
Set Up the Microphone for Better Sound
A good microphone still needs correct placement.
- Put the microphone on a stable stand or boom arm.
- Aim the correct side toward the speaker. Some side-address microphones do not point toward the end.
- Start about 4 to 8 inches from the mouth for close speech, then adjust by ear.
- Keep the distance steady.
- Place a pop filter a short distance in front of the microphone when needed.
- Aim the rear or rejection area toward the main noise source.
- Set recording peaks with enough headroom. Avoid clipping.
- Monitor with headphones.
- Record a short test before the full session.
The exact distance is not universal. A deep voice may need more space to avoid excess bass. A quiet speaker may need to move closer. A loud singer may need more distance or a pad.
Signs the setup is working
You should hear:
- Clear speech without harsh clipping
- A stable volume
- Less room echo than before
- No strong bursts on P and B sounds
- No obvious cable, stand, or clothing noise
- Enough signal without excessive hiss
If the result is poor, change one thing at a time. Move the microphone, change its angle, reduce room noise, or adjust the gain. This makes the cause easier to find.
Frequently Asked Questions
Should I buy a dynamic or condenser microphone?
Choose a dynamic microphone when the room is noisy, untreated, or used for live work. Choose a condenser when the room is quiet and you want detailed sound from vocals or instruments. Your source and placement matter as much as the microphone type.
Is USB or XLR better for podcasting?
USB is usually easier for one person recording directly to a computer. XLR is more flexible for multiple microphones, mixers, standalone recorders, and future expansion. Neither connection guarantees better sound by itself.
Do I need an audio interface?
You need an audio interface, mixer, recorder, or compatible device for an XLR microphone. You usually do not need a separate interface for a USB microphone because the microphone contains its own basic conversion and preamp.
How much should I spend on a microphone?
Set a total budget that includes the microphone, stand, cable, pop filter, and interface if needed. Spend enough to meet your connection and room needs, but do not expect price alone to solve echo, noise, or poor placement.
Can one microphone record vocals, instruments, and podcasts?
Yes, one versatile microphone can handle several jobs. However, the best pattern, sensitivity, frequency response, and placement may change for each source. A useful general-purpose microphone is a compromise, not the best tool for every recording.
Conclusion: Choose for the Job, Not the Hype
To pick a microphone, start with the sound source and recording space. Then choose the type, pickup pattern, connection, and specifications that solve your actual problem.
For a noisy American home office, a close-positioned dynamic microphone may be the practical choice. For a quiet studio vocal, a condenser may capture more detail. For video, the right lavalier, boom, or shotgun microphone may matter more than a traditional studio microphone.
Before you buy, confirm compatibility, budget for the required accessories, and test placement. The next useful step is to write down your source, room, recording device, and main problem. That short list will narrow the choices faster than browsing microphone catalogs.