

Introduction
For most U.S. home studios, the best way to mic a violin is to use one small-diaphragm condenser microphone, place it about 12 to 24 inches from the instrument, and aim it near the bridge or upper f-hole area—not directly at the f-hole. Record in the quietest, most natural-sounding room available, then adjust the distance to control brightness and room sound.
A violin can sound thin, harsh, or nasal when recorded poorly. The main cause is usually not the microphone itself. It is placement, room reflection, bow noise, or an instrument that is too close to the mic.
This guide explains how to mic a violin for recording in a home studio, project studio, or professional tracking room. It also covers mic choice, placement, gain, room control, troubleshooting, and mixing.
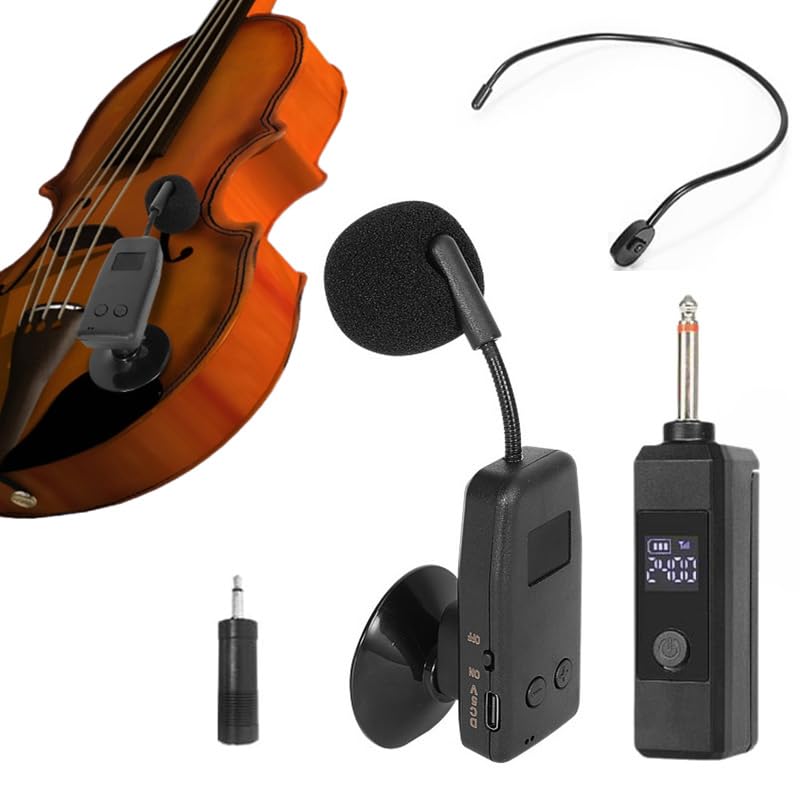
The basic violin recording setup
A simple setup needs four things:
- A violin in good playing condition
- One microphone
- A mic stand
- An audio interface or recorder with a clean preamp
A small-diaphragm condenser is the usual starting point. It captures the bow detail, string attack, and high harmonics that give a violin its character. A large-diaphragm condenser can also work, especially when you want a fuller or softer tone.
You do not need a stereo pair for a convincing violin track. One well-placed microphone often gives better results than two poorly placed microphones.
Use closed-back headphones while you check for:
- Bow scraping
- Chair or stand noise
- HVAC noise
- Room echo
- Excessive string brightness
- Distortion from a high recording level
Set the input gain so normal playing peaks well below 0 dBFS. A peak around -12 to -6 dBFS gives useful headroom in a digital recording system. This is a practical recording target, not a rule that every interface must follow.
Condenser, dynamic, ribbon, or clip-on mic?
| Microphone type | Main strength | Main limitation | Good use |
|---|---|---|---|
| Small-diaphragm condenser | Clear detail and fast response | Can sound bright in a hard room | Classical, folk, acoustic sessions |
| Large-diaphragm condenser | Full tone and strong body | May capture more room sound | Solo violin and slower passages |
| Dynamic microphone | Durable and less sensitive to room sound | Often captures less fine detail | Loud sources or untreated rooms |
| Ribbon microphone | Smooth high end and natural warmth | Lower output and more care needed | Bright violin or close studio work |
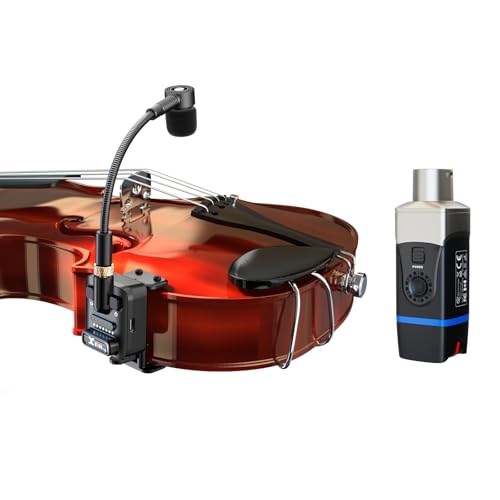
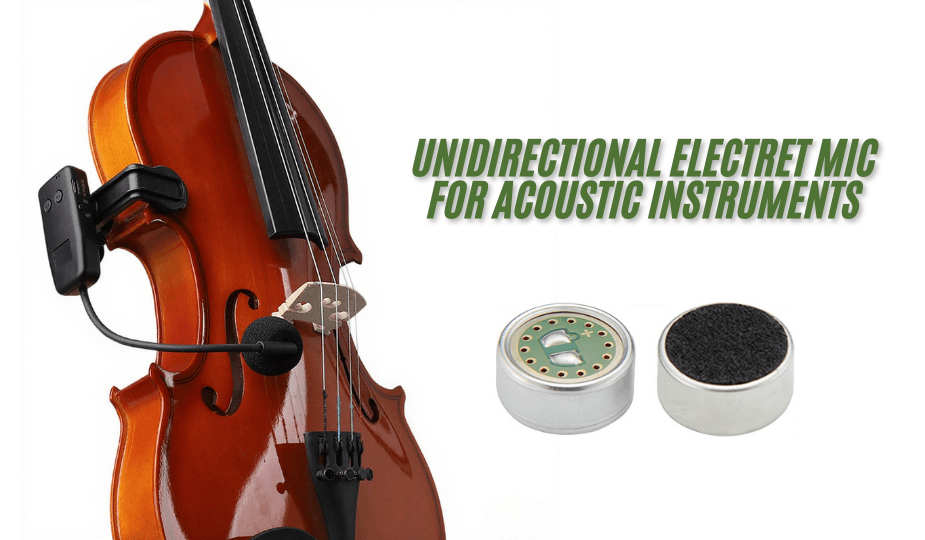
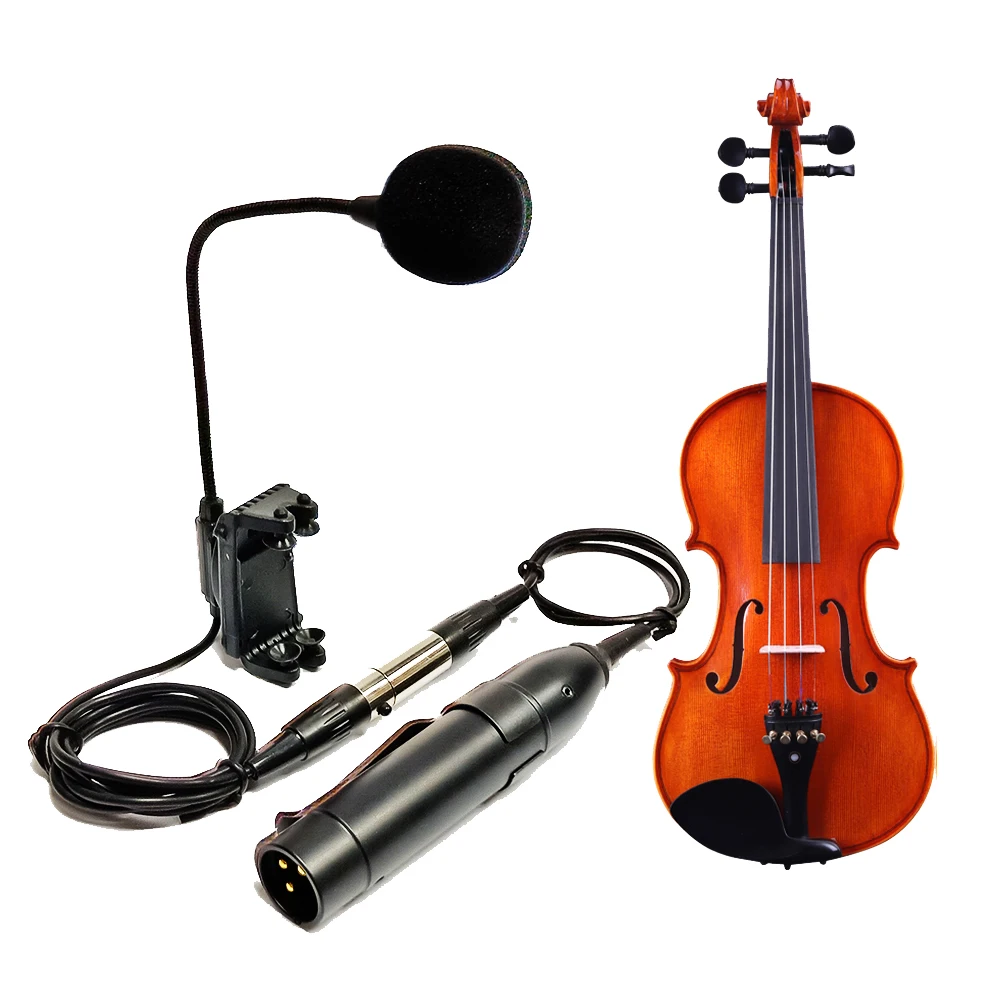
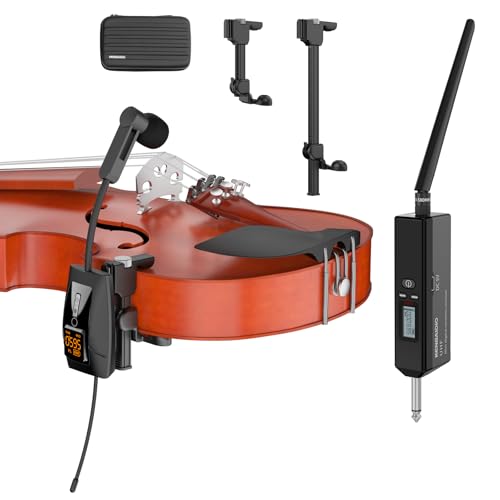
| Clip-on microphone | Consistent position and good isolation | May sound less natural | Live recording and noisy spaces |
| Piezo pickup | Strong isolation from the room | Often sounds nasal or artificial alone | Violin amplified through an effects system |
A microphone’s pattern also matters. A cardioid microphone rejects sound from the rear and is often easiest to use in a home studio. An omnidirectional microphone can sound natural in a good room, but it captures more of the space.
Ribbon microphones need special care. Some older passive ribbons can be damaged by phantom power. Check the microphone maker’s instructions before enabling phantom power.

Where should you place the microphone?
Start with the microphone 12 to 24 inches from the violin, slightly above the instrument, and aim it toward the area between the fingerboard and bridge.
Do not point the mic straight into the f-hole. The f-holes are not simple speaker ports, and a direct angle can produce a boomy or uneven tone. The violin radiates sound from several parts of the body, including the top plate, back, bridge, strings, and f-holes.
The best starting position is often:
- Place the mic 18 inches in front of the player.
- Raise it to about the height of the violin.
- Aim it toward the bridge or the upper bout.
- Keep it slightly off the player’s center line.
- Ask the player to perform the loudest section.
- Move the mic before changing equalization.
Small moves can make a large difference. Move the microphone closer for more direct sound and less room. Move it farther away for a wider, more blended tone.
Useful starting positions
| Placement | Likely sound | Use it when |
|---|---|---|
| 12–18 inches from the bridge area | Detailed, bright, immediate | The violin must cut through a dense mix |
| 18–24 inches above the violin | Balanced and clear | You want a reliable general-purpose sound |
| 24–36 inches away | More room and body | The room sounds pleasant |
| Near the player’s right side | More bow and string detail | The track needs attack |
| Near the player’s left side | Often smoother and less bow-heavy | The bow sounds sharp |
| Behind or beside the player | Darker and less direct | The front position sounds too aggressive |
These descriptions are starting points, not fixed results. The violin, player, bow, room, and microphone all change the outcome.
Aim the mic for tone control
Microphone angle is one of the easiest ways to reduce harshness.
- Aim more toward the bridge for stronger attack and detail.
- Aim more toward the fingerboard for a softer and rounder sound.
- Turn the microphone slightly away from the bow path to reduce scraping.
- Raise the mic to reduce direct bow noise.
- Lower it slightly if the sound lacks body.
This is called off-axis placement. Most microphones sound less bright when a source is not aimed directly at the capsule. Check the microphone’s polar-pattern chart if the maker provides one.
Avoid putting the mic too close
Very close placement can create several problems:
- Bow noise becomes obvious.
- Small head movements cause level changes.
- The tone becomes uneven across the strings.
- The recording may sound narrow and unnatural.
- Room reflections become less balanced.
Close placement can still work for folk, rock, country, and amplified violin. It simply requires more control during performance and mixing.
How the room changes the violin sound
The room is part of the microphone setup. A violin has strong high-frequency energy, so hard walls, windows, and bare floors can create a sharp or splashy recording.
A good room does not need to be expensive. It needs to avoid strong echoes and harsh reflections.
Before recording:
- Turn off loud fans and air conditioners if possible.
- Move away from bare walls and windows.
- Use a rug under the player if the floor is hard.
- Place absorption behind the microphone if that wall reflects sound back into the capsule.
- Avoid putting the player directly in a corner.
- Keep the violin away from large reflective surfaces.
A common mistake is to place acoustic panels only behind the violin. The microphone also hears sound that reflects from nearby walls and returns from behind the mic. Treat the most reflective surfaces first.
How far should the player stand from a wall?
Start with at least a few feet of space from the nearest wall when the room allows it. The exact distance depends on the room’s shape and acoustic treatment.
If the violin sounds hollow or phasey, move the player and microphone together. Do not assume the issue is an equalizer problem. Room reflections can create cancellations that EQ cannot fully repair.
Recording in a small bedroom
A small bedroom can work well if you:
- Avoid the center of the room if it sounds boomy.
- Keep the player away from corners.
- Use thick curtains, rugs, or absorption to soften reflections.
- Test several positions before recording the full take.
- Listen for a short slap or flutter echo.
Do not cover every surface with thin foam and expect a natural sound. Thin foam mainly affects high frequencies. Thick, broadband absorption works better for controlling a wider range of reflections.

A step-by-step method for recording violin
Use this workflow to get a clean first take without relying on heavy processing.
1. Prepare the instrument and performance space
Tune the violin before setting the final mic position. Check the bridge, strings, chin rest, and fine tuners for unwanted rattles.
Ask the player to perform the loudest and quietest parts of the song. A soft verse may sound perfect while the chorus becomes harsh or distorted.
2. Set the microphone height
Begin with the capsule near the height of the violin. Place it slightly above the instrument if the bow produces too much noise.
A microphone that sits too low may capture more fingerboard and body resonance. A mic that sits too high may lose warmth.
3. Choose the distance
Start at 18 inches. This distance usually provides a useful balance between direct violin sound and room sound.
Move closer in small steps if the room is poor or the violin must sound focused. Move farther away if the recording is too dry, bright, or intimate.
4. Set the input gain
Have the player perform the loudest passage. Adjust the preamp so the signal remains clean and leaves headroom.
Watch the interface meter, not only the headphone volume. A comfortable headphone level does not prove that the recording level is safe.
5. Record a short test
Record 20 to 30 seconds that includes:
- Open strings
- Low notes
- High notes
- Long sustained notes
- Short, fast bow strokes
- The loudest part of the arrangement
Listen on headphones and speakers if possible. The violin should remain clear without painful high frequencies.
6. Move the microphone before using EQ
Change one variable at a time:
- Move closer or farther.
- Raise or lower the mic.
- Rotate it slightly.
- Move toward the bridge or fingerboard.
Record another short test after each change. This keeps the cause of each change clear.
7. Record the full performance
Once the tone works across the full range, mark the stand position. If the player moves during the song, ask them to repeat the take with the same natural movement.
Do not force the player to stand unnaturally still. A comfortable performance usually sounds better than a rigid one.
Signs of a successful recording
A good raw violin track usually has:
- Clear notes across all strings
- No digital clipping
- Controlled bow noise
- A natural change between soft and loud passages
- Enough room sound for the song
- No strong ringing from the room
- No need for extreme EQ

How to mic violin for different music styles
The best placement depends on the role of the violin in the arrangement.
Classical or solo violin
Use a condenser microphone 2 to 4 feet away, if the room sounds good. Place it slightly above the instrument and aim toward the bridge area.
The extra distance allows the instrument and room to blend. A closer mic may sound too direct and expose bow noise.
For a formal stereo recording, two microphones can capture width and room depth. Stereo setups require careful placement and phase checking. If you are new to stereo recording, start with one mic and learn the room first.
Folk, country, and bluegrass
Use a cardioid condenser about 12 to 24 inches away. Aim between the bridge and fingerboard.
The violin often needs to remain clear among banjo, guitar, mandolin, and vocals. A moderately close position can provide the attack needed for the instrument to cut through.
Rock and pop
A dynamic microphone, ribbon, or condenser can work. Place the mic closer if the violin must sound focused and controlled.
A ribbon may help if the violin is sharp or aggressive. A dynamic mic may be useful in a loud room or when nearby instruments create spill.
Electric violin
An electric violin may have a pickup output, a preamp output, or both. If the instrument has a reliable output, record the direct signal through an appropriate input or DI box.
A direct signal is usually clean and isolated, but it may not sound complete by itself. Many electric violin tones depend on an amplifier, speaker, effects, or impulse response.
You can record both:
- A direct safety track
- A microphone on the amplifier
If you mic an amp, begin 6 to 12 inches from the speaker and adjust the angle. The center of a speaker is often brighter than the outer area.
One mic or two mics?
One microphone is the safest starting point. It avoids phase problems and makes placement simple.
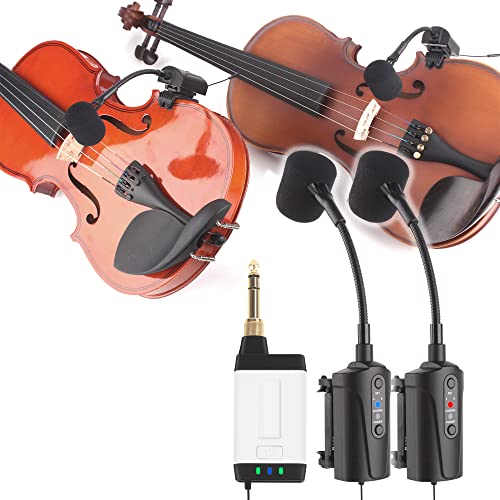
Two microphones can provide more detail and room sound, but the signals may interact. If the microphones are different distances from the violin, some frequencies can cancel when the tracks are combined.
If you use two mics:
- Keep the main mic as the clear tonal reference.
- Use the second mic for room or body sound.
- Check the combined sound in mono.
- Move the second mic if the tone becomes thin.
- Do not assume a wider stereo image is automatically better.
A basic approach is one close microphone and one room microphone placed several feet away. Lower the room mic until it adds space without making the violin distant.
How to mix a recorded violin
Start with volume and panning. Many violin problems can be solved before using plugins.
High-pass filtering
A gentle high-pass filter may remove rumble, stand noise, and unwanted low-frequency energy. Set the cutoff by ear. Do not remove low end simply because the violin is not a bass instrument.
The body of the violin contributes useful warmth. A high-pass filter set too high can make the instrument small and weak.
Equalization
Use broad, small changes:
- Cut muddy low-mid energy if the violin sounds cloudy.
- Reduce harsh upper-mid energy if the bow attack hurts.
- Add a little presence only if the part lacks clarity.
- Reduce extreme high end if the recording sounds scratchy.
Exact frequencies vary by violin, player, microphone, and room. Sweep gently to find the problem, then use less cut than you first think you need.
Compression
A violin can have a wide dynamic range. Light compression may make the part easier to place in a mix.
Use a slower attack if you want to preserve bow attack. Use a faster attack if the transient is too sharp. Keep the gain reduction modest at first.
Automation often sounds more natural than heavy compression, especially for classical or expressive performances.
Reverb
Use reverb to place the violin in the same acoustic space as the rest of the track. A short room reverb can add cohesion. A longer hall can suit solo or cinematic music.
If the raw recording already contains a pleasant room sound, use less artificial reverb. Too much reverb can blur fast passages and make intonation feel less focused.

Common problems and how to fix them
The violin sounds harsh
Possible causes:
- The mic points directly at the bridge.
- The mic is too close.
- The room has hard, reflective surfaces.
- The bow produces strong high-frequency noise.
Try this:
- Rotate the mic slightly off-axis.
- Move it 6 to 12 inches farther away.
- Raise it above the bow path.
- Aim closer to the fingerboard.
- Add absorption to nearby reflective surfaces.
The violin sounds thin
Possible causes:
- The mic is too far away.
- The mic is aimed too high.
- Low-mid frequencies are being canceled by the room.
- The player is too far from the microphone for the arrangement.
Try this:
- Move the mic closer.
- Lower it slightly.
- Test a new room position.
- Aim toward the bridge or upper body.
- Compare the sound in mono.
The recording sounds nasal
Possible causes:
- The mic is aimed at one narrow part of the instrument.
- The microphone has a strong midrange character.
- The player is too close to a wall.
- The direct signal from a pickup is being used without an amp or speaker sound.
Try this:
- Move the mic back.
- Change the angle.
- Use a different microphone type.
- Blend a room mic or amplifier mic.
- Reduce the narrow midrange area with a broad EQ cut.
Bow noise is too loud
Possible causes:
- The mic is too close to the bow.
- The capsule is aimed directly across the bow path.
- The player is using excessive bow pressure.
- The room is so quiet that normal bow detail feels exaggerated.
Try this:
- Raise the microphone.
- Move it toward the player’s left side.
- Angle it away from the bow.
- Use light compression only after fixing placement.
- Ask the player to test a softer bow attack.
The recording clips
Lower the preamp gain and test the loudest passage again. Do not rely on turning down the track after recording. Digital clipping that occurs at the input cannot be repaired by normal volume control.
The violin changes tone when the player moves
This is often a distance problem. Ask the player to keep a steady relationship with the microphone, or move the mic farther away. Greater distance reduces the tonal change caused by small movements.
Microphone placement mistakes to avoid
Avoid these common errors:
- Pointing directly into the f-hole
- Recording only the quiet section during the sound check
- Placing the microphone against a wall
- Using heavy EQ to fix poor placement
- Recording too close in a reflective room
- Ignoring chair, stand, and clothing noise
- Adding a second mic without checking mono compatibility
- Turning on phantom power without checking a ribbon microphone’s instructions
- Judging the tone only through loud headphones
- Moving the mic and changing the gain at the same time
The most useful rule is simple: change the microphone position before changing the signal with plugins.

Frequently asked questions
What is the best microphone for recording violin?
A small-diaphragm condenser is the most useful starting choice for many acoustic violin recordings. It captures detail and bow articulation. A ribbon may suit a bright violin, while a dynamic mic may work better in a noisy or untreated room.
Should I mic the violin from the front or the side?
Start from the front, slightly off the center line, and aim toward the bridge or the area between the bridge and fingerboard. A side position can reduce bow noise or brightness, but it may also change the balance between strings.
How far should a microphone be from a violin?
Begin about 18 inches away. Test a range of 12 to 24 inches for close recording. Use more distance when the room sounds good and you want a natural, blended tone.
Can I use a vocal microphone to record violin?
Yes. A vocal microphone can record violin if its tone, polar pattern, and frequency response suit the instrument. A condenser may capture more detail, while a dynamic vocal mic can reduce room sound and harsh transients.
Should I record violin in mono or stereo?
Mono is usually the easiest and most reliable choice for a single violin part. Stereo can add width and room depth, but it requires careful placement and phase checking. Use stereo when the room and arrangement benefit from it, not simply because it sounds wider in headphones.
Conclusion
To mic a violin for recording, start with one cardioid condenser about 18 inches from the instrument. Aim near the bridge or upper body, keep the mic slightly off-axis, and test the loudest part before recording. Move the microphone before reaching for EQ.
If the room sounds good, a little distance can create a natural violin tone. If the room sounds harsh, move closer and control reflections. The best setup is the one that preserves the player’s expression while keeping bow noise, room echo, and distortion under control.
Your next step is to record three short tests: one at 12 inches, one at 18 inches, and one at 24 inches. Keep the gain the same, compare the results, and choose the position that needs the least processing.