

To set up a microphone, connect it correctly, position it well, adjust levels, and test your sound before recording.
Learning how to set up a microphone is easier when you treat the process like building a clean audio path. The microphone, cable, interface, computer, room, and software all affect the final result. This guide explains each step in plain English, with practical tips for streaming, podcasting, gaming, video calls, music, and voice recording.
Choose the right microphone setup
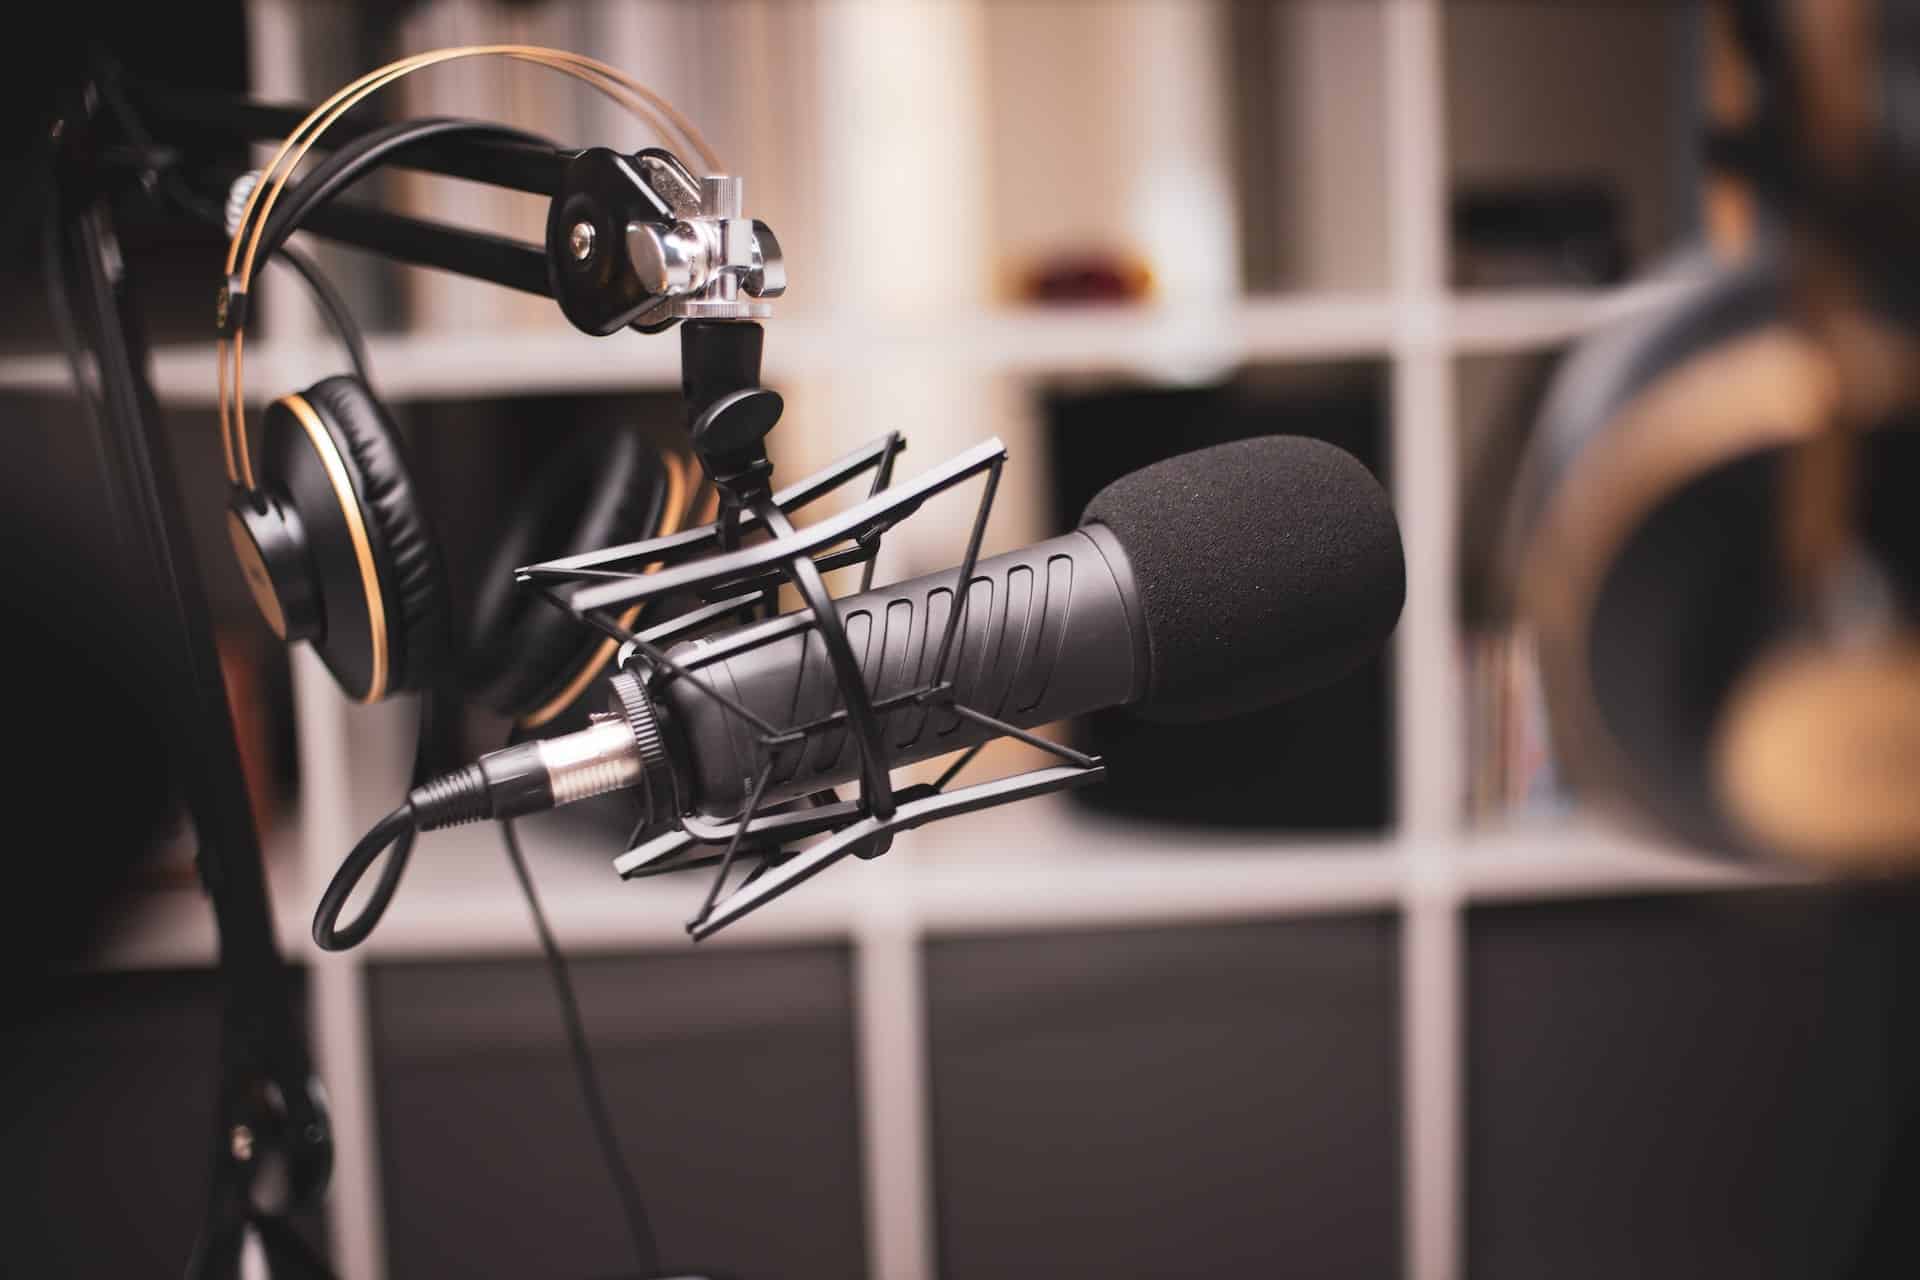
Before learning how to set up a microphone, choose the type that fits your work. The two main choices are USB microphones and XLR microphones.
USB microphones
A USB microphone connects directly to a computer, tablet, or compatible phone. It usually includes a built in analog to digital converter, so you do not need a separate audio interface.
USB microphones work well for:
• Video calls
• Online classes
• Gaming and streaming
• Podcasting with one speaker
• Voice overs
They are simple and affordable. They also reduce the number of cables and settings you must manage.
XLR microphones
An XLR microphone connects to an audio interface or mixer. The interface sends audio to your computer and often gives you more control over gain, monitoring, and sound quality.
XLR microphones are useful for:
• Studio recording
• Music and instruments
• Professional podcasts
• Broadcast work
• Multi microphone setups
An XLR system takes more time to set up, but it offers greater flexibility. You can change the microphone, interface, preamp, and other parts as your needs grow.
Dynamic and condenser microphones
Dynamic microphones are strong and often reject room noise well. They are a good choice for untreated rooms, loud spaces, gaming, and close vocal work.
Condenser microphones capture more detail and sound more open. However, they also pick up fans, traffic, keyboard sounds, and room reflections. Most condenser microphones need 48 volt phantom power when used with an XLR interface.

Gather the equipment you need
The exact gear depends on your microphone type. A basic USB setup may need only a microphone, a USB cable, and headphones.
For an XLR setup, prepare:
• An XLR microphone
• An XLR cable
• An audio interface or mixer
• A USB or Thunderbolt cable for the interface
• Headphones
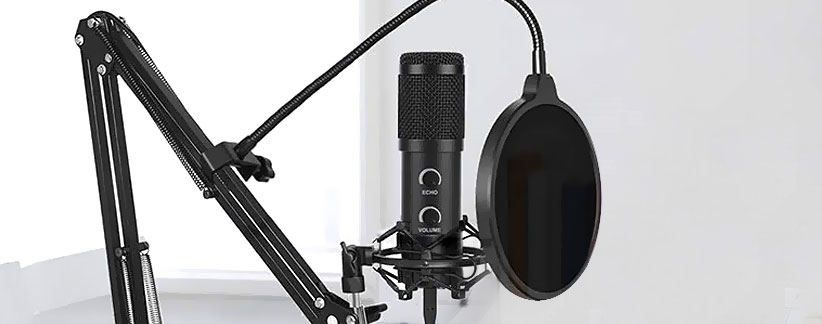
• A microphone stand, boom arm, or shock mount
• A pop filter or foam windscreen
• A computer with recording or communication software
Check each connector before you begin. USB microphones may use USB C, micro USB, or a special cable. An XLR cable has three pins and should connect firmly at both ends.
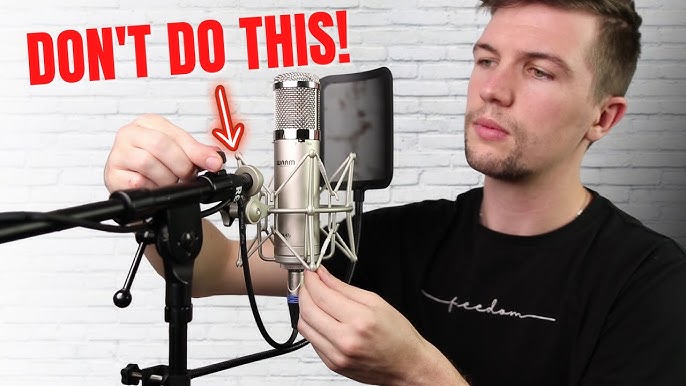
A microphone stand is more important than many beginners expect. If the microphone rests on a desk, typing and bumps can travel through the surface and enter the recording. A boom arm or shock mount helps isolate the microphone from those vibrations.
In my testing of desk setups, the biggest improvement often came from moving the microphone closer to the speaker and away from the keyboard. That simple change reduced room echo and made the voice sound clearer without expensive equipment.

How to set up a microphone step by step
The following process explains how to set up a microphone for most computers and recording apps.
1. Place the microphone securely
Put the microphone on a stable stand or boom arm. Keep it at mouth level, or slightly below mouth level, so you do not need to bend your neck.
Do not place the microphone directly against a wall. Leave some space behind it when possible. Soft items such as curtains, rugs, sofas, and bookshelves can help reduce hard reflections.
2. Connect the microphone
For a USB microphone, connect the USB cable to the microphone and then to the computer. Use a direct computer port when possible instead of an unpowered hub.
For an XLR microphone, connect one end of the XLR cable to the microphone and the other end to the interface input. Then connect the interface to your computer.
Turn down the interface gain before switching on phantom power. Only use phantom power when the microphone requires it. Many dynamic microphones do not need it, and some ribbon microphones can be damaged by incorrect use.
3. Connect your headphones
Plug headphones into the microphone, audio interface, or computer. Direct monitoring through a USB microphone or interface usually gives you a faster, more natural way to hear your voice.
Avoid using speakers while recording. The microphone may pick up the speaker sound and create an echo or feedback loop.
4. Select the microphone in your system
Open your computer’s sound settings. Select the microphone as the input device and your headphones as the output device.
On Windows, check the input and output devices under Sound settings. On macOS, open Sound settings and choose the correct input and output. Then check the settings inside your recording, streaming, or meeting app too.
Many programs have their own audio settings. Selecting the microphone in the operating system does not always select it inside the app.
5. Set the input gain
Speak at your normal volume while watching the input meter. Adjust the gain until your loudest words reach about minus 12 to minus 6 decibels full scale.
Keep the level below 0 decibels full scale. If it reaches 0, the signal may clip. Clipping creates harsh distortion that software cannot fully repair.
A healthy level leaves some headroom. You do not need to make the meter as loud as possible. Clean, slightly quieter audio is easier to improve later than distorted audio.
6. Test the sound
Record a short sample. Say your name, read a few lines, and speak at the volume you expect to use.
Listen for:
• Background hum
• Fan or air conditioner noise
• Plosive sounds from letters such as P and B
• Room echo
• Distortion
• Uneven volume
• Keyboard and desk noise
This short test can save an entire recording session. It is one of the most important parts of how to set up a microphone correctly.

Position the microphone for clear sound
Microphone position has a greater effect than many software filters. A good microphone in the wrong place can sound worse than a basic microphone used well.
Place the microphone about 4 to 8 inches from your mouth. The best distance depends on the microphone, your voice, and the sound you want.
Speak toward the correct part of the microphone. Some microphones capture sound from the front, while others capture sound from the top. Look for the brand logo, grille design, or manual to identify the active side.
Angle the microphone slightly to the side rather than pointing it directly at your mouth. This can reduce strong bursts of air while keeping your voice clear.
Use a pop filter when possible. Keep the filter a few inches from the microphone, then keep your mouth a few inches from the filter. This creates a simple spacing guide and helps control plosives.
Do not hold the microphone in your hand unless it is designed for handheld use. Hand movement creates bumps and changes the distance between your mouth and the microphone.
Adjust your room and recording space
Room sound is often the hidden reason a voice recording sounds amateur. Bare walls, windows, wood floors, and ceilings reflect sound. These reflections reach the microphone after your direct voice and create an echo.
You do not need a costly studio to improve the room. Try these steps:
• Record away from bare corners
• Close windows and doors
• Turn off fans and noisy air conditioners
• Place a rug on a hard floor
• Use curtains or soft furniture
• Keep the microphone close to your mouth
• Avoid recording beside a large empty wall
Foam panels can help with high frequency reflections, but they do not block outside noise. They also do not solve every room problem. Thick curtains, rugs, and soft furnishings often provide a more useful first step.
A quiet room is not always a silent room. The goal is a clean recording with a steady noise floor. If a low hum remains, check power cables, nearby electronics, dimmer switches, and computer fans.
Configure microphone software
After learning how to set up a microphone physically, configure the software that will process your sound.
Choose the sample rate and bit depth
For voice recording, 44.1 kHz or 48 kHz is common. Video production often uses 48 kHz, while music projects may use 44.1 kHz.
A 24 bit setting gives you more recording headroom than 16 bit. Use the same sample rate across your microphone, interface, operating system, and recording software when possible.
Higher settings do not automatically make a poor recording sound better. Room noise, microphone position, and gain control usually matter more.
Use direct monitoring
Direct monitoring lets you hear the microphone with very little delay. This is useful when recording vocals, podcasts, or live streams.
Software monitoring may create a small delay. That delay can make your voice feel strange and cause you to speak less naturally. If you hear an echo of your voice, turn off one monitoring path.
Add processing with care
Common voice processing tools include:
• High pass filtering to reduce low rumble
• Noise reduction to lower steady background noise
• Compression to control volume changes
• Equalization to improve balance
• A limiter to prevent sudden peaks
Use light processing first. Heavy noise reduction can make speech sound metallic, while too much compression can make breathing and room noise louder.
The cleanest workflow is to record a good signal before adding effects. Software should polish the sound, not rescue a badly clipped or noisy recording.

How to set up a microphone for common uses
Different activities need slightly different microphone settings.
Podcasting
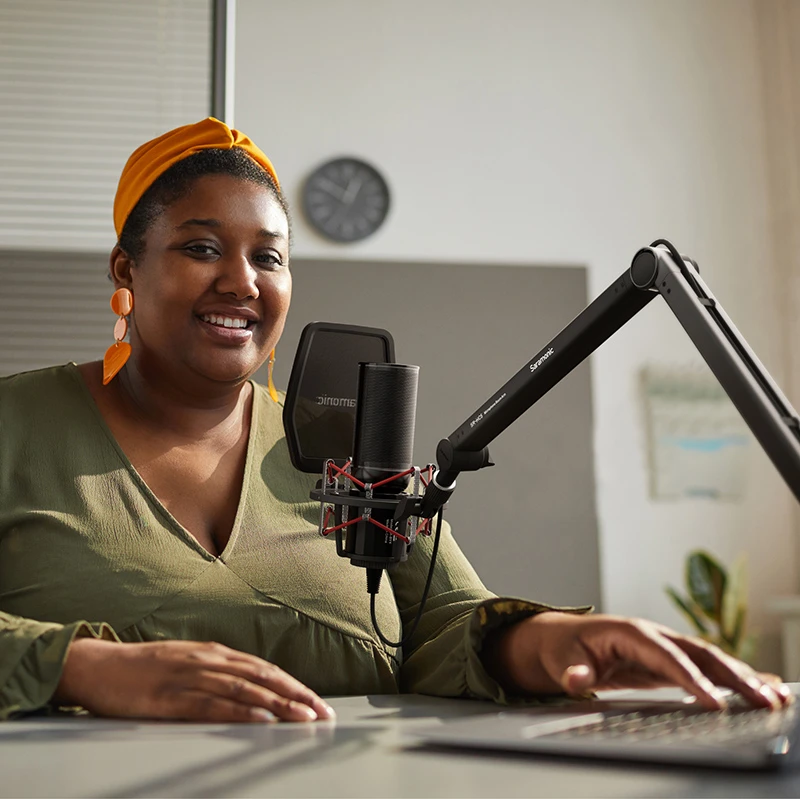
Place the microphone close to each speaker and keep the distance consistent. Ask speakers to avoid turning away while talking.
Record separate tracks when possible. Separate tracks make it easier to adjust each person’s volume and remove unwanted sounds.
Streaming and gaming
Use a dynamic microphone if your room has computer fans, keyboard noise, or other distractions. Position the microphone close to your mouth and point the rear rejection area toward the loudest noise source, if the microphone design supports it.
Test your voice with game audio playing. Your voice should remain clear without overpowering the game.
Video calls
Choose the microphone in the meeting app’s settings. Wear headphones to prevent feedback and test the microphone before joining an important call.
Keep the microphone out of the camera frame if you prefer a clean image, but do not place it so far away that you must raise the gain.
Voice overs
Use a quiet room and keep your mouth at a steady distance from the microphone. Mark the position of your chair or stand if you need to record across several days.
Read a short script before the full take. This helps you check tone, mouth noise, room sound, and volume.
Music and instruments
The best position depends on the instrument, room, and desired tone. Start at a moderate distance and record several short tests. Move the microphone before using heavy equalization.
For loud sources, keep enough distance and lower the input gain. A clipped recording cannot be repaired perfectly after the fact.
Fix common microphone problems
Even when you know how to set up a microphone, small problems can appear. Most have simple causes.
The computer cannot detect the microphone
Try these steps:
• Disconnect and reconnect the cable
• Test another USB port
• Restart the computer
• Check the system input device
• Check the app’s microphone permission
• Install the latest approved driver or firmware
USB hubs, damaged cables, privacy settings, and incorrect app selections are common causes.
The recording is too quiet
Move the microphone closer before raising the gain. Then increase the input gain slowly while watching the meter.
If an XLR microphone remains very quiet, check whether it needs phantom power or a stronger preamp. Do not assume that a software volume slider can replace proper input gain.
The audio is distorted
Lower the gain and record again. Distortion often happens before the signal reaches the recording software, so reducing the software volume may not fix it.
Also check whether an audio enhancement, limiter, or automatic gain feature is adding unwanted processing.
There is an echo
Use headphones and turn off speaker playback. Then check whether both the operating system and the recording app are monitoring the microphone.
Room reflections can also sound like echo. Move closer to the microphone and add soft materials to the room.
There is a hum or buzz
Move the microphone cable away from power adapters and laptop chargers. Try another cable and USB port.
If you use an interface, connect your devices to the same power source when safe and practical. Persistent electrical noise may require a qualified technician or a properly designed ground loop solution.
Plosive sounds are too strong
Move the microphone slightly off axis and use a pop filter. Avoid speaking directly into the capsule from very close range.
Do not solve plosives by moving the microphone too far away. Distance can reduce clarity and force you to add more gain.

Microphone setup mistakes to avoid
The most common mistake is turning the gain up before checking microphone placement. This raises your voice, but it also raises room noise.
Other mistakes include:
• Recording with the microphone upside down or aimed at the wrong side
• Using speakers during a live recording
• Ignoring headphones during a sound check
• Recording too close to a hard wall
• Touching the stand while speaking
• Using phantom power without checking the microphone instructions
• Relying on automatic gain without testing loud speech
• Skipping a test recording
One mistake I have seen repeatedly in home setups is placing a microphone next to a laptop fan. The user then adds noise reduction, but the voice becomes thin and artificial. Moving the microphone a few inches and changing its angle often works better than adding another plugin.
A simple microphone sound check
Use this quick routine each time you record:
Confirm that the microphone is secure.
Check the cable and connection.
Put on headphones.
Select the correct input in the computer and app.
Speak at your real recording volume.
Set peaks around minus 12 to minus 6 decibels full scale.
Record 20 seconds of speech.
Listen for noise, echo, distortion, and plosives.
Adjust one thing at a time.
Record another test.
Changing one setting at a time helps you understand what improved the sound. It also prevents confusion when several changes produce different results.
Save a working setup as a preset when your software allows it. Write down your microphone distance, gain level, sample rate, and processing settings. This makes future sessions faster and more consistent.
How to set up a microphone safely
Safe setup protects both your equipment and your hearing. Keep cables away from walkways and secure loose wires with clips or cable ties.
Do not force a connector. XLR plugs usually have a release button, and USB connectors should slide in without pressure. Turn down monitor volume before connecting or disconnecting equipment.
Avoid listening at high volume for long periods. The Occupational Safety and Health Administration and other hearing safety authorities warn that repeated exposure to loud sound can damage hearing. If your ears ring after recording, lower the headphone level and take a break.
Keep drinks away from the microphone, interface, and computer. A small spill can damage several connected devices at once.
Frequently Asked Questions About How to Set Up a Microphone
How do I set up a microphone on a computer?
Connect the microphone, select it as the input device in your computer settings, and choose it inside your recording or meeting app. Then adjust the gain, connect headphones, and make a short test recording.
How far should a microphone be from your mouth?
Start about 4 to 8 inches away. Move closer for a fuller voice or farther away if your voice sounds boomy, but keep the distance steady while recording.
Do I need an audio interface for a microphone?
You need an audio interface for most XLR microphones, but you usually do not need one for a USB microphone. An interface can provide better control, monitoring, and expansion for advanced setups.
Should phantom power be turned on?
Turn on 48 volt phantom power only when your microphone requires it, such as many condenser microphones. Check the manual first, because some microphones should not receive phantom power.
Why does my microphone sound muffled?
A muffled sound may come from incorrect microphone placement, a blocked grille, too much distance, or excessive low frequency buildup. Try moving the microphone closer, changing its angle, and checking that you are speaking into the active side.
What is the best microphone gain level?
Set the gain so normal speech stays comfortably below 0 decibels full scale, with loud peaks around minus 12 to minus 6 decibels full scale. This leaves headroom and helps prevent clipping.
Is a pop filter necessary?
A pop filter is not required, but it helps reduce bursts of air from sounds such as P and B. It also adds a useful distance barrier between your mouth and the microphone.
[CodeImg not required]
Conclusion
A reliable microphone setup starts with the right microphone, a stable position, a quiet space, and careful gain control. Connect each device correctly, choose the input in every app, monitor with headphones, and always record a short test.
The best way to learn how to set up a microphone is to make small changes and listen closely. Start with placement before buying more gear, then improve your room and software settings as needed. Try these steps in your next recording, and share your results or questions in the comments.