

To set up the guitar, adjust the strings, neck relief, action, intonation, and pickups in a careful order.
Learning how to set up the guitar can make a huge difference in tone, comfort, and tuning stability. A good setup does not mean changing every part at once. It means making small, measured adjustments so the instrument feels balanced and plays cleanly from the first fret to the last.
This guide explains how to set up the guitar at home with simple tools, safe methods, and clear checks. It covers electric and acoustic guitars, while noting where the two types need different care.

What a Guitar Setup Includes
A guitar setup is a series of adjustments that helps the instrument play well. It affects string height, tuning, fret buzz, intonation, neck shape, and overall comfort.
Most complete setups include:
• Checking the neck relief
• Adjusting the truss rod if needed
• Setting the string action
• Replacing and stretching the strings
• Adjusting the bridge and saddles
• Checking the nut and tuning stability
• Setting electric guitar pickup height
• Checking intonation
• Cleaning the fretboard and hardware
When learning how to set up the guitar, remember that each adjustment affects the others. For example, changing string gauge can alter neck relief and action. Raising the bridge can reduce fret buzz, but it may also make the guitar harder to play.
A setup should make the guitar feel natural. The strings should not feel unusually stiff, notes should ring clearly, and chords should stay in tune across the neck.

Tools You Need for a Guitar Setup
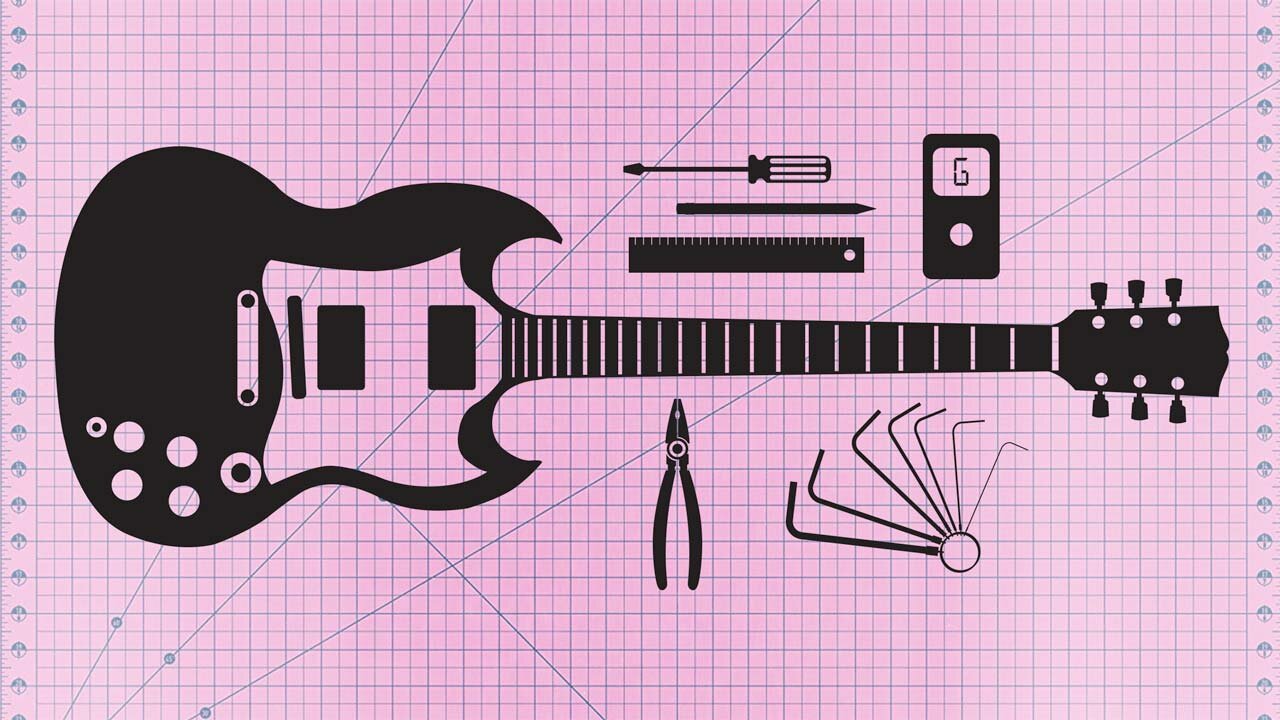
You do not need a full repair shop to learn how to set up the guitar. A few basic tools will handle most routine adjustments.
Gather these items:
• An electronic tuner
• A string winder and wire cutter
• A capo
• A ruler with measurements in 64ths of an inch or millimeters
• The correct truss rod wrench
• Small Phillips and flathead screwdrivers
• Allen keys for bridge and saddle adjustments
• A feeler gauge set
• A clean cloth
• Fretboard conditioner suitable for the wood
• A string action gauge, if available
Use the correct wrench for your guitar. A poor-fitting tool can damage the truss rod nut, saddle screws, or bridge hardware. If you do not know the correct size, check the manufacturer’s manual instead of guessing.
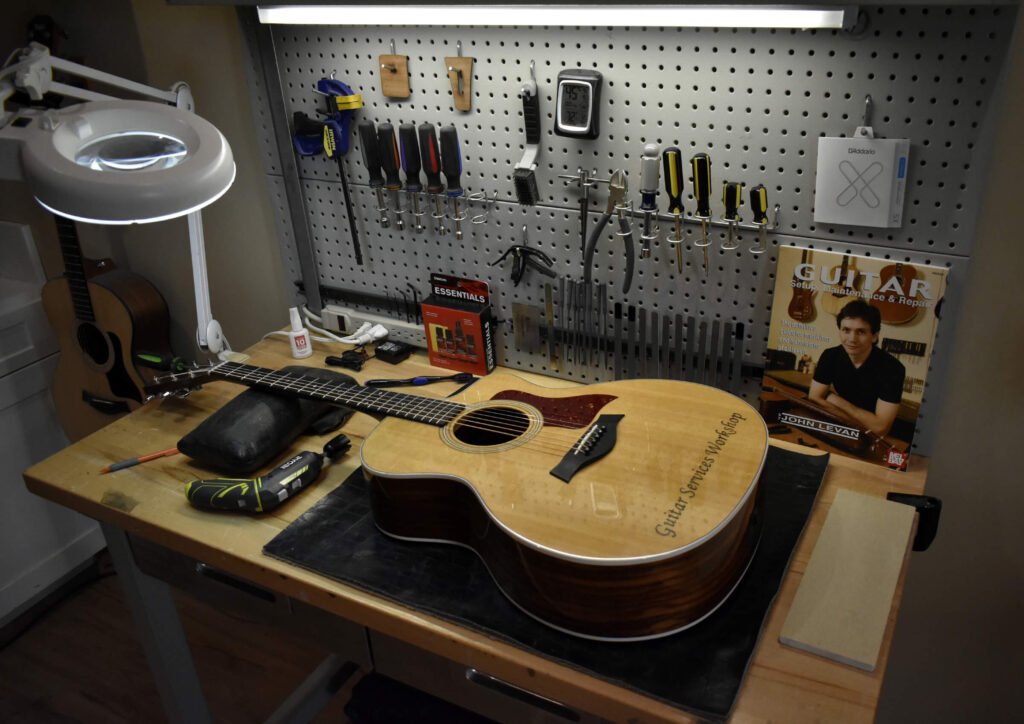
A work mat or folded towel can protect the guitar’s finish. Support the neck, keep loose tools away from the body, and work in good light.
Before making any adjustment, write down the original measurements. This simple habit lets you return to the starting point if a change makes the guitar worse.
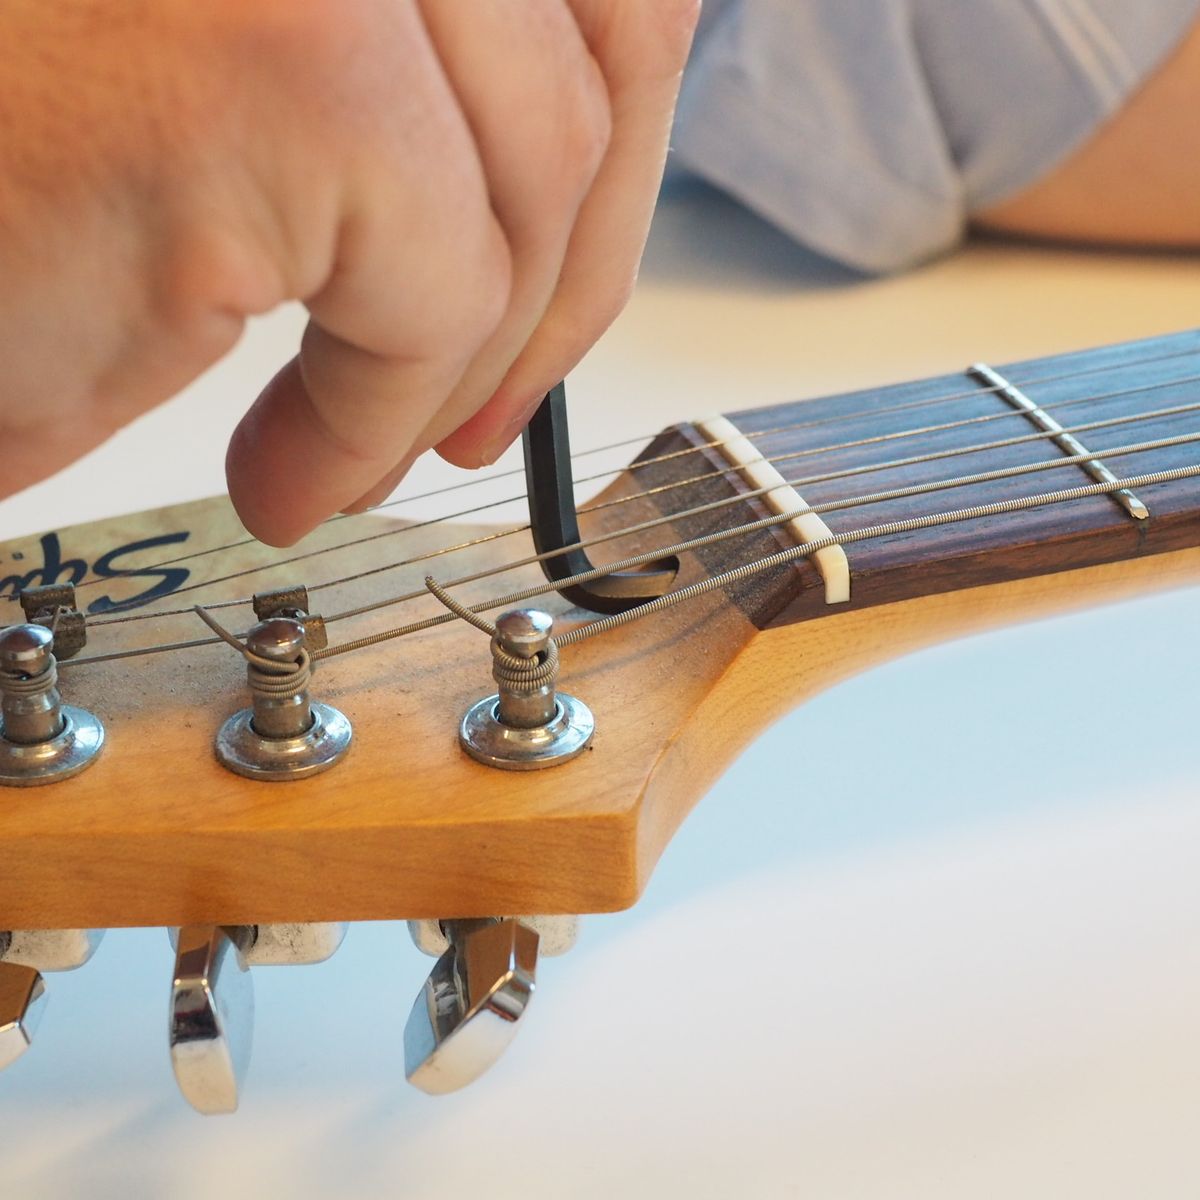
Step 1: Inspect the Guitar Before Adjusting It
The first step in how to set up the guitar is inspection. Look at the neck, bridge, frets, nut, tuners, and body before you turn a screw.
Check for these problems:
• Loose tuning machines
• Cracks near the bridge or neck joint
• Lifted acoustic guitar bridge
• Sharp fret ends
• Deep fret wear
• Loose output jack
• Bent bridge parts
• A damaged truss rod
• A cracked nut
A setup cannot fix every problem. A lifted bridge, twisted neck, loose brace, or badly worn fret may need professional repair. Continuing to adjust the guitar can hide the real issue or cause more damage.
Tune the guitar to the pitch you normally use. Standard tuning is E, A, D, G, B, and E, but use your regular tuning if you play in drop D or another setup.
Place a capo at the first fret. Then hold the lowest string at the final fret. Look at the gap between the string and the top of the frets around the seventh or eighth fret. This gap shows the neck’s relief.
Step 2: Check and Adjust Neck Relief
Neck relief is the slight forward curve in the neck that gives the strings room to vibrate. Think of it as a small amount of breathing space. Too much relief can make the action high. Too little relief can cause fret buzz.
For many guitars, a starting relief measurement is about 0.006 to 0.012 inches. Some instruments work best outside this range, so the manufacturer’s specifications should take priority.
To check relief:
Tune the guitar to pitch.
Place a capo behind the first fret.
Hold the lowest string at the fret where the neck meets the body.
Measure the gap around the seventh or eighth fret.
Repeat the check on the highest string.
A truss rod adjustment changes the neck’s curve. Turn the wrench only a small amount, such as one-eighth of a turn. Retune the guitar, allow the neck to settle, and check it again.
In most cases:
• Clockwise turns reduce forward relief and straighten the neck.
• Counterclockwise turns add forward relief.
The exact result can vary by guitar and truss rod design. Stop if the wrench feels tight or the nut begins to resist. A damaged truss rod can turn a simple setup into an expensive repair.
Step 3: Set the String Action
String action is the height of the strings above the frets. Low action can feel fast and easy, but it may produce fret buzz. High action can sound clear, but it may cause hand fatigue and poor intonation.
Measure action at the 12th fret. Measure from the top of the fret to the bottom of the string. Common starting points are:
• Electric guitar: about 4/64 inch on the low E string
• Electric guitar: about 3/64 inch on the high E string
• Acoustic guitar: about 6/64 inch on the low E string
• Acoustic guitar: about 5/64 inch on the high E string
These are starting points, not fixed rules. A player with a strong picking attack may need higher action. A light fingerstyle player may prefer lower action.
Adjust an electric guitar’s bridge or individual saddles to change string height. On many acoustic guitars, action is changed by removing and sanding the saddle. This requires more care because removing too much material is difficult to reverse.
Raise or lower the bridge in small steps. Play every fret on every string after each change. Listen for buzz, dead notes, and uneven volume.
A useful lesson when learning how to set up the guitar is to avoid chasing a perfectly low action number. The best action is the lowest height that stays clear during your normal playing style.

Step 4: Check the Nut and First-Fret Action
The nut controls string height at the headstock end of the neck. If the nut slots are too high, chords near the first fret can feel sharp and difficult to play. If the slots are too low, open strings may buzz.
To test the nut:
Tune the guitar.
Fret each string between the second and third frets.
Check the space above the first fret.
Tap the string gently over the first fret.
There should be a very small amount of movement. If the string sits directly on the first fret, the slot may be too low. If the gap is large, the slot may be too high.
Nut filing requires special files and a steady hand. It is easy to remove too much material. For this reason, many players should leave nut work to a qualified guitar technician.
You can safely apply a small amount of suitable lubricant to the nut slots. This may help strings move during bends and tuning changes. Do not fill the slots with random oils or household products.

Step 5: Install and Stretch New Strings
Fresh strings are an important part of how to set up the guitar. Old strings can create false tuning problems, dull tone, poor intonation, and inconsistent feel.
Choose string gauge based on your playing and tuning. A heavier gauge can offer stronger tone and tension. A lighter gauge may feel easier to bend. Changing gauge can also change the neck relief, so check the neck again after restringing.
To install strings:
Remove the old strings one at a time if you want to maintain neck tension.
Clean the fretboard while the strings are off.
Place each new string through the bridge or tuning post.
Leave enough slack for two or three neat wraps.
Bend the string before winding it.
Wind the string downward toward the headstock.
Tune slowly to pitch.
Stretch the string gently along its length.
Retune until the pitch remains stable.
Avoid crossing the string wraps over each other. Neat wraps help the string hold pitch and make future changes easier.
Stretch strings with moderate pressure. Pulling too hard can damage the string, bridge, or tuning post. New strings often need several tuning cycles before they settle.
Step 6: Set the Electric Guitar’s Intonation
Intonation determines whether the guitar plays in tune as you move up the neck. If the open string is in tune but the note at the 12th fret is sharp or flat, the string length needs adjustment.
The 12th-fret harmonic is a useful reference because it represents the exact octave of the open string.
To set intonation:
Install fresh strings.
Tune the open string accurately.
Play the 12th-fret harmonic.
Tune the fretted 12th-fret note.
Compare the two pitches.
If the fretted note is sharp, move the saddle away from the neck.
If the fretted note is flat, move the saddle toward the neck.
Retune and repeat the test.
Make small saddle adjustments. The process can take time because moving the saddle changes the string’s overall tension and pitch.
Use a light, normal fretting touch. Pressing too hard can make the fretted note sharp and lead to an incorrect adjustment. This is one of the most common mistakes in how to set up the guitar.
Some acoustic guitars have limited intonation adjustment. If the saddle position is seriously wrong, a replacement saddle or professional repair may be needed.

Step 7: Adjust Electric Guitar Pickup Height
Pickup height affects output level, tone, sustain, and note balance. Pickups that sit too close to the strings can cause magnetic pull, uneven volume, or poor sustain. Pickups that sit too far away may sound weak.
Start with the pickup manufacturer’s recommended measurement. If you do not have that information, a common starting point is about 6/64 inch from the pole piece to the bottom of the string when the final fret is pressed.
Adjust the bass and treble sides separately. The bass side often needs slightly more space because the thicker strings vibrate with greater movement.
Check these points:
• Compare neck and bridge pickup volume.
• Listen for balanced bass and treble strings.
• Test clean and overdriven tones.
• Check sustain on fretted notes.
• Make sure the pickup does not pull the strings out of tune.
Pickup height is a matter of taste. It is not a strict measurement like tuning pitch. Small changes can make a large difference, so adjust one pickup at a time.
Step 8: Check Tuning Stability and Playability
After adjusting the guitar, play it in the way you normally do. Use open chords, barre chords, bends, slides, single-note lines, and strong strumming.
Listen for:
• Fret buzz
• Dead notes
• Sharp notes at the 12th fret
• Strings that return out of tune after bends
• Uneven volume
• Loose hardware
• A stiff or uncomfortable feel
Tune the guitar again after testing. If it goes flat after bending, check the nut, string wraps, bridge, and tuning posts. If only one fret buzzes, the fret may be high or worn.
A setup should be judged by real playing, not by measurements alone. Two guitars with the same action can feel very different because of fret shape, neck profile, nut width, and string tension.
Temperature and humidity also affect a guitar. Wood expands and contracts as conditions change. Acoustic guitars are especially sensitive, so keep them away from heaters, air conditioners, and very dry rooms.
Acoustic Guitar and Electric Guitar Setup Differences
The basic order for how to set up the guitar is similar for acoustic and electric instruments. However, the adjustment points are not the same.
Electric guitars often have:
• Adjustable bridge saddles
• Adjustable pickup height
• Easier action changes
• More options for string gauge and tuning
Acoustic guitars often have:
• A fixed bridge
• A removable saddle
• More sensitivity to humidity
• Greater risk of bridge or top damage
• Less room for quick action changes
Do not assume that an electric guitar method works on an acoustic guitar. Sanding an acoustic saddle changes action, but it does not solve a warped neck or a loose bridge.
For an acoustic guitar with high action, first check neck relief, bridge movement, saddle height, and humidity. If the bridge is lifting or the top is bulging severely, seek professional help.
Common Guitar Setup Mistakes to Avoid
Many setup problems come from making large changes too quickly. Small adjustments are safer and easier to understand.
Avoid these mistakes:
• Turning the truss rod several full turns at once
• Using the wrong wrench
• Adjusting action before checking neck relief
• Filing the nut without proper files
• Measuring action while the guitar is out of tune
• Setting intonation with old strings
• Pressing too hard when testing fretted notes
• Removing too much material from an acoustic saddle
• Ignoring fret wear
• Copying another player’s measurements without testing them
One mistake I often see in home setups is trying to remove all fret buzz. A small amount of buzz may be normal, especially with low action and a strong picking attack. The real goal is a clean sound during normal playing, not an unrealistic laboratory result.
Another common mistake is changing several variables at once. Adjust the neck, then the action, then intonation, and finally pickup height. This order helps you understand what each change does.
When to Hire a Guitar Technician
Learning how to set up the guitar is useful, but some repairs need expert tools and experience. A professional can inspect the instrument for problems that simple adjustments cannot solve.
Consider professional service when:
• The truss rod will not turn
• The neck has a twist or severe bow
• The frets are badly worn
• The acoustic bridge is lifting
• The guitar has a cracked neck or headstock
• The action is high because of a neck angle problem
• The nut needs major filing
• The bridge needs replacement
• The instrument will not intonate after proper adjustment
A qualified technician can also perform a fret level, crown, polish, nut replacement, neck reset, or structural repair. These jobs can permanently affect the guitar if done incorrectly.
There is no shame in stopping. Knowing when not to continue is part of good guitar care. A careful setup at home is helpful, but safety comes before saving a service fee.
How Often Should You Set Up a Guitar?
A guitar does not need a full setup on a strict schedule. The right time depends on climate, use, string changes, tuning, and the instrument’s condition.
Check the guitar when:
• You change string gauge
• You change from standard tuning to a lower tuning
• The season changes
• The action feels different
• Fret buzz appears suddenly
• Notes sound out of tune higher on the neck
• The guitar has been stored for a long period
Many active players check their guitars every few months. Casual players may need a setup once or twice a year. A basic inspection each time you change strings can prevent small problems from becoming serious ones.
Keep a simple record of action, relief, string gauge, and tuning. This creates a useful baseline for future adjustments.
Frequently Asked Questions About How to Set Up the Guitar
Can I set up a guitar without professional experience?
Yes, you can handle basic tasks such as restringing, tuning, measuring action, and making small bridge adjustments. Truss rod, nut, fret, and structural repairs require more caution and may be better left to a technician.
How long does a guitar setup take?
A basic setup may take 30 minutes to two hours, depending on the guitar and the number of adjustments. A first attempt often takes longer because you need time to measure, retune, and check the results.
What should I adjust first on a guitar?
Start with a full inspection and fresh strings. Then check neck relief, set the action, adjust intonation, and finish by setting pickup height on an electric guitar.
Why does my guitar buzz after I lower the action?
Lower action gives the strings less room to vibrate, so they may touch nearby frets. Check neck relief, fret condition, bridge height, and your picking strength before lowering the action further.
Do acoustic guitars need setups?
Yes, acoustic guitars need setups as their neck relief, action, and intonation can change with string tension and humidity. High action, fret buzz, or tuning problems may indicate that a setup is needed.
How do I know if my guitar’s intonation is correct?
Tune the open string, then compare the fretted 12th-fret note with the 12th-fret harmonic. If the fretted note is sharp or flat, adjust the bridge saddle in small steps.
Should I loosen the strings before adjusting the truss rod?
You usually do not need to remove the strings, but follow the guitar maker’s instructions. Keep the guitar near its normal tuning and make only small adjustments while checking the neck often.
Conclusion
A good guitar setup comes from careful measurement, small changes, and patient testing. Check the instrument first, adjust neck relief before action, set intonation with fresh strings, and finish by checking tuning stability and playability.
The best setup is not always the lowest action or the newest hardware. It is the setup that matches your hands, your tuning, your strings, and your style. Start with one guitar, record your measurements, and make each adjustment with care.
Try these steps during your next string change, and share your results or questions with other players as you continue improving your guitar maintenance skills.
