

To sing with a microphone on a computer in the United States, connect the microphone, select it as the input device, open a recording or karaoke app, and use headphones to hear your voice without feedback. You can use a USB microphone, an XLR microphone with an audio interface, or a headset mic.
The basic signal path is:
Microphone → computer input → singing app → headphones or speakers
This guide explains how to set up that path on a Windows PC or Mac, reduce delay, sing along with music, record your voice, and fix common problems.

What You Need to Sing on a Computer
You need four basic items:
- A microphone
- A computer with a USB port or audio input
- An app for karaoke, recording, streaming, or video calls
- Headphones or speakers
A quiet room also helps. Soft furniture, curtains, and rugs can reduce echo. You do not need a professional studio to begin, but a noisy room can make your recording sound distant or muddy.
Choose the right microphone
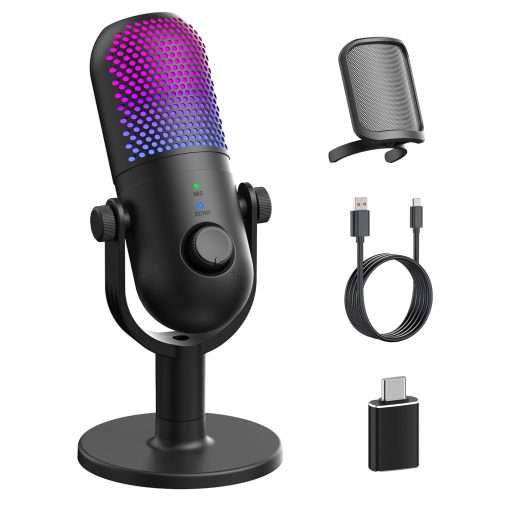
Most beginners should start with a USB microphone. It connects directly to the computer and usually includes its own analog-to-digital converter.
Common choices include:
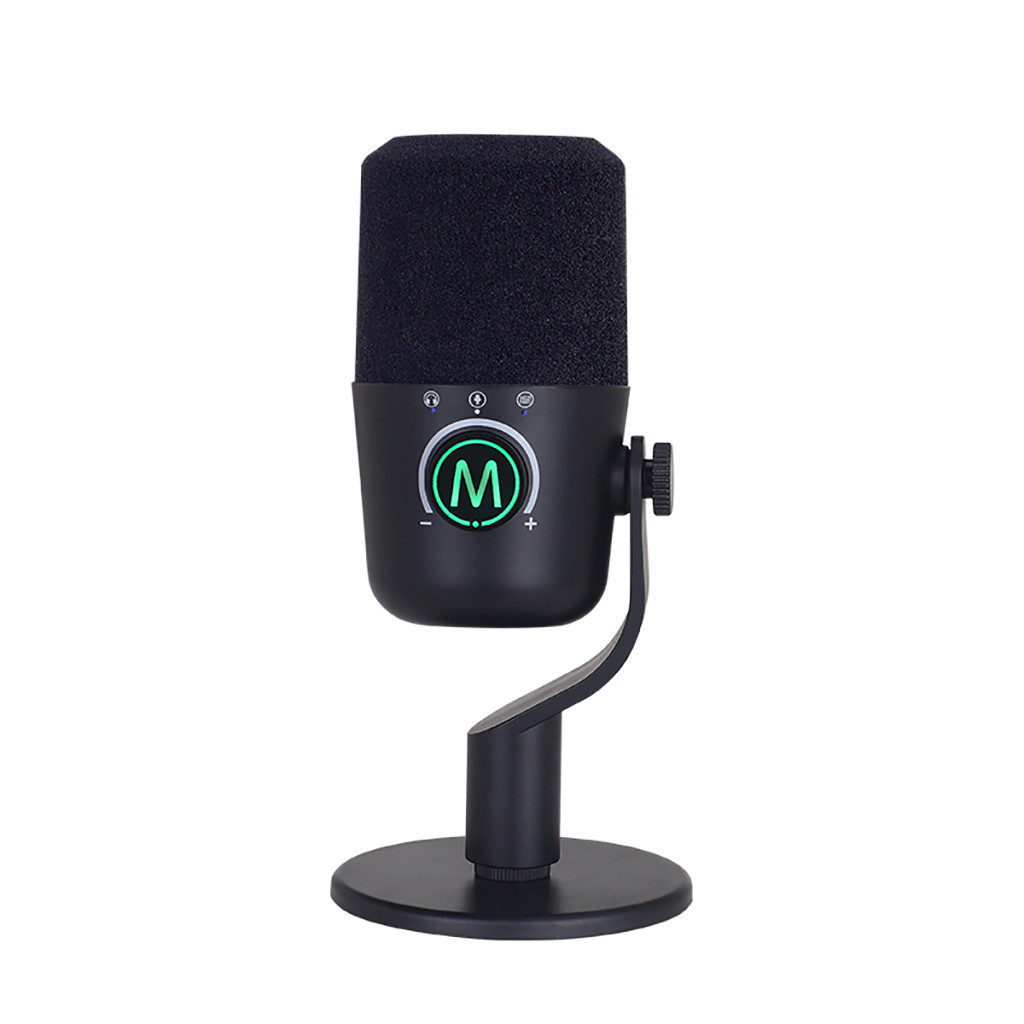
- USB microphone: Simple setup for singing, podcasts, and home recording
- XLR microphone: Connects to an audio interface and offers more control
- Headset microphone: Convenient for casual singing and video calls
- Built-in computer microphone: Works for testing but often captures room noise
An XLR setup can sound very good, but it requires more equipment. You normally need an audio interface, an XLR cable, and sometimes phantom power for a condenser microphone.
Use headphones when possible
Headphones are the safest choice for singing into a computer. They let you hear the backing track and your voice without sending the music back into the microphone.
Speakers can create feedback, which is the loud ringing or squealing sound caused when the microphone picks up sound from the speakers. If you use speakers, keep them in front of the microphone and turn the volume down.
How to Connect a Microphone to a Windows PC
Windows lets you choose the microphone used by the whole system. Individual apps may also have their own input settings.
Set up a USB microphone
- Plug the microphone into a USB port.
- Wait for Windows to detect it.
- Open Settings.
- Select System, then Sound.
- Under Input, choose your microphone.
- Speak or sing into the microphone.
- Watch the input meter to confirm that Windows receives sound.
If your microphone does not appear, unplug it and try another USB port. Avoid connecting through a low-quality USB hub while troubleshooting.
Set the microphone level
In Windows sound settings, open the properties for the selected microphone. Adjust the input volume until your loudest singing does not cause the meter to stay at the maximum level.
If the level is too low, your recording may contain extra background noise. If it is too high, the sound can clip. Clipping happens when the signal is too strong for the system to record cleanly. It often sounds harsh, cracked, or distorted.
A good starting point is to leave some space below the maximum level. Test with the loudest part of the song, not only a quiet verse.
Allow microphone access
If an app cannot hear you:
- Open Settings.
- Go to Privacy & security.
- Select Microphone.
- Turn on microphone access.
- Allow access for the app you want to use.
The names of settings can change slightly between Windows versions, but the options remain under sound and privacy controls.

How to Connect a Microphone to a Mac
macOS also lets you select a microphone for the entire computer. Apps such as GarageBand, Zoom, Audacity, and browser-based karaoke tools may use the system choice or provide their own setting.
Select a microphone on macOS
- Connect the USB microphone or audio interface.
- Open the Apple menu.
- Select System Settings.
- Choose Sound.
- Open the Input section.
- Select the microphone.
- Speak into it and check the input meter.
Raise the input level only as much as needed. Test your loudest note before you begin recording.
Give the app microphone permission
If the input meter works in System Settings but the app does not hear you, check permission:
- Open System Settings.
- Select Privacy & Security.
- Choose Microphone.
- Turn on access for the app.
- Close and reopen the app if needed.
macOS may not apply a new permission until the app restarts.
How to Sing With a Microphone in a Recording App
You can record singing with apps such as GarageBand, Audacity, BandLab, or another digital audio workstation. The exact buttons differ, but the setup follows the same pattern.
Basic recording steps
- Connect the microphone.
- Connect headphones.
- Open the recording app.
- Select the microphone as the input.
- Select your headphones as the output.
- Create a mono audio track for the microphone.
- Arm the track for recording.
- Turn on input monitoring only if you need to hear your live voice.
- Play the backing track.
- Record a short test.
- Check the voice level before recording the full song.
A mono track uses one microphone channel. Most single microphones should be recorded in mono. Recording a single microphone to a stereo track can waste space or place the voice on only one side.
Set the microphone distance
Start about 6 to 12 inches from the microphone. Move slightly farther away for loud notes and closer for quiet parts.
Do not point the microphone directly at your mouth if it causes strong “P” and “B” sounds. A small pop filter can reduce these bursts of air. You can also angle the microphone slightly to the side.
Keep the microphone stand stable. Touching the desk or stand while recording can create low thumps.
Add effects after recording
Record a clean, mostly dry vocal first. You can then add:
- Equalization to shape the tone
- Compression to reduce large volume changes
- Reverb to create space
- Delay for an echo effect
- Noise reduction for steady background noise
Effects cannot fully repair clipped audio, loud room noise, or severe echo. Clean microphone placement matters more than adding many effects.
How to Sing Karaoke Through a Computer
To sing karaoke, you need a backing track and a way to send both the music and microphone signal to your headphones or speakers.
Simple karaoke setup
- Open a legal karaoke service, music app, or video with an instrumental track.
- Connect the microphone.
- Select the microphone in your computer’s sound settings.
- Play the backing track.
- Use headphones to hear the music.
- Open a recording app if you want to save the performance.
- Adjust the music and microphone levels separately.
Many music and video apps do not mix a live microphone into their output. In that case, you need a recording or audio-mixing app to hear your voice with the backing track.
Sing along without recording
The easiest method is to play the backing track through speakers and sing into the microphone without monitoring your voice through the computer. This avoids computer delay, but the microphone may not affect the sound you hear.
If you want amplified vocals, use an app that supports input monitoring or a small mixer. Keep speaker volume low enough to prevent feedback.
Record the backing track and voice together
If the backing track comes from your computer, place it on one track in the recording app. Record your microphone on a separate track.
This gives you more control. You can lower the music, raise the vocal, cut mistakes, or rerecord the singing without starting over.
Only record or share music that you have permission to use. A song being easy to access online does not automatically give you permission to redistribute it.

How to Hear Your Voice While You Sing
You can hear your voice in two main ways:
- Direct monitoring: The microphone signal goes straight to your headphones through an audio interface or microphone.
- Software monitoring: The computer sends the microphone signal through the app and back to your headphones.
Direct monitoring usually has less delay. Software monitoring can add a short gap between singing and hearing your voice.
Reduce singing delay
Delay, also called latency, can make singing feel uncomfortable. Try these steps:
- Use wired headphones instead of Bluetooth headphones.
- Turn on direct monitoring if your microphone or interface supports it.
- Lower the audio buffer size in the recording app.
- Close apps that use heavy processing.
- Use the computer’s recommended audio driver.
- Avoid unnecessary effects while recording.
- Keep the backing track and microphone in the same audio system.
Bluetooth headphones often add enough delay to make live singing difficult. They may work well for playback, but wired headphones are usually better for recording.
A smaller buffer can reduce delay but may increase clicks or pops. If the audio becomes unstable, raise the buffer slightly.
Best Microphone Settings for Singing
There is no single perfect setting for every voice, room, or microphone. Start with a clean signal and change one setting at a time.
Input level
Set the level so your loudest singing remains clear. Watch for a meter that reaches the maximum or turns red. If that happens, lower the microphone gain.
Do not solve a weak recording only by raising the volume later. A very quiet recording may contain more room noise when amplified.
Sample rate and bit depth
Most recording apps use standard settings such as 44.1 kHz or 48 kHz. Either can work well for home singing. Use the same sample rate across the app, operating system, and audio interface when possible.
Higher settings create larger files and may require more computer power. They do not automatically make a poorly placed microphone sound better.
Room position
Face away from loud fans, air conditioners, and open windows. Avoid standing close to a bare wall, which can reflect your voice back into the microphone.
A closet full of clothes may reduce reflections, but do not block ventilation or create a fire risk. Never place fabric over a warm computer or audio device.

Common Problems and Fixes
Most microphone problems come from the wrong input, blocked permission, poor monitoring, or an input level that is too high.
The computer does not detect the microphone
Try the following:
- Unplug and reconnect the microphone.
- Use another USB port.
- Restart the computer.
- Check the microphone’s mute button.
- Select it manually in sound settings.
- Install the manufacturer’s driver only when the device requires one.
- Test the microphone on another computer if possible.
If the microphone works on another device, the issue is likely with the first computer’s settings, port, or app.
The app records silence
First, check the input selected inside the app. The app may be using the laptop microphone instead of the USB microphone.
Next, check system permission. Then confirm that the track is armed for recording and that the input meter moves when you speak.
The recording sounds distorted
Lower the microphone gain or input volume. Move farther away during loud singing. Check whether the distortion happens before the signal reaches the app.
If the audio is already clipped, lowering the volume after recording will not restore the missing detail. Record the part again at a lower level.
You hear an echo or loud squeal
Use headphones. Turn off software monitoring if you are already using direct monitoring. Lower speaker volume and move speakers away from the microphone.
An echo can also come from monitoring the same microphone through two apps at once. Close extra audio or video apps and keep only one monitoring path active.
The voice is too quiet
Move closer to the microphone, raise the input level slightly, and check that you are speaking toward the correct side of the microphone. Some USB microphones have front and rear pickup patterns, so placement matters.
Do not put the microphone gain at maximum without checking for noise. A closer, steady position often produces a cleaner result.
The voice and music are out of sync
Use wired headphones and reduce monitoring latency. If the problem appears after recording, move the vocal track slightly to align it with the backing track.
For live performance, even a small delay can feel distracting. Direct monitoring is usually the better choice.

A Simple Setup for Beginners
For the easiest home setup, use a USB microphone, wired headphones, and a recording app.
Follow this short process:
- Connect the USB microphone.
- Connect wired headphones.
- Select the microphone as the input.
- Select the headphones as the output.
- Create a mono vocal track.
- Play a backing track.
- Sing the loudest part as a test.
- Lower the input if the meter clips.
- Record a short section.
- Listen back before recording the full song.
This setup avoids many common problems. It does not require an audio interface, external mixer, or complex routing software.
For more control, use an XLR microphone with an audio interface. That option makes sense when you need multiple microphones, instrument inputs, hardware monitoring, or more detailed gain control.
Microphone Safety and Hearing Protection
Keep headphone volume comfortable. Loud sound over time can harm hearing, even when it does not feel painful.
A practical habit is to set the backing track at a moderate level and raise the microphone only enough to hear yourself. Take breaks during long sessions.
Never connect an XLR microphone directly to a computer headphone jack. An XLR microphone normally needs an audio interface or mixer. Use the correct cable and power settings for the microphone type.
If you smell burning, see sparks, or notice a damaged cable, disconnect the equipment and stop using it. Do not open electrical equipment unless you are trained to service it.

Frequently Asked Questions
Can I sing into a computer without a microphone?
Yes. You can use a laptop’s built-in microphone or a headset microphone. The sound may include more room noise and echo than a dedicated microphone.
Can I use AirPods or Bluetooth headphones for singing?
You can use them for playback, but Bluetooth delay may make live singing difficult. Wired headphones usually provide a more immediate monitor signal.
Why can I hear the music but not my voice?
The microphone may be selected correctly for recording but not for monitoring. Turn on input monitoring in the app, use direct monitoring on your interface, or check whether the app supports live microphone playback.
Is USB or XLR better for singing?
USB is easier for most beginners. XLR provides more equipment choices and control but requires an audio interface. Neither connection guarantees better sound by itself; microphone placement, room sound, and input level also matter.
Can I sing with a microphone on Zoom or another video-call app?
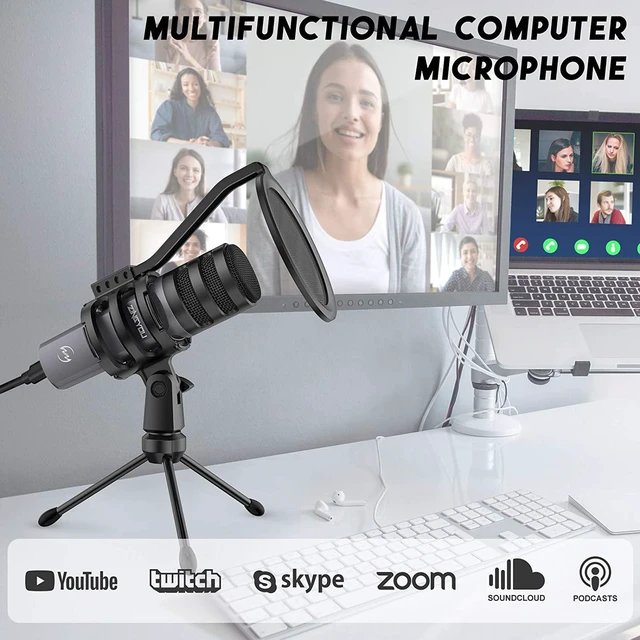
Yes. Select the microphone in the app’s audio settings and use headphones to prevent feedback. Turn off automatic audio processing if it removes parts of your singing, but test first because that setting can also allow more background noise.
Final Checklist
Before you sing, confirm these points:
- The microphone appears in the computer’s input settings.
- The singing app uses the correct microphone.
- Headphones are connected.
- The input meter moves when you sing.
- The loudest note does not clip.
- Software monitoring is not creating distracting delay.
- Speakers are muted or placed far enough away to prevent feedback.
- You recorded a short test before the full performance.
Start with a USB microphone, wired headphones, and a simple recording app. Once that setup works, improve the room, microphone position, and vocal mix one change at a time.
