

Use proper mic placement, a quiet room, careful gain, and light processing to make your microphone sound better.
Learning how to make your microphone sound better is less about buying costly gear and more about controlling sound before it reaches the mic. Room noise, distance, input gain, plosives, and poor software settings often cause thin, harsh, or muddy audio. This guide explains the same practical methods used in podcasting, streaming, video calls, music recording, and voice-over work.

Start With the Microphone’s Position
Microphone placement is one of the fastest ways to improve sound. Even a basic USB microphone can sound clear when it is placed well. An expensive microphone can sound poor when it sits too far away or points at the wrong part of your face.
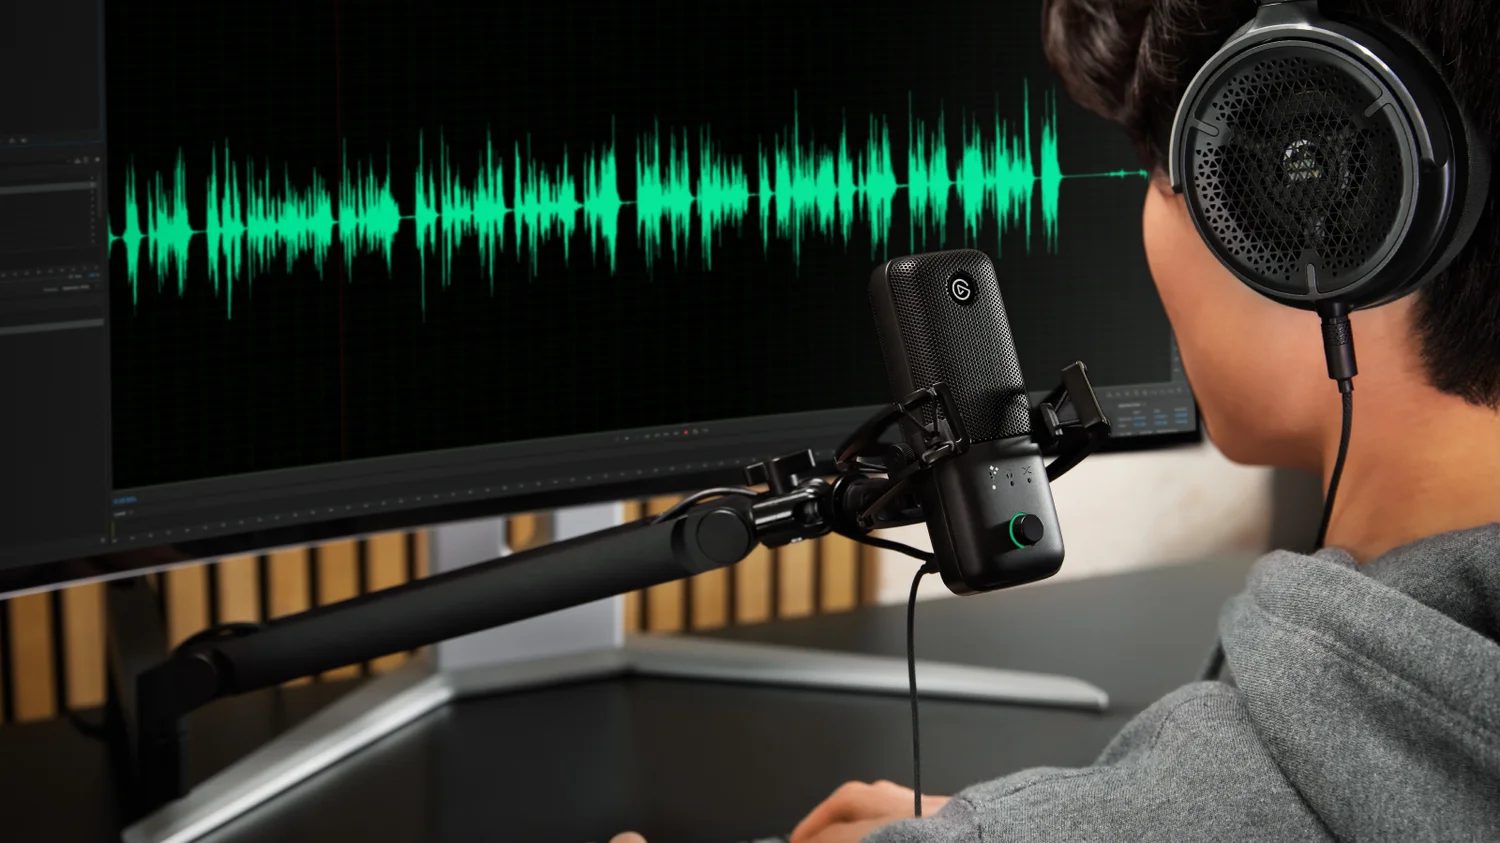
Place the microphone about 4 to 8 inches from your mouth. Speak across the front of the mic rather than directly into it. This reduces harsh bursts of air and helps your voice sound smooth.
Use a pop filter or foam windscreen if possible. These tools reduce plosive sounds from letters such as “P,” “B,” and “T.” A pop filter also helps protect the microphone capsule from moisture.
Try these placement tips:
• Keep the microphone slightly below or beside your mouth.
• Aim the capsule toward the corner of your mouth.
• Keep the distance steady while speaking.
• Use a boom arm or stable stand to prevent desk vibrations.
• Do not place the microphone directly beside a laptop fan.
A common mistake is moving closer when speaking softly and farther away when speaking loudly. This changes the tone and volume of every sentence. Keep your distance steady and adjust your input level instead.

Choose the Right Recording Space
Your room affects your microphone more than many people expect. A microphone does not only record your voice. It also captures reflections from walls, ceilings, windows, floors, and furniture.
Hard surfaces create echoes. Soft surfaces absorb some sound and make the recording feel more controlled. You do not need a professional studio, though. A bedroom with curtains, a rug, books, and soft furniture may work better than a large empty office.
To improve your recording space:
• Close windows and doors.
• Turn off fans, air conditioners, and loud appliances.
• Move away from bare walls and windows.
• Add a rug if the floor is hard.
• Use curtains, blankets, or clothing to reduce reflections.
• Face a soft surface instead of a blank wall.
Do not cover your entire room with thin foam and expect perfect results. Small foam squares mainly reduce some high-frequency reflections. They do little for traffic noise, deep bass, or sound passing through walls.
In my own recording tests, moving a microphone only a few feet away from a bare wall often made a bigger difference than changing software settings. Treat the space first. Processing should polish a good recording, not rescue a bad one.

Set the Correct Input Gain
Gain controls how strongly your microphone signal enters your computer, audio interface, or mixer. It does not work the same way as the volume slider used to listen to audio.
Set your gain while speaking at your normal loudness. Watch the input meter in your recording software. Aim for average speech around −18 dBFS, with louder peaks near −12 to −6 dBFS. Avoid reaching 0 dBFS, because that causes clipping.
Clipping happens when the signal is too loud for the system to record. It creates harsh distortion that cannot be fully repaired later. Lowering the volume after clipping will not restore the lost detail.
A simple gain setup looks like this:
Speak at your normal distance and volume.
Raise the microphone gain slowly.
Watch the meter during your loudest normal words.
Stop before the meter reaches the red zone.
Record a short test and listen with headphones.
If your voice sounds noisy, do not immediately raise the gain. Move closer to the microphone, reduce background noise, and check whether the microphone is connected to the correct input.
Learning how to make your microphone sound better often starts with gain staging. A clean signal at the beginning gives every later tool more room to work.

Use the Correct Microphone Pattern
Many microphones offer pickup patterns. The pattern controls which directions the microphone hears best.
A cardioid pattern mainly captures sound from the front. It is useful for streaming, podcasting, voice-over work, and calls. It can also reduce sound from behind the microphone when positioned correctly.
Other patterns have different uses:
• Cardioid captures sound mainly from the front.
• Omnidirectional captures sound from every direction.
• Bidirectional captures sound from the front and rear.
• Stereo captures a wider left and right image.
Use cardioid for most solo voice work. Point the rear of the microphone toward a noisy computer, window, or doorway when the design allows it. Check the manual, because the front of some microphones is not the side you may expect.
A wrong pattern can make your voice sound distant and bring in extra room noise. Switching to the right pattern may improve your recording without changing any other setting.

Improve Your Speaking Technique
A microphone records your habits as clearly as your words. Sudden volume changes, mouth clicks, heavy breathing, and speaking too close to the capsule can make clean audio difficult.
Speak toward the microphone with a relaxed voice. Keep your mouth a little off-axis to reduce strong air bursts. If you turn your head often, use a wider pickup pattern only when the room is quiet enough.
Before recording, drink water and avoid noisy foods. Dry lips can create clicks, while deep breaths can become distracting when the microphone is close. A short pause between sentences also makes editing easier.
Practice these habits:
• Keep a steady distance from the microphone.
• Turn your head slightly for loud words.
• Pause before coughing or clearing your throat.
• Mark mistakes with a short pause instead of stopping at once.
• Record a test before starting the full session.
When I first worked with close microphone placement, I focused too much on speaking loudly. The better approach was to speak naturally, stay consistent, and let the gain control do its job. That small change made the voice sound less strained.

Reduce Background Noise and Vibrations
Background noise can come from many sources. Computers, refrigerators, traffic, plumbing, keyboard keys, and desk vibrations may all enter the recording.
Start by finding the loudest noise in the room. Record 10 seconds of silence and listen with headphones. This simple test can reveal a low hum or hiss that you may not notice while speaking.
To reduce unwanted noise:
• Place the microphone on a shock mount or stable stand.
• Keep it away from the computer tower.
• Use a quiet keyboard and mouse during live work.
• Close nearby windows.
• Put the stand on a soft desk mat.
• Record during quieter hours.
A shock mount helps reduce mechanical vibration, but it does not block room noise. Noise reduction software can help with a steady fan or low hum, yet strong processing may create watery or metallic artifacts.
The best recording is usually made before editing. Software is useful, but prevention sounds more natural than repair.

Adjust Equalization Carefully
Equalization, often called EQ, changes the level of different frequency ranges. It can remove unwanted tones and help speech sound clearer.
Use a high-pass filter to reduce low rumble. For spoken voice, a setting between 70 and 100 Hz may help, but the right value depends on the speaker and microphone. Do not remove too much low end, or the voice may sound thin.
Common EQ adjustments include:
• Reduce muddy sound around 150 to 300 Hz.
• Add gentle clarity around 2 to 5 kHz.
• Reduce harshness around 4 to 8 kHz if needed.
• Control excessive brightness above 8 kHz.
These ranges are only starting points. Every voice and room is different. Make small changes and compare the processed sound with the original.
Avoid boosting treble to create clarity when the real problem is room echo. More high frequencies may also make “S” sounds sharp. Good EQ should sound natural, not obvious.
Add Compression and a Limiter
Compression reduces the difference between quiet and loud parts of your voice. It can make speech sound more even and easier to hear.
A gentle vocal compressor may use a ratio between 2:1 and 4:1. Start with a moderate threshold and aim for about 3 to 6 dB of gain reduction during louder speech. Use a medium attack and release so the voice remains natural.
A limiter prevents sudden peaks from becoming too loud. Set the final ceiling around −1 dBFS for many digital projects. This leaves a small amount of safety below the maximum level.
Compression cannot fix a noisy room or clipped audio. Too much compression can raise background noise, flatten emotion, and make breathing sound unnatural. Listen at a normal volume instead of judging only by the meter.
A useful processing order is:
Remove obvious noise only when needed.
Apply corrective EQ.
Add light compression.
Add gentle tone shaping if required.
Use a limiter for peak control.
Use Better Software Settings
Your recording software can affect quality, but the settings should match the task. For voice recording, use a sample rate of 48 kHz when working with video. A 44.1 kHz sample rate is also common for music and general audio.
Use at least 24-bit recording when your equipment supports it. This gives you more room while setting levels and reduces the risk of a weak signal becoming noisy during editing.
Check these settings:
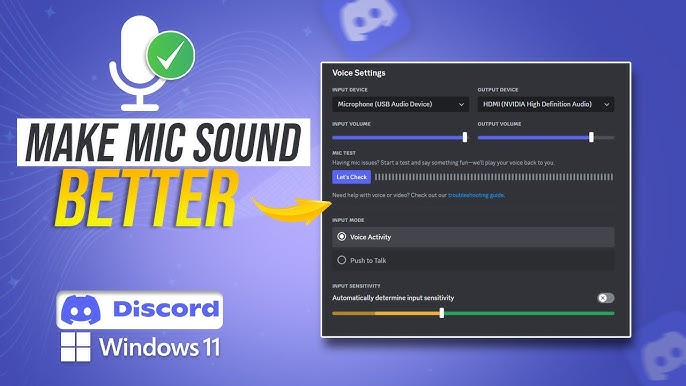
• Select the correct microphone as the input device.
• Disable automatic gain if it causes volume changes.
• Record in mono for a single voice microphone.
• Use headphones to monitor the actual signal.
• Turn off audio effects that create unwanted echo.
Many video call apps apply automatic noise removal, echo control, and volume leveling. These tools can help in a busy room, but they may also cut off quiet words or change your tone. Test them before an important meeting or live broadcast.
If you are learning how to make your microphone sound better for calls, place the mic close to you, use headphones, and disable duplicate microphone inputs. Two active audio paths can cause echo and feedback.
Choose the Right Connection and Accessories
USB microphones are simple and convenient. They connect directly to a computer and often include a built-in analog-to-digital converter. XLR microphones connect to an audio interface or mixer and offer more control, but they require extra equipment.
Neither connection automatically sounds better. Microphone design, room acoustics, placement, and gain usually matter more than USB versus XLR.
Check the following before buying new gear:
• Does the microphone suit your voice?
• Does it reject sound from the room?
• Does your interface provide enough clean gain?
• Do you need phantom power for a condenser microphone?
• Is the stand stable?
• Can you monitor without delay?
Condenser microphones are often sensitive and detailed. Dynamic microphones may reject more room sound and handle loud sources well. A sensitive microphone is not always the best choice for a noisy home office.
A pop filter, boom arm, shock mount, and closed-back headphones can provide more value than a costly microphone upgrade. Buy the item that fixes your actual problem.
Fix Common Microphone Problems
Different problems need different solutions. Do not use the same setting for every recording.
Your voice sounds quiet
Move closer, increase gain carefully, and check that the correct input is selected. Do not normalize heavily if the original recording contains a lot of hiss.
Your voice sounds muffled
Check whether the microphone is aimed at the wrong side. Move away from thick fabric, lower excessive bass with EQ, and test a slightly closer position.
Your voice sounds harsh
Move slightly off-axis, reduce high-frequency boost, and check for strong room reflections. A cheap pop filter can also soften sharp air bursts.
The recording contains echo
Use a smaller, softer room and move away from bare walls. Add curtains, rugs, or other dense furnishings before using strong reverb reduction.
There is a constant hum
Check power cables, USB connections, nearby chargers, and electrical devices. If you use XLR equipment, test another cable and make sure the interface is properly connected.
The volume changes by itself
Disable automatic gain control in your operating system or app. Also check whether compression, leveling, or a meeting app is changing the signal.
Troubleshooting becomes easier when you change one thing at a time. Record the same sentence after each adjustment. This creates a fair comparison and helps you learn what actually works.
A Simple Microphone Improvement Workflow
You can improve most home recordings with a repeatable process. The goal is to solve physical problems before applying digital effects.
Choose the quietest practical room.
Turn off nearby noise sources.
Place the microphone 4 to 8 inches from your mouth.
Aim it correctly and use a pop filter.
Select a cardioid pattern for solo speech when available.
Set gain so loud speech peaks below 0 dBFS.
Record a 20-second test.
Listen with headphones.
Apply light EQ and compression only if needed.
Compare the final sound with the unprocessed recording.
Save your settings after you find a reliable setup. You can also keep a short reference recording. This makes it easier to notice whether a new cable, room, microphone, or software update changes the sound.
The best way to make your microphone sound better is to test with your own voice. Online settings can offer a useful starting point, but no preset can account for your room, speaking style, or microphone model.
Mistakes That Make Audio Worse
Several popular fixes can create new problems. More gain is not the same as more quality. If the microphone is far away, increasing gain raises the room noise along with your voice.
Avoid these common mistakes:
• Recording too close without a pop filter.
• Placing the microphone on a vibrating desk.
• Boosting treble to hide a muffled room.
• Using aggressive noise reduction.
• Recording with the meter constantly in the red.
• Applying heavy compression to every voice.
• Buying gear before testing placement.
• Monitoring through speakers while recording.
Another mistake is judging audio from laptop speakers alone. Small speakers may hide bass, room noise, and harsh consonants. Use headphones and, when possible, check the recording on more than one system.
Audio quality is also subjective. A warm broadcast voice may not suit every person or project. Aim for clear, comfortable, natural speech rather than copying another creator’s exact sound.
Frequently Asked Questions About How to Make Your Microphone Sound Better
How can I make my microphone sound better without buying equipment?
Move the microphone closer, reduce room noise, use the correct pickup pattern, and set the gain correctly. Curtains, rugs, books, and soft furniture can also reduce reflections without much cost.
Why does my microphone sound muffled?
The microphone may face the wrong direction, sit too far away, or capture too much low-frequency room sound. Check the placement first, then use a small EQ cut in the muddy range.
Should I use a pop filter on a USB microphone?
Yes, a pop filter can reduce bursts of air and make close speech sound cleaner. It also helps protect the microphone from moisture during long recording sessions.
What microphone settings are best for streaming?
Use a cardioid pattern, place the microphone close to your mouth, and set gain so normal speech stays well below clipping. Light compression and a limiter can make your voice more consistent during a live stream.
Is USB or XLR better for sound quality?
Neither connection is always better. A good USB microphone can sound excellent, while an XLR setup gives you more control and upgrade options through an audio interface.
How do I reduce echo in my microphone recording?
Record in a smaller room with soft furnishings and move away from bare walls and windows. Strong echo removal software may help, but improving the room usually sounds more natural.
Why does my microphone pick up keyboard noise?
The microphone may be too close to the keyboard or mounted on the same vibrating desk. Move the microphone, use a boom arm, lower the input gain, and choose a pickup pattern that rejects sound from the keyboard.
Conclusion
Learning how to make your microphone sound better starts with simple control: use a quiet space, place the microphone correctly, keep a steady distance, and set clean input gain. After that, light EQ, compression, and limiting can refine the sound without making it artificial.
You do not need the most expensive microphone to get clear audio. Test one change at a time, listen with headphones, and save the setup that works for your voice and room. Try these steps in your next recording, then explore more audio techniques or share your results in the comments.