

A microphone may be broken if it produces no sound, very low volume, loud noise, crackling, or a signal that cuts in and out. But these symptoms often come from a muted input, bad cable, wrong device setting, weak battery, blocked port, or missing phantom power.
The fastest way to find the real cause is to test the microphone in a simple setup. Check the physical parts first, confirm the input settings, try a known-good cable and device, and compare the result with another microphone.
This guide applies to common microphones used in the United States, including USB microphones, XLR microphones, 3.5 mm microphones, headset microphones, and microphones built into laptops, phones, and webcams.

Start With the Symptoms
The symptom can point to the likely problem, but it does not prove that the microphone itself is bad.
| What you hear or see | Common causes |
|---|---|
| No signal at all | Mute switch, wrong input, bad cable, dead battery, missing power, damaged microphone |
| Very low volume | Low input gain, distant mic position, blocked grille, weak power, damaged capsule |
| Hissing or buzzing | Poor cable, electrical interference, high gain, grounding issue, noisy USB power |
| Crackling | Damaged cable, loose connector, dirty jack, failing electronics |
| Sound cuts in and out | Loose connection, USB power problem, battery issue, driver problem |
| Distorted sound | Input gain set too high, damaged capsule, clipped preamp, moisture damage |
| One-sided sound | Stereo setting, faulty adapter, bad connector, cable wiring issue |
| Delayed sound | Monitoring or software setting, not usually a broken microphone |
A microphone capsule converts sound into an electrical signal. The rest of the microphone system carries, powers, or processes that signal. A failure in any part can look like a microphone failure.
For example, an XLR microphone may need power from an audio interface. A USB microphone may need a working data connection and a compatible operating system. A wireless microphone may need a charged transmitter, a paired receiver, and a clear signal path.

Check the Simple Causes First
Before opening the microphone or buying a replacement, check mute, volume, power, and connections. These checks are quick and fix many apparent microphone failures.
1. Check every mute control
Look for mute controls in several places:
- The microphone body
- The headset cable
- The audio interface
- The computer keyboard
- The video-call app
- The operating system’s sound panel
A microphone can show a signal light and still be muted in software. In apps such as Zoom, Microsoft Teams, Discord, and OBS, check both the app mute button and the selected input device.
2. Confirm the selected input
On a Windows PC, open the sound settings and select the microphone under the input section. On a Mac, open System Settings > Sound > Input and choose the correct microphone.
Speak while watching the input meter. If the meter moves, the computer is receiving audio. The problem may be inside the recording app, such as a muted track, low channel fader, or incorrect input assignment.
If the meter does not move, continue with the hardware checks.
3. Raise the input level carefully
Set the input level to a middle value first. Speak from a normal distance, then raise the level slowly.
Do not turn the gain all the way up as a first step. High gain can make normal background noise sound like a microphone fault and can overload the input.
4. Check the power source
Different microphone types use different power systems:
- USB microphones receive power through the USB connection.
- XLR condenser microphones often need 48-volt phantom power from an audio interface or mixer.
- Dynamic XLR microphones usually do not need phantom power.
- Wireless microphones use batteries or rechargeable cells.
- 3.5 mm microphones may use plug-in power from the device.
Turn on phantom power only when the microphone or its manual supports it. Do not use random adapters to connect an XLR microphone to a phone or computer. The adapter may not provide the correct power or signal type.
Inspect the Microphone and Cable
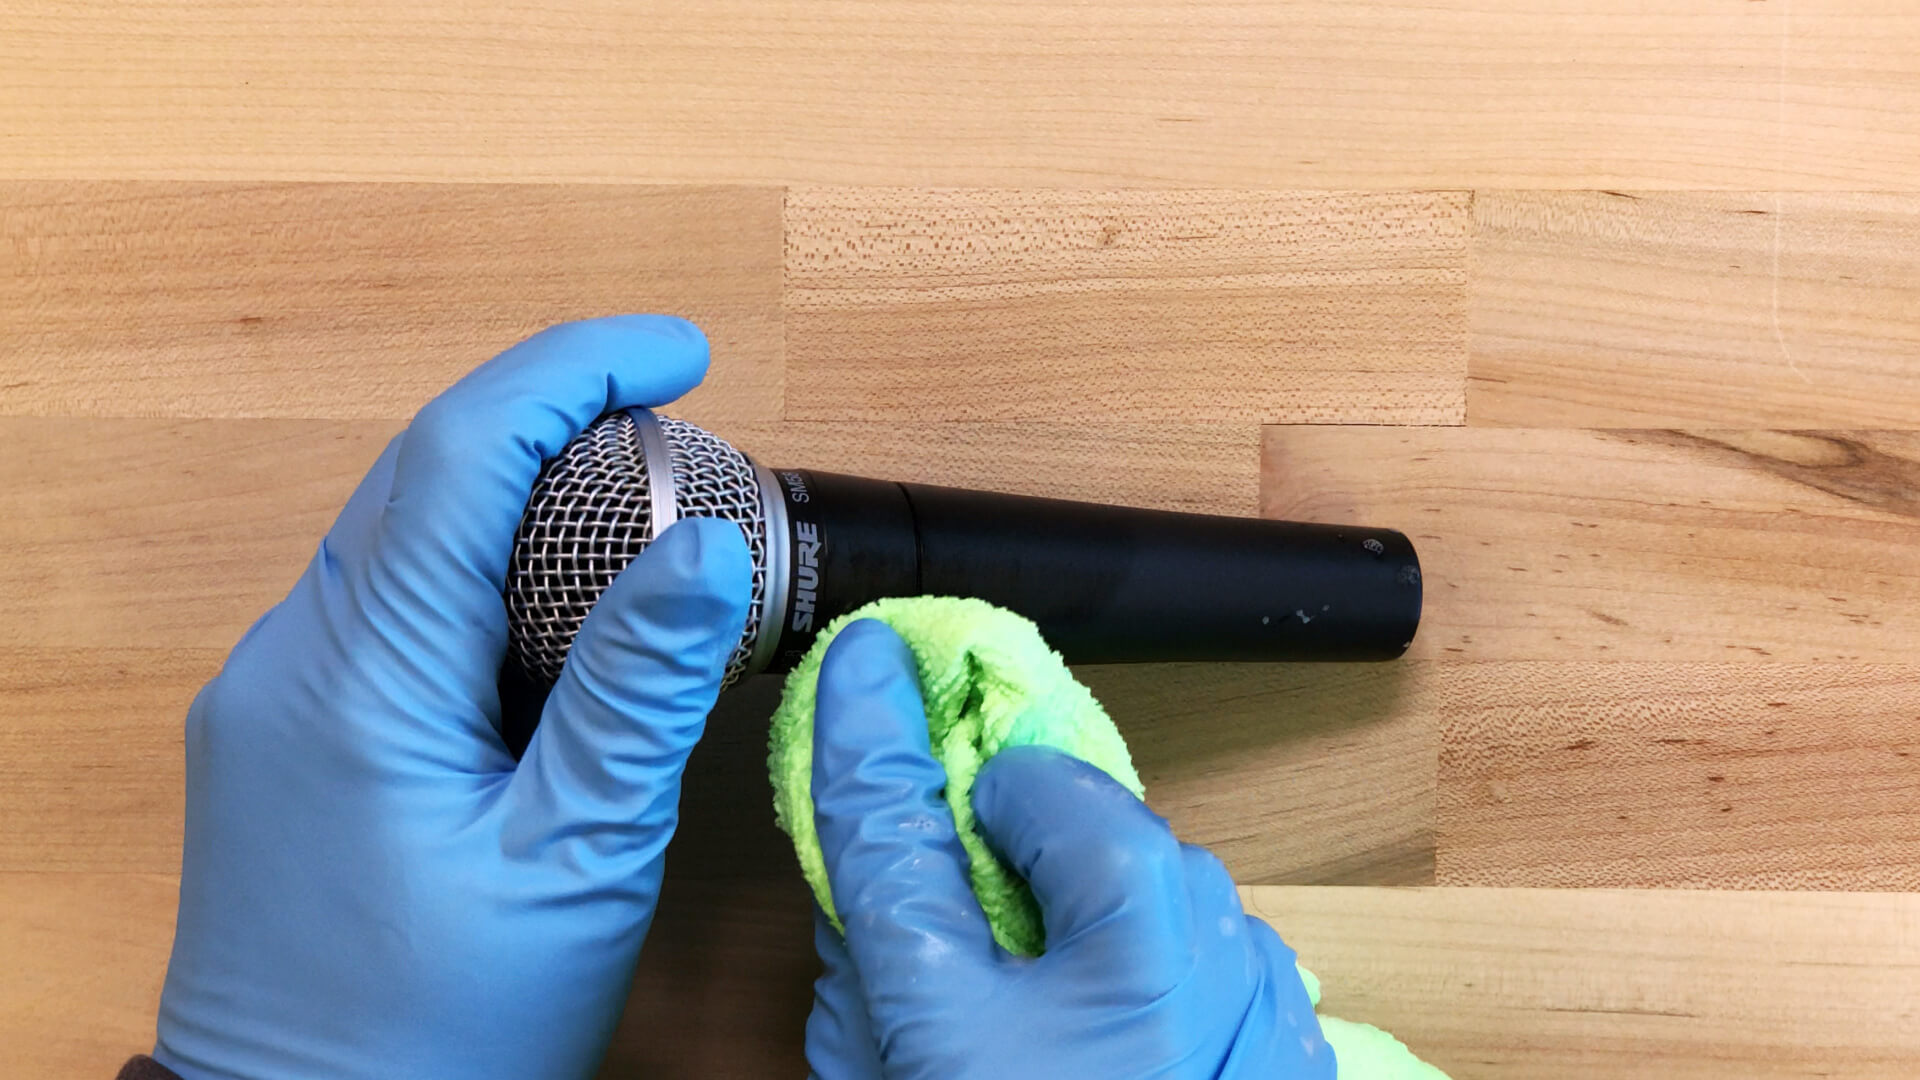
Physical inspection can reveal damage that software tests cannot find. Unplug the microphone before cleaning or inspecting its connectors.
Check for:
- A loose grille
- A dented body
- Bent connector pins
- A loose USB or XLR socket
- Frayed cable insulation
- Corrosion
- Moisture
- Dirt inside the connector
- A damaged power switch
- A broken battery door
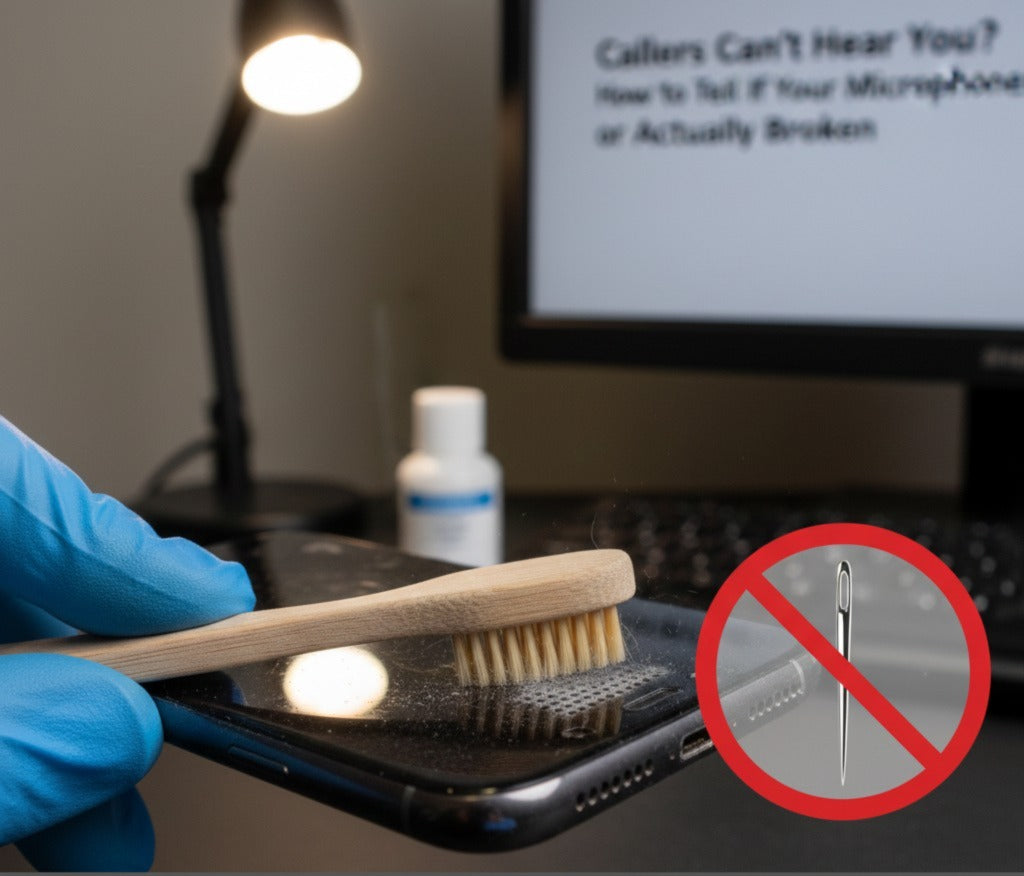
Do not push objects into the microphone grille or connector. A soft, dry cloth can remove surface dust. If a connector is wet, disconnect it and let it dry fully before use. Do not use heat from a hair dryer.
Test the cable
A bad cable is one of the most common causes of microphone trouble.
Replace the cable with one that you know works. For an XLR microphone, use a proper three-pin XLR cable. For a USB microphone, try a compatible data cable rather than a charge-only cable. Some USB cables provide power but cannot carry audio data.
While recording, gently move the cable near each connector. If the sound cuts out, crackles, or returns when the cable moves, stop using that cable. A damaged cable can also damage a connector if it remains under tension.
Test each port
Try a different USB port or input on the computer. Avoid testing through a hub at first. Connect the microphone directly to the computer.
For an XLR setup, try another input on the audio interface if one is available. If the same microphone works on one input but not another, the interface input may be the problem.
Test the Microphone in a Basic Recording
A basic recording removes many variables caused by video calls, games, and streaming software.
For a USB microphone
- Disconnect other audio devices.
- Connect the microphone directly to the computer.
- Select it as the input device.
- Open a simple recorder, such as Windows Sound Recorder or QuickTime Player on a Mac.
- Record 10 to 20 seconds of speech.
- Play the file through headphones.
A working USB microphone should create a recording with clear speech and a visible input level. It may still sound quiet if the gain is low or the microphone is too far away, so judge the test at a normal speaking distance.
For an XLR microphone
- Connect the microphone to an audio interface with a known-good XLR cable.
- Connect headphones to the interface.
- Select the correct input.
- Turn the channel gain down before connecting.
- Turn on phantom power only if the microphone requires it.
- Speak into the microphone from a normal distance.
- Raise the gain until the input meter responds without reaching the red or clip area.
- Record a short sample.
If the input meter moves but the recording is silent, check the recording software’s track assignment and monitoring settings. The microphone may be working even if the software is not recording the selected input.
For a headset or 3.5 mm microphone
Make sure the plug matches the device. Headsets often use a four-contact TRRS plug, while some computers or mixers use separate headphone and microphone sockets.
A headset may need a TRRS splitter or a compatible headset adapter. An incorrect adapter can send the microphone signal to the wrong contact.
Use the Swap Test to Find the Fault
The swap test is the clearest way to separate a bad microphone from a bad accessory or device.
Change one item at a time:
- Test the microphone with a known-good cable.
- Test it on another compatible computer, phone, interface, or recorder.
- Test a known-good microphone on the original cable and device.
- Test a different input port.
- Compare the results.
Use this simple result guide:
| Test result | Most likely explanation |
|---|---|
| Microphone fails on two known-good systems | Microphone or its attached connector may be damaged |
| Microphone works with another cable | Original cable is faulty |
| Another microphone also fails on the same input | Computer, interface, adapter, or software issue |
| Microphone works on one computer but not another | Compatibility, driver, permission, or settings problem |
| Signal appears when the cable moves | Cable or connector fault |
| Input meter moves but recording is silent | Software routing, track, or monitoring problem |
| Recording works but sounds poor | Position, room noise, gain, capsule, or processing issue |
Test only compatible equipment. An XLR microphone, USB microphone, and phone headset do not always use the same type of signal or power.
Tell a Broken Microphone From Poor Sound Quality
A microphone is not necessarily broken because it sounds thin, dull, quiet, or noisy. Room acoustics and microphone technique can have a larger effect than the microphone itself.
Try these adjustments:
- Speak 4 to 8 inches from a typical vocal microphone unless its manual says otherwise.
- Aim the front of the microphone toward your mouth. Many side-address microphones do not pick up sound well from the top.
- Reduce input gain if speech sounds harsh or distorted.
- Move away from fans, air conditioners, refrigerators, and computer noise.
- Use headphones to listen for hum, hiss, or crackle.
- Turn off aggressive noise suppression for one test.
- Record in a quiet room with hard surfaces covered where possible.
A constant low hiss may come from high gain or a noisy preamp. A low-frequency hum may come from power interference, a ground loop, or an unbalanced connection. Crackling that changes when the cable moves is more consistent with a connection fault.
If the microphone works clearly in a basic recording but sounds bad in a call, stream, or game, the microphone is probably not broken. Check the app’s input, gain, noise reduction, equalizer, and sample-rate settings.
Check Software, Drivers, and Permissions
A computer can detect a microphone without allowing an app to use it.
On Windows, check microphone privacy permissions and confirm that the app can access the input device. On macOS, check microphone access under System Settings > Privacy & Security > Microphone.
Also check:
- The input device selected in the app
- Input volume
- Exclusive-mode settings
- Audio interface control software
- USB device recognition
- Driver or firmware updates from the manufacturer
- Sample-rate conflicts
- Browser microphone permissions
Restart the computer after changing permissions or installing a driver. If the microphone works in the operating system’s built-in recorder but not in one app, focus on that app’s settings rather than the microphone.
Avoid downloading random drivers from unofficial websites. Use the computer maker, operating system maker, or microphone manufacturer as the source.
Signs the Microphone Itself May Be Broken
The microphone is more likely to have a hardware fault when all of these conditions are true:
- The correct input is selected.
- The microphone has the required power.
- A known-good cable is being used.
- The microphone fails on more than one compatible device.
- Another microphone works with the same equipment.
- The fault remains after software settings are checked.
Common hardware failure signs include:
- No signal on any compatible system
- Severe crackling with no cable movement
- A connector that feels loose inside the body
- Sound that disappears when the microphone warms up
- A capsule that sounds permanently distorted at normal gain
- Visible liquid or corrosion damage
- A power or status light that never operates when it should
Some faults are intermittent. A microphone may work for a few minutes and then fail as a connector, battery, or internal component changes temperature. Record a longer test if the problem is not constant.
Do not open a powered microphone unless you have the proper skills and the warranty allows it. Condenser microphones and audio interfaces can contain stored electrical charge. Manufacturer service or a qualified repair technician is safer for internal faults.
When to Repair, Replace, or Return It
Return or exchange the microphone if it is new and fails the swap test. Keep the receipt, packaging, serial number, and a short recording that shows the fault.
Repair may make sense when:
- The microphone is expensive or difficult to replace
- The fault is a cable, connector, switch, or battery
- The manufacturer offers service
- The microphone contains valuable custom parts
- The repair cost is clearly lower than a suitable replacement
Replacement may be more practical when the microphone has major liquid damage, a damaged capsule, missing parts, or an unavailable repair service.
Before choosing either option, check the manufacturer’s warranty terms. Do not assume that accidental damage, moisture, modified wiring, or third-party repairs are covered.
Common Mistakes to Avoid
Assuming no sound means the microphone is dead
A muted app, wrong input, or charge-only USB cable can create the same symptom. Always test the microphone in a basic recorder.
Turning gain all the way up
High gain can create hiss and clipping. Use a normal speaking distance and increase gain in small steps.
Using the wrong adapter
A passive adapter may not convert USB, XLR, TRS, and TRRS signals correctly. Check the microphone and device manuals before connecting them.
Testing only one app
A problem in Zoom or a streaming program does not prove a hardware fault. Compare the result in a simple recording app.
Blowing hard into the microphone
A hard blast can stress the capsule and spread moisture. Speak normally during tests.
Cleaning with liquid
Do not spray cleaner into the grille, connector, or control openings. Moisture can cause permanent damage.
A Quick Decision Path
Use this order when you need a fast answer:
- Check mute, input selection, and input level.
- Confirm the microphone has the required power.
- Replace the cable with a known-good compatible cable.
- Try another USB port or audio input.
- Record a test in a basic recorder.
- Test the microphone on another compatible device.
- Test another microphone on the original device.
- If the microphone fails every compatible test, seek repair or replacement.
The strongest evidence of a broken microphone is not one bad recording. It is repeated failure across a known-good cable, a known-good input, and a second compatible device.
Frequently Asked Questions
How can I tell if a USB microphone is broken?
Connect it directly to a computer with a known-good data cable. Confirm that the operating system detects it, select it as the input, and record a short sample. If it is not detected or produces no signal on two compatible computers, the microphone or USB port may be damaged.
How do I know if an XLR microphone needs phantom power?
Check the microphone manual or manufacturer specifications. Many condenser XLR microphones need 48-volt phantom power. Most passive dynamic microphones do not. Do not guess when using unusual microphones, ribbon microphones, or older equipment.
Why does my microphone work in one app but not another?
The apps may use different input selections, permissions, gain controls, or audio routing. If the microphone works in a basic recording, check the problem app’s microphone permission and selected input first.
Can a bad cable damage a microphone?
A damaged cable can cause noise, dropouts, or intermittent connections. Incorrect wiring, unsafe adapters, or faulty external power can also damage equipment. Stop using a cable that is frayed, hot, loose, or visibly damaged.
Why does my microphone sound distorted even though it still records?
The input may be clipping because gain is too high, or the microphone may be too close to a loud sound source. Lower the gain, move back slightly, and test again. If distortion remains on multiple devices at normal levels, hardware damage becomes more likely.
Conclusion
To tell if a microphone is broken, test it in a controlled setup rather than relying on one symptom. Check mute and input settings, confirm power, try a known-good cable, record a short sample, and repeat the test on another compatible device.
If the microphone still fails while another microphone works on the same equipment, the microphone itself likely needs service or replacement. If it works in a basic recorder, focus on the app, adapter, computer settings, or recording environment instead.
