

To use a mic well, connect it correctly, set the gain, keep proper distance, and speak clearly into the front.
Learning how to use the mic is easier than it first seems. The best results come from a few simple habits: choosing the right microphone, placing it well, setting a clean input level, and controlling your voice. This guide explains the full process for phones, computers, cameras, gaming setups, podcasts, meetings, and live events.
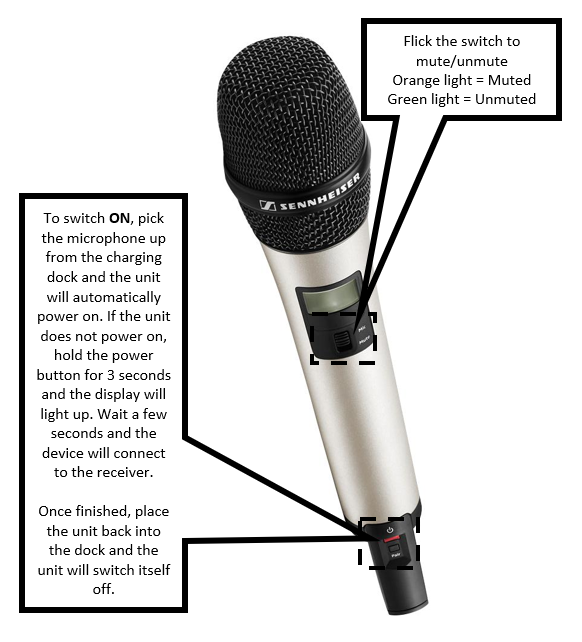
What a Microphone Does
A microphone changes sound waves into an electrical signal. Your device then records, sends, or amplifies that signal.
Knowing this basic process helps you understand how to use the mic. A microphone does not make every voice sound perfect by itself. It captures what reaches it, including speech, room noise, keyboard clicks, fans, and echoes.
Most microphones fall into three common groups:
• Dynamic microphones are strong, durable, and good for live speech, singing, and loud spaces.
• Condenser microphones are sensitive and detailed. They work well for studios, podcasts, voice-overs, and quiet rooms.
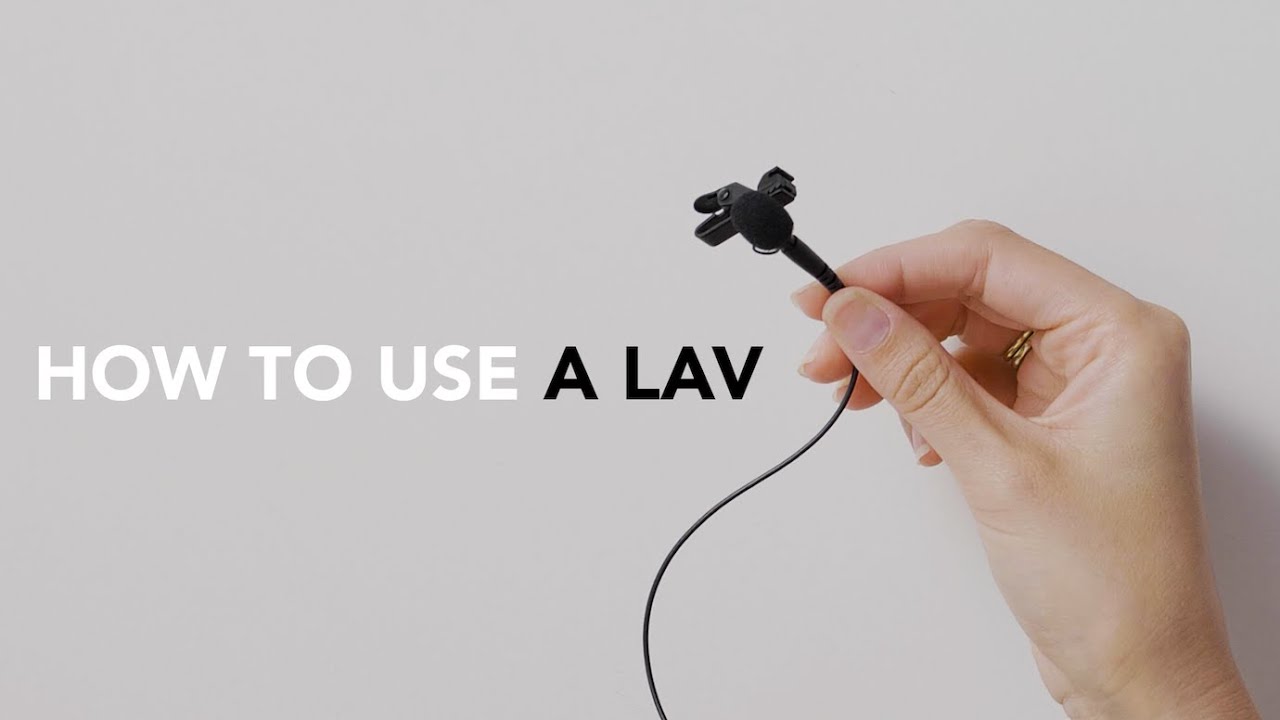
• Lavalier microphones are small clip-on mics often used for interviews, presentations, and video recording.
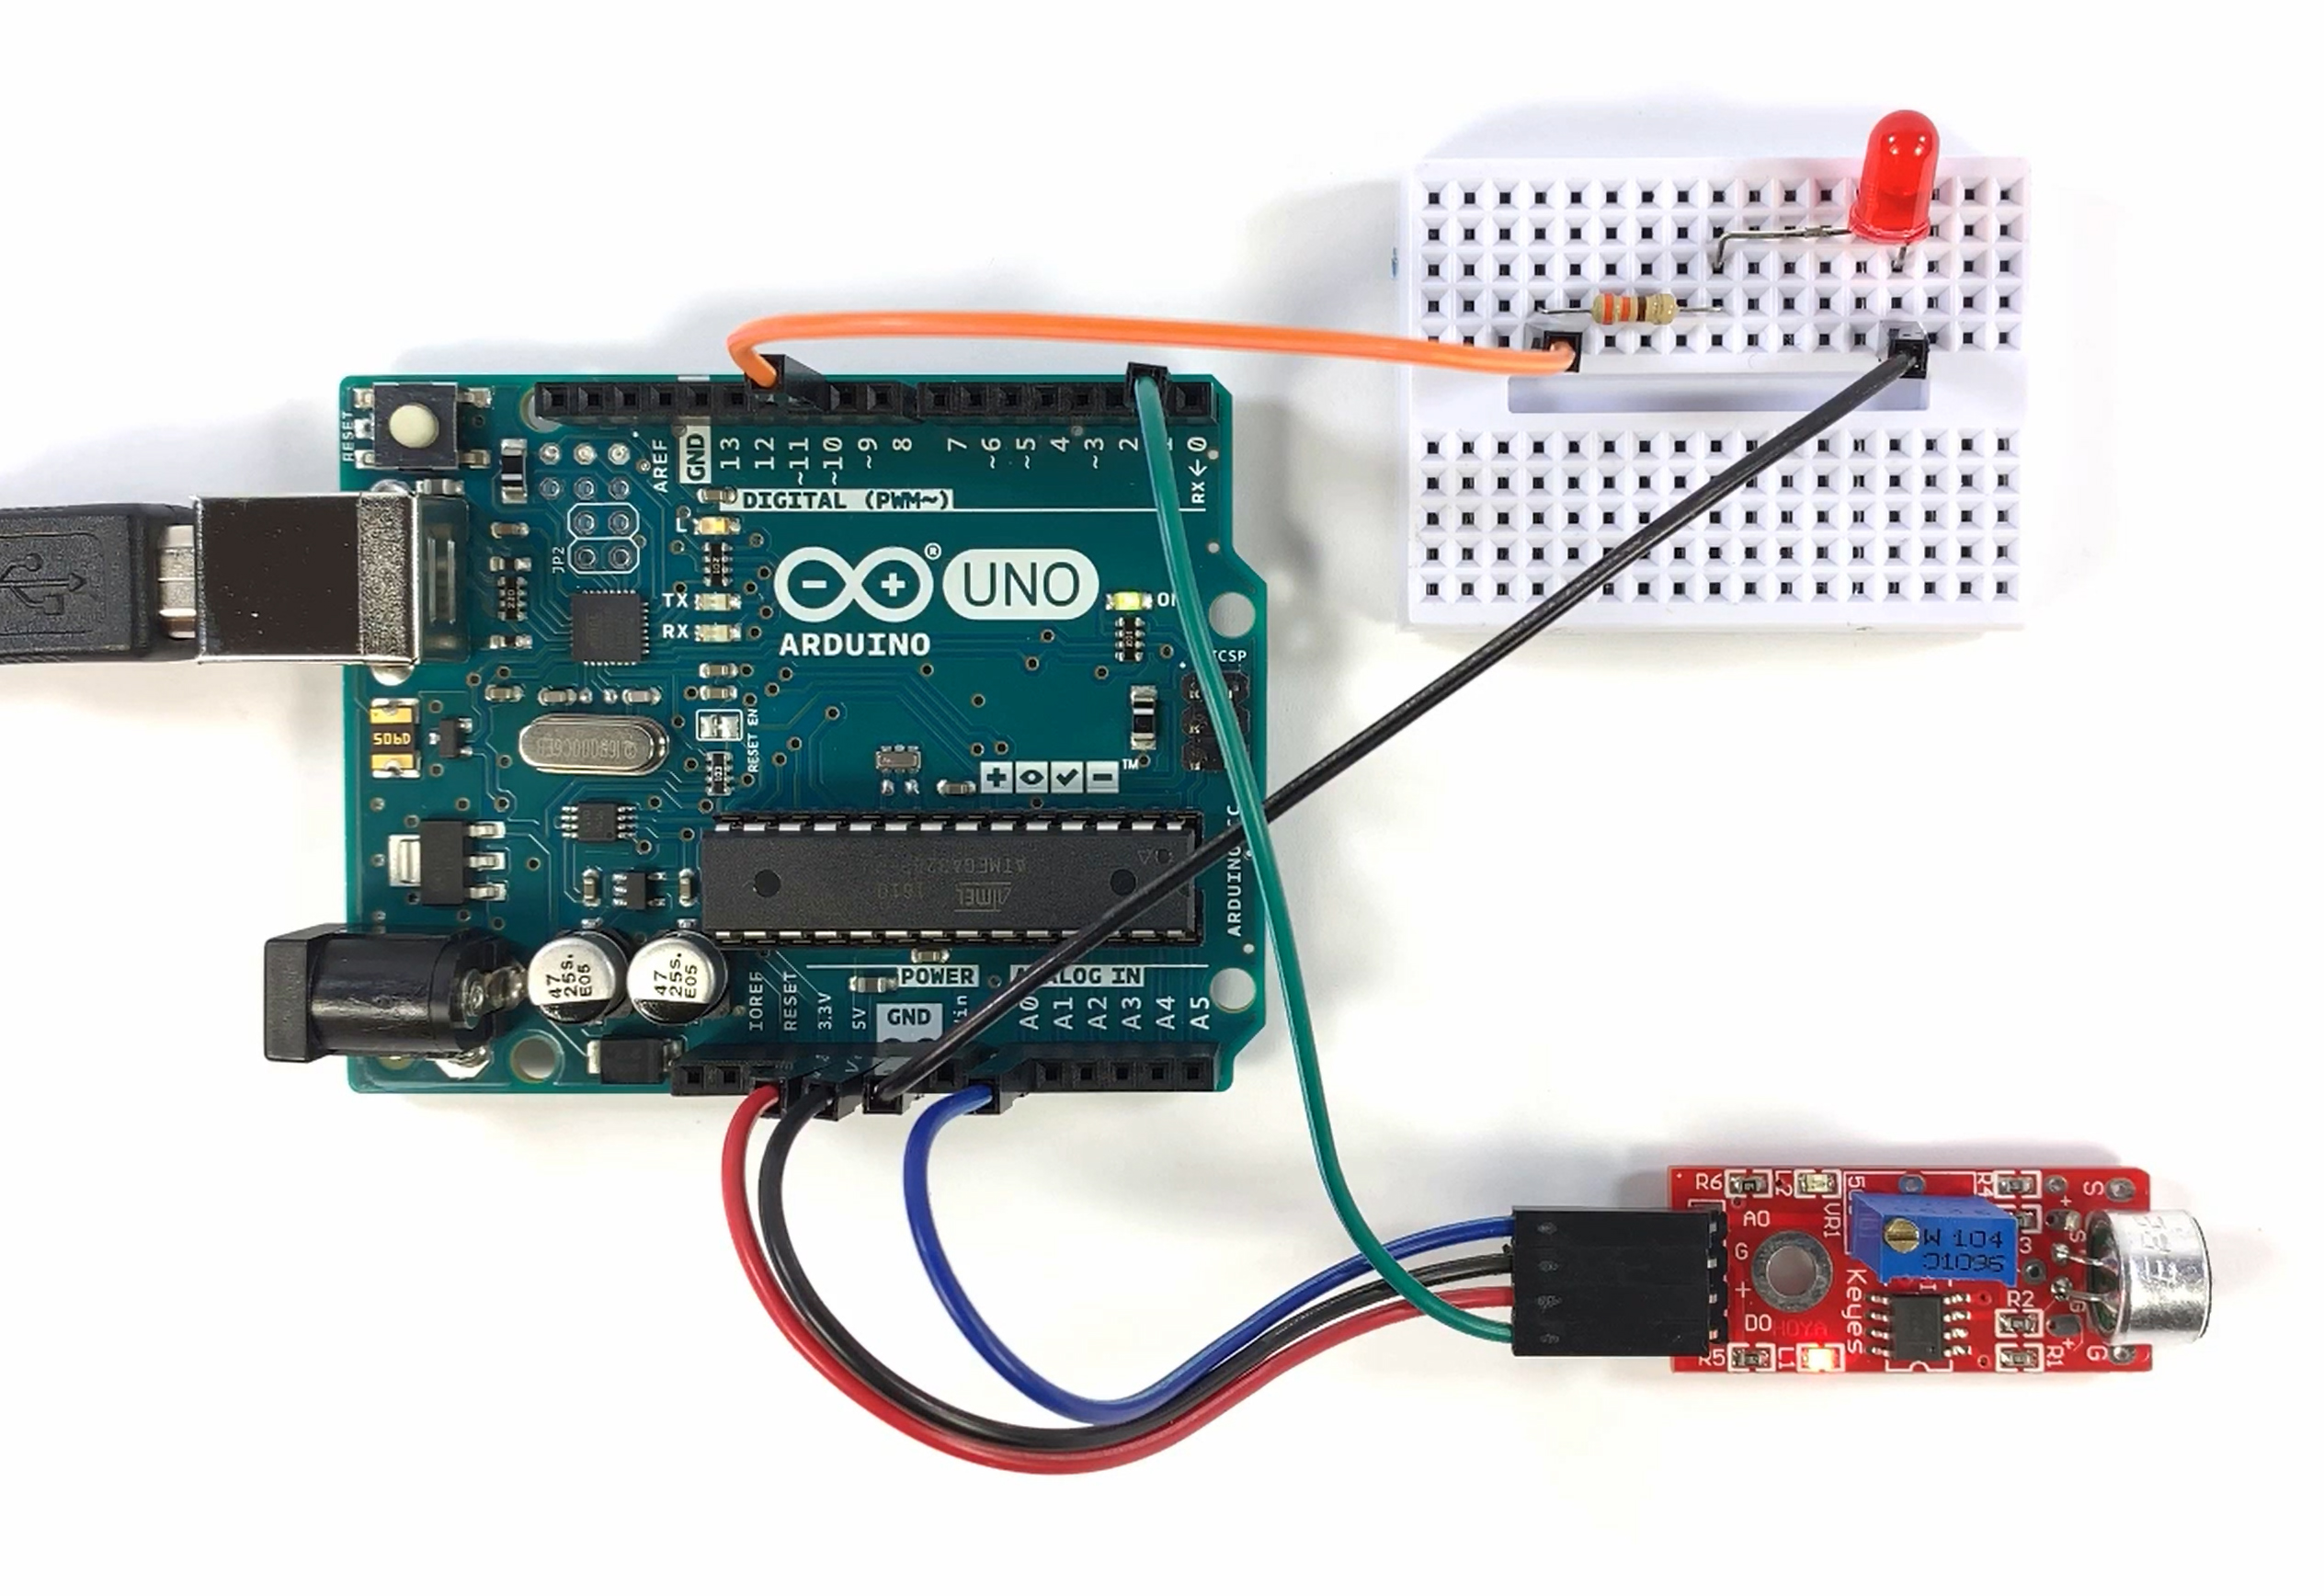
Your device may have a built-in microphone, a USB microphone, or an XLR microphone. Each type works in a slightly different way, but the core steps remain similar.

How to Use the Mic: A Simple Setup
The first step in learning how to use the mic is to connect it and confirm that your device can detect it.
1. Connect the microphone
Use the correct connection for your microphone:
• Plug a USB microphone into a USB port.
• Connect a headset mic to the correct headphone or microphone jack.
• Attach a wireless receiver if you use a wireless microphone.
• Connect an XLR microphone to an audio interface or mixer.
Do not force a cable into a port. If the plug does not fit, check the device manual or the connector type.
2. Select the microphone
Open your device settings and choose the microphone as the input device.
On Windows, open Sound settings and select your microphone under Input. On macOS, open Sound settings, choose Input, and select the correct device. In apps such as Zoom, Discord, Audacity, or OBS, check the audio settings inside the app too.
This step matters because your computer may keep using its built-in microphone even after you connect a better one.
3. Test the signal
Speak at your normal volume and watch the input meter. The meter should move when you talk.
If the meter does not move, check these points:
• Is the microphone muted?
• Is the cable fully connected?
• Did you choose the right input device?
• Does the app have microphone permission?
• Is the microphone receiving power?
Testing before a meeting or recording can prevent stressful last-minute problems.
4. Set the input level
Input level is often called gain. Gain controls how strongly the microphone signal enters your device.
Start with a low or medium setting. Speak as you normally would, then raise the gain until your voice is clear. Avoid pushing the level too high. A signal that reaches the maximum can clip, which creates harsh and distorted sound.
For spoken audio, leave some space below the top of the meter. Many audio engineers aim for peaks around minus 12 to minus 6 decibels during digital recording. The exact number can vary, but the main rule is simple: clear and strong is good; overloaded is not.
How to Hold and Position a Microphone
Microphone position often matters more than expensive equipment. Even a basic mic can sound good when placed well.
Speak into the correct side
Many microphones have a front and a back. Side-address microphones receive sound from the front, often where the logo or grille is located. End-address microphones receive sound from the top.
If you speak into the wrong side, your voice may sound weak, distant, or dull. Check the markings before recording.
Keep a steady distance
For normal speech, place the microphone about 4 to 8 inches from your mouth. A pop filter can sit between your mouth and the mic.
If you move too far away, the room becomes louder and your voice loses detail. If you get too close, your voice may sound boomy, and strong “p,” “b,” and “t” sounds may cause bursts of air.
A useful method for how to use the mic is to imagine that you are speaking to a friendly person sitting just behind it. Keep your mouth pointed toward the mic, but do not press your lips against it.
Aim slightly to the side
Turn the microphone a little away from the direct path of your breath. This technique is called speaking off-axis.
It can reduce popping sounds without making your voice unclear. You can also use a pop filter or foam windscreen for extra protection.
Keep the mic stable
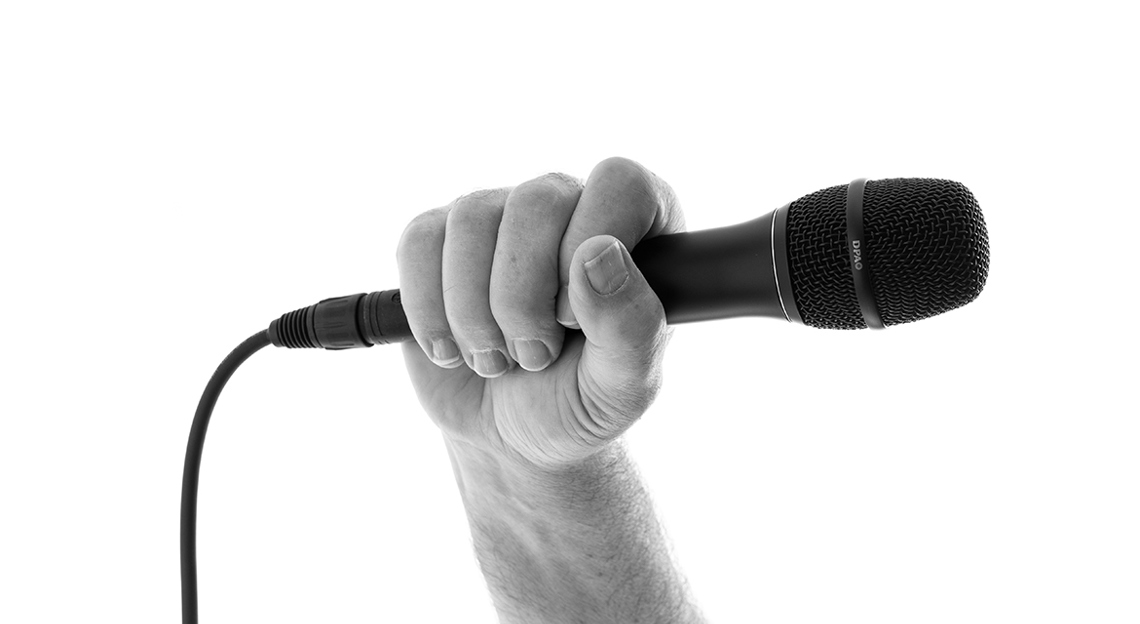
Use a stand, boom arm, or clip when possible. Holding a microphone in your hand can create handling noise.
Avoid touching the cable, tapping the body, or moving the stand during a recording. These sounds can be much louder than expected.
How to Use the Mic for Clear Speech
Clear speech depends on more than volume. Your pace, distance, room, and breathing all affect the result.
Use these habits:
• Speak at a steady pace.
• Keep your mouth pointed toward the microphone.
• Pause briefly between ideas.
• Pronounce the ends of words.
• Breathe quietly when possible.
• Keep your voice natural instead of forcing a deep or loud tone.
Do not shout into the microphone. A louder voice does not always create better audio. It may increase distortion and make listeners uncomfortable.
Instead, speak as if you are talking to someone across a small table. This gives the microphone a consistent signal and makes editing easier.
Your room also matters. Hard walls, glass, and bare floors reflect sound. These reflections create an echo that can make speech sound far away.
You can improve a room without expensive treatment:
• Close windows and doors.
• Turn off loud fans and air conditioners.
• Move away from bare walls.
• Add curtains, rugs, cushions, or soft furniture.
• Record near clothing or books, which can reduce reflections.
A quiet room does not need to be silent. It needs to be controlled enough that your voice remains the main sound.

How to Use the Mic on a Phone
Most smartphones have built-in microphones, but their location can vary. A phone may use a microphone near the bottom edge, beside the camera, or near the earpiece.
When recording with a phone:
Hold the phone so your fingers do not cover the microphone openings.
Keep the phone close enough to capture your voice clearly.
Avoid placing the microphone directly in a strong breeze.
Use a wired or wireless external mic for interviews or professional video.
Record a short test before filming the full scene.
For a selfie video, keep the phone about arm’s length away. If the phone is too far from you, background noise may overpower your speech.
A small lavalier microphone can improve phone audio. Check whether your phone needs a specific adapter, such as a USB-C or Lightning audio adapter.
Some wireless microphones use a receiver that connects to the phone. Confirm that the receiver is compatible with your phone before buying it.

How to Use the Mic on a Computer
A computer may use several possible audio inputs. These can include a built-in mic, headset mic, webcam mic, USB mic, or audio interface.
To use the mic on a computer, follow this process:
Connect the microphone.
Open the computer’s sound settings.
Select the microphone under input devices.
Choose the same microphone in your recording or meeting app.
Speak and watch the input meter.
Adjust the input level until your voice is clear.
During a video call, wear headphones if possible. Without headphones, the other person’s voice may play through your speakers and return through your microphone. This creates an echo.
If your voice sounds distant, move the mic closer. If it sounds distorted, lower the input level. If it sounds thin, check whether the app is using the wrong microphone.
Privacy settings can also block access. On many computers, apps need permission to use the microphone. Check system privacy settings if the mic works in one app but not another.
How to Use the Mic for Gaming and Streaming
Gaming and streaming need clear voice audio because viewers must hear speech over music, sound effects, and game audio.
Place the mic close to your mouth, but keep it out of the way of your keyboard and mouse. A boom arm can help you position it without taking up desk space.
Use headphones to prevent game audio from entering the microphone. Then adjust the balance between your voice, game sound, and music.
A basic streaming audio chain may include:
• Microphone input
• Noise reduction
• Noise gate
• Compressor
• Equalizer
• Limiter
Use these tools with care. A noise gate can remove low background noise when you are silent, but it may cut off quiet words. Too much compression can make audio sound flat or tiring.
For gaming, how to use the mic also includes communication habits. Mute the microphone when eating, typing loudly, speaking to someone nearby, or handling noisy equipment.
How to Use the Mic for Presentations and Live Events
Live microphones need careful handling because feedback can happen quickly. Feedback occurs when the microphone picks up sound from a speaker, sends it back through the system, and repeats the cycle.
To reduce feedback:
• Keep the microphone behind the speakers.
• Do not point the mic toward a speaker.
• Hold the mic near your mouth.
• Avoid covering the microphone grille.
• Follow the sound operator’s instructions.
For a handheld microphone, hold it by the handle. Keep the grille clear. Place it about 2 to 4 inches from your mouth, depending on the mic and room.
For a podium microphone, stand or sit at a steady distance. If you turn your head often, your volume may change. Move the microphone with you when possible.
A lapel mic should sit near the upper chest. Keep it away from necklaces, loose fabric, and clothing that rubs against the capsule.
Common Microphone Problems and Fixes
The microphone does not work
Check the connection, mute button, input device, app permission, and battery if the mic is wireless. Restarting the app can also help.
The sound is too quiet
Move closer to the microphone and raise the input gain slightly. Also check whether the app has its own volume control.
The sound is distorted
Lower the gain and move a little farther from the mic. Distortion caused during recording is difficult to repair later.
The sound has an echo
Use headphones, mute nearby speakers, and select only one active microphone. In video meeting apps, enable echo cancellation if needed.
The sound has background noise
Move away from fans, traffic, appliances, and computer noise. A closer microphone position can improve the voice-to-noise balance.
The recording has popping sounds
Use a pop filter, speak slightly off-axis, and avoid aiming strong bursts of air directly at the microphone.
The audio cuts out
For a wireless microphone, check the battery, range, and signal obstacles. For a wired microphone, test another cable or port.
Microphone Settings That Improve Audio
The correct settings depend on your device and purpose, but several terms appear often.
Gain
Gain controls the strength of the incoming signal. Too little gain creates a quiet recording. Too much gain causes clipping.
Volume
Volume controls how loud the signal becomes after it enters the system. Raising volume cannot fully repair a weak recording with heavy background noise.
Sample rate
Sample rate describes how often digital audio is measured. A rate of 44.1 kHz is common for music, while 48 kHz is common for video. Choose the setting your software or project requires.
Bit depth
Bit depth affects the detail available in a digital recording. Sixteen-bit and 24-bit audio are common choices. Higher bit depth can provide more editing space, but it does not replace good mic placement.
Polar pattern
A polar pattern describes where a microphone receives sound.
• Cardioid picks up sound mainly from the front.
• Omnidirectional picks up sound from all directions.
• Bidirectional picks up sound from the front and back.
• Stereo captures a wider left and right image.
For one person speaking in a normal room, a cardioid microphone is often a practical choice.
Mistakes to Avoid When Using a Mic
Many poor recordings come from simple mistakes, not bad microphones.
Avoid these common errors:
• Speaking into the wrong side of the microphone.
• Placing the mic too far away.
• Setting gain as high as possible.
• Recording without a test.
• Covering the microphone grille.
• Using speakers instead of headphones during calls.
• Ignoring room echo.
• Touching the stand or cable.
• Relying on software to fix every problem.
One lesson I have seen repeatedly in recording setups is that people often upgrade equipment before fixing placement. A modest microphone near the speaker can sound better than an expensive microphone across a noisy room.
Another useful lesson is to listen with headphones before sharing the final recording. Your ears will catch problems that a moving meter cannot show, such as echo, clothing noise, harsh “s” sounds, or an uneven speaking distance.
How to Choose the Right Microphone
The best mic depends on your purpose, room, budget, and comfort.
Choose a USB microphone if you want a simple setup for:
• Online meetings
• Podcasts
• Voice-overs
• Gaming
• Home recording
Choose an XLR microphone if you want more control, multiple microphones, or future studio upgrades. It requires an audio interface or mixer, which adds cost and setup work.
Choose a lavalier microphone for hands-free speech. It works well for presentations, interviews, and videos where the microphone should stay out of view.
Choose a dynamic microphone if your room is noisy or untreated. Choose a condenser microphone when you want more detail and can control the room.
There is no single microphone that is best for everyone. Your voice, room, distance, and goal all affect the result.
A Quick Mic Check Before Recording
Use this short checklist before a call, stream, presentation, or recording:
Confirm that the microphone is connected.
Select it as the input device.
Check that it is not muted.
Place it 4 to 8 inches from your mouth.
Aim at the correct side.
Speak at your normal volume.
Watch the input meter.
Listen for echo, noise, and distortion.
Record a short sample.
Save or upload the final audio only after checking it.
This routine takes less than a minute. It can prevent lost interviews, unclear presentations, and unusable video clips.
Frequently Asked Questions About How to Use the Mic
How close should I be to the microphone?
For normal speech, start about 4 to 8 inches away. Move closer for a fuller sound or farther away if your voice causes distortion or strong popping.
Why can’t people hear my microphone?
Check the selected input device, mute button, cable, app permission, and input level. Speak closer to the microphone and test it in another app to identify the problem.
Should I use a microphone with headphones?
Yes, headphones can prevent echo during calls, gaming, and recording. They also help you hear background noise, distortion, and changes in volume.
How do I stop my microphone from picking up keyboard noise?
Move the microphone closer to your mouth and farther from the keyboard. A shock mount, directional mic, quieter keyboard, and noise reduction can also help.
Why does my microphone sound distorted?
The input gain may be too high, or you may be speaking too close to the microphone. Lower the gain, move back slightly, and leave space below the top of the audio meter.
Do I need a pop filter?
A pop filter is helpful for speech and singing because it reduces bursts of air from “p” and “b” sounds. It is not always required, but it can make recordings smoother.
Is a USB or XLR microphone better?
A USB microphone is easier to set up and suits many users. An XLR microphone offers more control and expansion, but it needs an audio interface or mixer.
Conclusion
Learning how to use the mic comes down to control: control the distance, gain, room, direction, and background noise. Connect the microphone, select the correct input, test your signal, and speak at a steady distance.
You do not need the most expensive equipment to get clear audio. Start with good placement and a short sound check, then improve your setup as your needs grow. Try these steps in your next call or recording, and share your results or explore more audio guides for better sound.