

A good singing microphone matches your voice, rejects unwanted noise, and makes every note sound clear and natural.
Knowing what is a good microphone for singing can save you money, time, and many frustrating recording sessions. The right choice depends on your voice, room, music style, recording setup, and budget. A live performer may need a strong dynamic microphone, while a studio singer may prefer a detailed condenser microphone. This guide explains the key differences, trusted microphone types, common mistakes, and practical ways to choose with confidence.

What makes a good microphone for singing?
A good microphone for singing captures your voice with detail while keeping harsh sounds, room noise, and distortion under control. It should also suit your vocal range and performance style.
There is no single microphone that works best for every singer. A bright microphone may help a soft voice sound more open, but it can make a sharp voice sound harsh. A warm microphone may smooth a bright voice, but it can make a deep voice sound muddy.
When asking what is a good microphone for singing, focus on these core features:
• Clear frequency response: The microphone should reproduce low, middle, and high vocal tones without coloring them too much.
• Suitable sensitivity: A sensitive microphone captures quiet details, but it may also pick up fans, traffic, and room reflections.
• Good off-axis rejection: This helps reduce sound coming from the sides and rear of the microphone.
• Low self-noise: This matters most for quiet studio vocals and soft singing.
• Strong construction: A sturdy microphone is important for stage use, travel, and regular handling.
• Proper connectivity: Make sure the microphone works with your audio interface, mixer, phone, computer, or recording device.
A microphone does not create a great singer. It acts more like a camera. A good camera shows detail, but it cannot improve the subject itself. The same is true for a microphone.

Dynamic versus condenser microphones
The biggest choice for most singers is between a dynamic microphone and a condenser microphone. Both can produce excellent results, but they behave differently.
Dynamic microphones
Dynamic microphones use a moving coil to convert sound into an electrical signal. They are usually less sensitive than condenser microphones, which makes them useful in noisy rooms and live venues.
A dynamic microphone is often a smart choice for:
• Live concerts
• Rehearsal rooms
• Untreated bedrooms
• Loud singers
• Rock, pop, punk, and rap vocals
• Singers who move while performing
Dynamic microphones are also durable. They can handle high sound pressure levels and regular stage use. Many famous vocal microphones used in concerts are dynamic models because they help isolate the singer from drums, amplifiers, and crowd noise.
Their main limitation is detail. Some dynamic microphones capture less air and room texture than a condenser model. That is not always a problem. In a noisy room, less detail can actually produce a cleaner vocal track.
Condenser microphones
Condenser microphones use a charged diaphragm and usually need phantom power. Phantom power is a small electrical supply, commonly 48 volts, provided by an audio interface or mixer.
Condenser microphones are often preferred for:
• Studio vocal recording
• Acoustic music
• Soft singing
• Detailed harmonies
• Voice-over work
• Quiet rooms
They tend to capture more high-frequency detail and subtle changes in the voice. This can make a performance sound open, intimate, and polished.
The drawback is that a condenser microphone hears more of the room. In an untreated space, it may capture echoes, computer fans, air conditioners, and street noise. A sensitive microphone is not automatically a better microphone.
Which type should you choose?
If you sing live or record in a noisy room, start with a dynamic microphone. If you record in a quiet, treated room and want maximum detail, consider a condenser microphone.
This simple rule answers what is a good microphone for singing for many beginners: choose the microphone that fits your room first, then fine-tune the choice for your voice.
The best microphone types for different singers
Different singers need different tools. Your vocal tone, music style, room, and recording goals matter more than brand popularity.
Best microphones for live singing
A live vocal microphone should reject feedback, handle loud sound, and remain clear when used close to the mouth. Popular choices often include reliable dynamic microphones designed for stage vocals.
Look for:
• Strong feedback resistance
• A controlled upper-midrange
• Good rear and side rejection
• A durable grille and body
• A comfortable shape for handheld use
A microphone with a gentle presence boost can help vocals cut through guitars, drums, and keyboards. However, too much boost may make “s,” “t,” and “sh” sounds painfully sharp.
Best microphones for studio singing
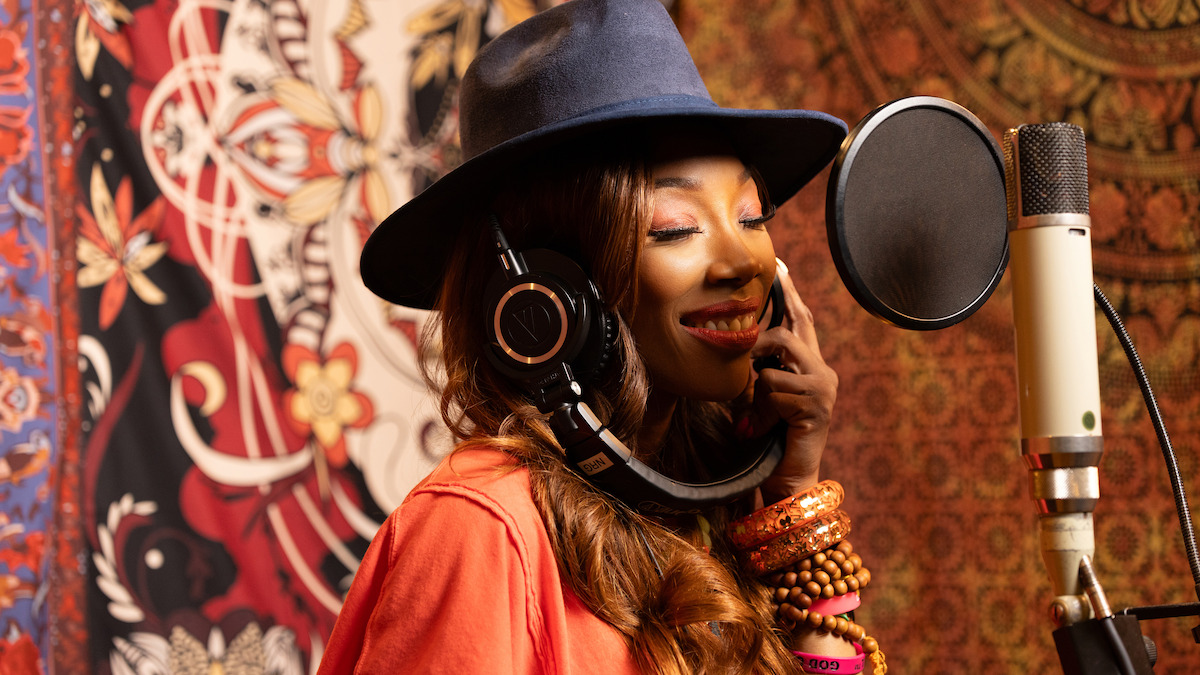
A large diaphragm condenser microphone is a common studio choice. It can capture breath, vocal texture, and small changes in volume.
This type of microphone works best when:
• The room has low echo
• The singer can maintain a steady distance
• A pop filter is used
• The recording level is set correctly
• The singer wants a detailed sound
Tube and ribbon microphones can also suit certain voices, but they require more knowledge and careful equipment matching. They are not always the best first purchase.
Best microphones for home recording
Home singers often need a microphone that forgives imperfect rooms. A dynamic microphone can be a better choice than an inexpensive condenser if the room has hard walls and strong reflections.
You can improve a home setup with:
• Thick curtains
• Rugs
• A full bookshelf
• Soft furniture
• A portable reflection filter
• Distance from walls and windows
Do not place the microphone directly against a bare wall. Reflected sound can make vocals boxy and hollow.
Best microphones for beginners
Beginners should choose a simple microphone that works with their existing equipment. A USB microphone is easy to connect to a computer, while an XLR microphone offers more flexibility for future upgrades.
A practical beginner setup may include:
• A dynamic or condenser microphone
• A stable microphone stand
• An XLR cable or USB cable
• A pop filter or foam windscreen
• Closed-back headphones
• Basic recording software
For many new singers, spending less on the microphone and more on room control, headphones, and technique produces better results.

Recommended microphone choices by use
The following categories can help narrow your search. Always check current specifications and test a microphone when possible, because model revisions and prices can change.
Reliable dynamic vocal microphones
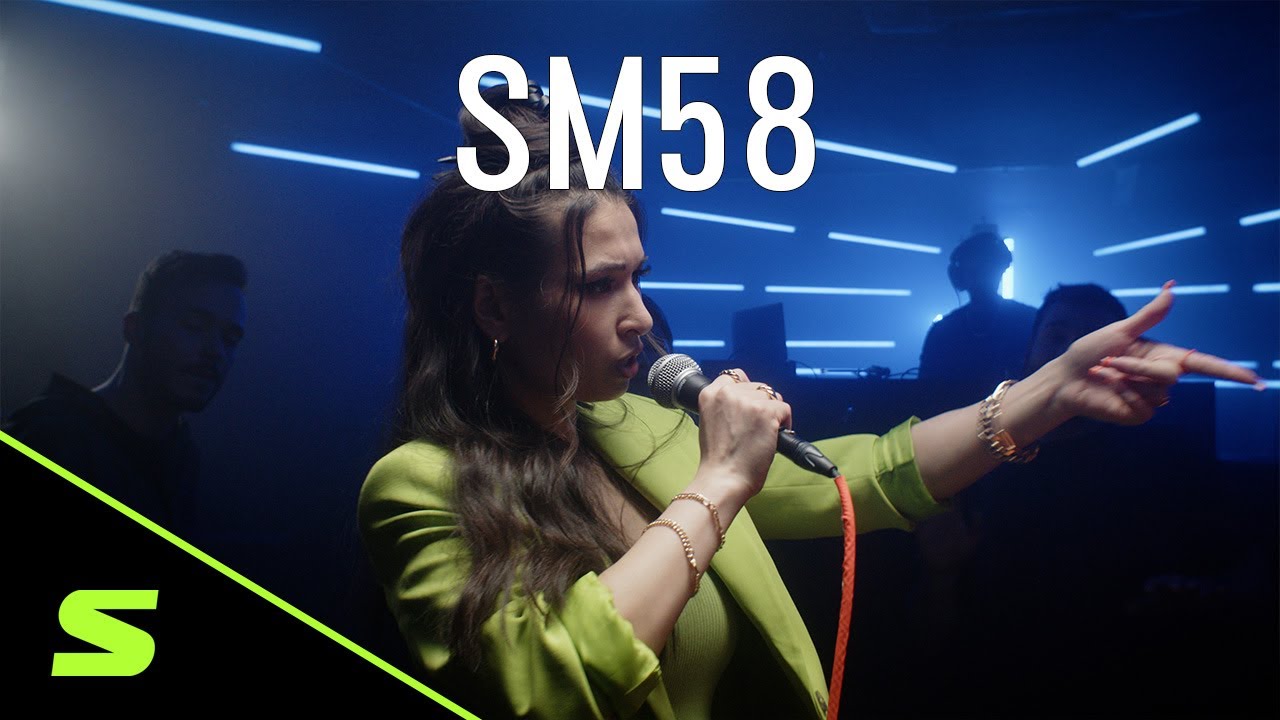
Common professional options include the Shure SM58, Sennheiser e935, Shure Beta 58A, and Electro-Voice ND76. These models are widely used for stage vocals because they are durable and designed to work well in demanding environments.
The Shure SM58 is especially popular because it offers a balanced vocal sound, strong handling, and a replaceable grille. It may not sound as detailed as a studio condenser, but it performs consistently in many rooms.
Detailed condenser microphones
Well-known studio options include the Audio-Technica AT2020, Rode NT1, Aston Origin, and AKG C214. These microphones can capture clear vocal detail when used in a quiet room with proper technique.
An affordable condenser can sound very good, but its performance depends heavily on the room. If your room has a lot of echo, a high-end condenser may reveal those problems more clearly.
USB microphones
USB microphones such as the Audio-Technica AT2020USB-X, Rode NT-USB+, and Shure MV7+ can be useful for home recording, streaming, and songwriting.
USB models are convenient because they include a built-in audio converter. You can connect them directly to a computer. However, an XLR system is usually easier to expand with different microphones, preamps, and mixers.
Ribbon microphones
Ribbon microphones often produce a smooth and natural high end. They can sound beautiful on bright voices, but many ribbon models are sensitive to handling and air blasts.
A ribbon microphone is not usually the first choice for a beginner. It can be an excellent second microphone after you understand placement, gain, and room treatment.

How to match a microphone to your voice
Your voice should guide your microphone choice. Do not select a microphone only because a famous singer uses it.
Bright or sharp voices
If your voice has strong high frequencies, choose a microphone with a smooth top end. A very bright condenser may exaggerate sibilance and make the vocal tiring to hear.
Try:
• A warm dynamic microphone
• A neutral condenser
• A microphone with controlled presence
Use a pop filter and move slightly farther away if “s” sounds remain harsh.
Deep or dark voices
A darker voice may benefit from a microphone with more upper-mid detail. This can add clarity and help the vocal sit above bass, guitars, and piano.
Try:
• A balanced condenser
• A dynamic microphone with vocal presence
• A microphone that captures upper-midrange detail without excessive treble
Avoid adding too much bass through close placement. The proximity effect can make a deep voice sound thick and unclear.
Soft or breathy voices
A condenser microphone may capture the small details that give a soft voice character. Use a quiet room and a clean preamp.
A dynamic microphone can still work well, especially if the singer performs close to it. The key is to maintain a stable distance and avoid recording too quietly.
Loud or powerful voices
A dynamic microphone can handle strong vocals with ease. A condenser may also work, but set the input gain carefully to prevent clipping.
The microphone should not be placed directly in front of the mouth at very close range. Aim it slightly to one side, or position it a little above mouth level, to reduce harsh bursts of air.
Microphone polar patterns explained
A polar pattern describes how a microphone hears sound from different directions. It affects isolation, room sound, and feedback control.
Cardioid
Cardioid microphones hear mostly from the front and reject much of the sound from the rear. This is the most common pattern for live singing and many studio recordings.
Cardioid microphones are a safe starting point because they reduce room noise and help limit feedback.
Supercardioid and hypercardioid
These patterns provide tighter front focus than standard cardioid designs. They can work well on loud stages, but they have small areas of sensitivity behind the microphone.
You must place stage monitors carefully. A monitor in the wrong spot may cause feedback.
Omnidirectional
Omnidirectional microphones hear sound from all directions. They can sound natural, but they also capture more room noise and are less common for live lead vocals.
Figure-eight
Figure-eight microphones hear from the front and rear while rejecting sound from the sides. This pattern is common in ribbon microphones and advanced studio recording.
For most singers, cardioid remains the most practical choice.
Microphone specifications that really matter
Microphone specifications can look confusing, but only a few matter for most singers.
Frequency response
Frequency response shows which parts of the sound spectrum a microphone captures. Human hearing is often described as roughly 20 Hz to 20 kHz, although actual hearing varies with age and exposure to loud sound.
A flat response aims to capture sound naturally. A shaped response adds boosts or cuts to create a certain character. Neither approach is always better.
Sensitivity
Sensitivity shows how much output a microphone produces from a given sound level. A highly sensitive microphone may need less preamp gain, but it may also capture more background sound.
Maximum sound pressure level
Maximum sound pressure level, or SPL, shows how loud a sound can be before distortion becomes a problem. Most modern vocal microphones can handle normal singing levels, but this specification matters for loud singers and close recording.
Self-noise
Self-noise is the sound created by the microphone itself. A low self-noise rating matters for quiet vocals, whispers, and acoustic music.
Impedance
Microphone impedance must work properly with your interface or mixer. Most modern professional audio equipment handles standard microphone impedance without trouble.
Do not let one specification decide your purchase. A microphone’s real sound, your room, and your technique matter more than a long list of numbers.
Microphone placement and singing technique
Even what is a good microphone for singing can sound poor when it is used incorrectly. Placement changes tone almost as much as microphone choice.
Start with the microphone about 6 to 12 inches from your mouth. Use a pop filter between you and the microphone. Move slightly closer for a soft section and farther away for a loud note.
Keep the microphone at mouth level or angle it slightly downward. Avoid pointing it directly at the center of the mouth if plosive sounds are a problem.
Use the proximity effect carefully. Directional microphones often produce more bass when the singer moves closer. This can add warmth, but too much proximity can create a muddy sound.
A useful recording method is to record the same short vocal phrase at three distances:
About 6 inches away
About 9 inches away
About 12 inches away
Listen with headphones and compare the tone. This simple test often teaches more than reading a dozen product reviews.
One common mistake is singing into the microphone from too far away. The voice becomes quiet, while the room becomes loud. Another mistake is holding a studio microphone by hand, which adds handling noise and changes the distance from phrase to phrase.
How to connect a singing microphone
Your connection depends on the microphone type.
XLR microphones
An XLR microphone connects to an audio interface, mixer, or microphone preamp. This setup gives you more control and makes it easy to upgrade later.
For a condenser microphone, turn on 48-volt phantom power only after connecting the cable. Turn phantom power off before disconnecting the microphone when possible.
USB microphones
A USB microphone connects directly to a computer, tablet, or compatible device. It is simple and convenient, but you may have fewer options for expanding your recording system.
Use headphones connected to the microphone or computer to monitor your voice. This helps you hear room noise, clipping, and harsh sounds before recording a full song.
Wireless microphones
Wireless systems are useful for live performers who move across a stage. They cost more and require attention to batteries, frequency settings, and signal range.
For home recording, a wired microphone is usually more reliable and affordable.
Common mistakes to avoid
Buying the most expensive microphone is not the same as buying what is a good microphone for singing. Many problems come from setup errors rather than poor equipment.
Avoid these mistakes:
• Choosing a condenser microphone for a loud, echo-filled room
• Recording without headphones
• Singing too close to the capsule
• Ignoring plosive sounds
• Setting the input gain too high
• Using a microphone without checking compatibility
• Expecting a microphone to fix poor room acoustics
• Copying another singer’s microphone choice without testing your own voice
• Buying a microphone based only on online popularity
• Recording beside a computer fan or air conditioner
Clipping is another major issue. Digital clipping happens when the input signal is too loud for the recording system. Keep vocal peaks around minus 12 to minus 6 decibels full scale during recording. This leaves room for louder notes and helps prevent distortion.
A clean recording with moderate volume is easier to mix than a loud recording with clipped peaks.
How much should you spend?
The best microphone budget depends on your goals. You can make useful recordings with an affordable microphone, especially when the room and technique are good.
Budget range
Entry-level microphones can work well for demos, practice, online content, and early songwriting. Spend part of your budget on a stand, pop filter, headphones, and room improvements.
Midrange options
Midrange microphones often offer better construction, smoother frequency response, and more consistent quality. This is a sensible range for serious home recording.
Professional options
High-end microphones can provide unique tone, low noise, and excellent detail. They make more sense when you already have a quiet room, quality preamps, strong monitoring, and reliable recording skills.
A simple rule is to buy the best microphone your room can support. A costly microphone in a reflective bedroom may sound worse than an affordable dynamic microphone in a controlled space.
A practical buying checklist
Use this checklist before choosing a microphone:
Decide where you will sing: on stage, in a bedroom, or in a treated studio.
Identify your vocal character: bright, dark, breathy, soft, loud, or balanced.
Choose dynamic, condenser, USB, or XLR based on your environment.
Check whether your device supplies phantom power if you need a condenser microphone.
Look for a cardioid pattern if you want a simple, focused setup.
Confirm that the microphone includes or works with the cable and stand you need.
Read measurements, but also listen to real vocal examples.
Buy from a seller with a clear return policy when possible.
Test the microphone using your own voice and music.
Improve placement and room control before buying expensive upgrades.
When comparing what is a good microphone for singing, this process is more reliable than choosing by price or appearance.
Frequently Asked Questions About What Is a Good Microphone for Singing
What is a good microphone for singing at home?
A cardioid dynamic microphone is often a strong choice for a bedroom or untreated room because it rejects more background sound. A USB condenser microphone can work well if the room is quiet and has limited echo.
Is a condenser or dynamic microphone better for singing?
A condenser microphone usually captures more detail, while a dynamic microphone often handles noise and loud stages better. Neither is always superior; the better option depends on your room, voice, and purpose.
What is a good microphone for singing live?
A durable cardioid dynamic microphone is usually best for live singing. It can handle loud sound, reduce feedback risk, and reject some noise from instruments and monitors.
Do I need an audio interface for a singing microphone?
You need an audio interface for most XLR microphones, especially condenser models that require phantom power. You do not need a separate interface for a USB microphone unless you want a more advanced recording setup.
How far should I stand from a singing microphone?
Start about 6 to 12 inches away, with a pop filter between you and the microphone. Move farther away for loud notes and slightly closer for quiet parts while keeping your distance controlled.
Is an expensive microphone always better?
No. A costly microphone may reveal room problems and poor technique more clearly. A well-matched affordable microphone can sound better when it suits your voice and recording space.
Conclusion
The best microphone for singing is the one that fits your voice, room, performance style, and equipment. Dynamic microphones are dependable for live use and noisy spaces, while condenser microphones provide more detail in quiet rooms. USB microphones offer easy setup, and XLR microphones provide a path for future upgrades.
Test your voice, control your distance, use a pop filter, and record at a safe level. These simple habits often improve vocal quality more than buying a costly microphone. Choose carefully, practice with your setup, and explore trusted audio resources to keep improving your sound.